Tenancy Renewals in Renti allows you to easily renew an existing tenancy through the standard agreement builder. This will give you the opportunity to add any extra information, such as a rent increase or updating insurance information.
This tutorial will guide you through the process of creating a Tenancy Renewal in Renti.
Resources
- Renti Help Centre contains further resources on tenancy renewals to further assist you through this process.
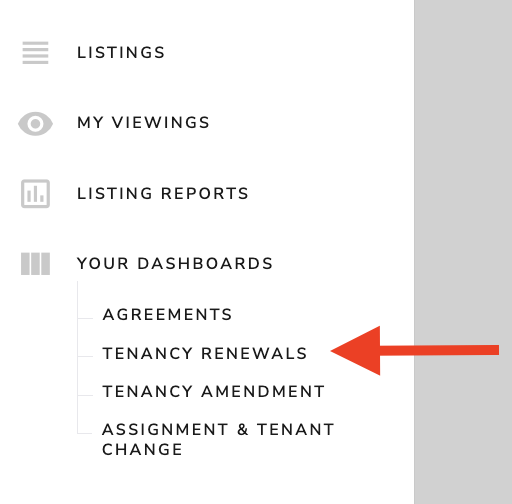
- Click on ‘Tenancy Renewals' in the navigation bar on the left-hand side.
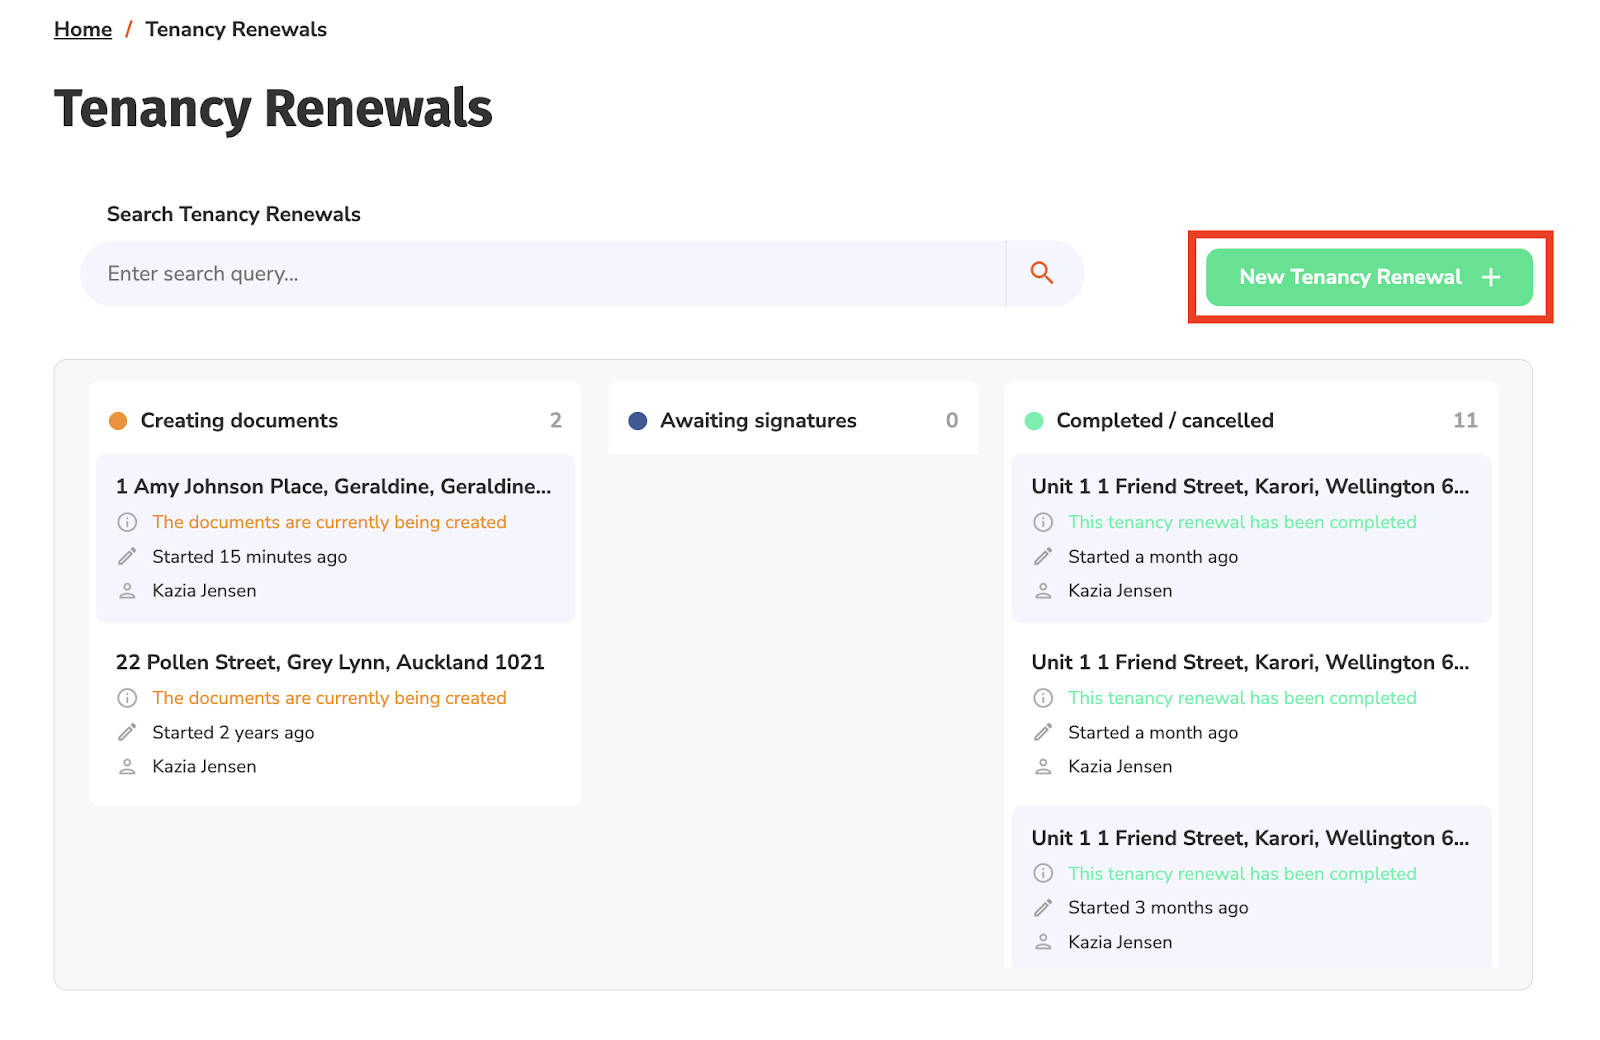
- Click ‘New Tenancy Renewal'.
- Select an address from the dropdown list, otherwise, manually enter an address.
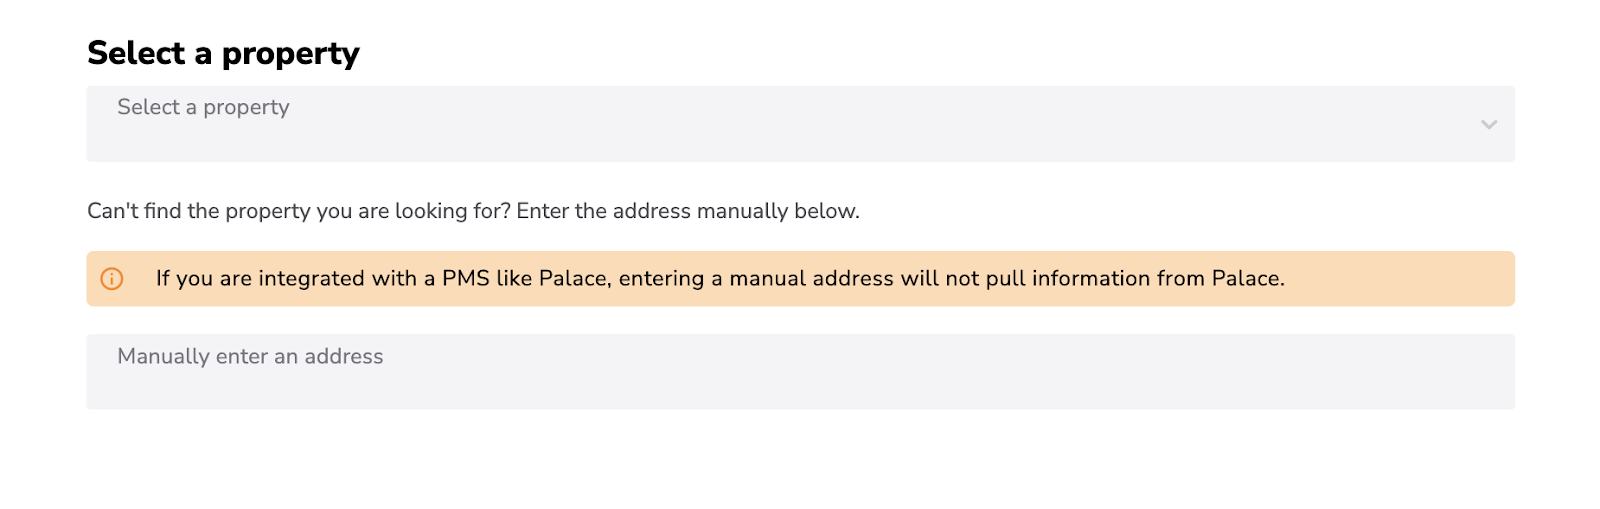
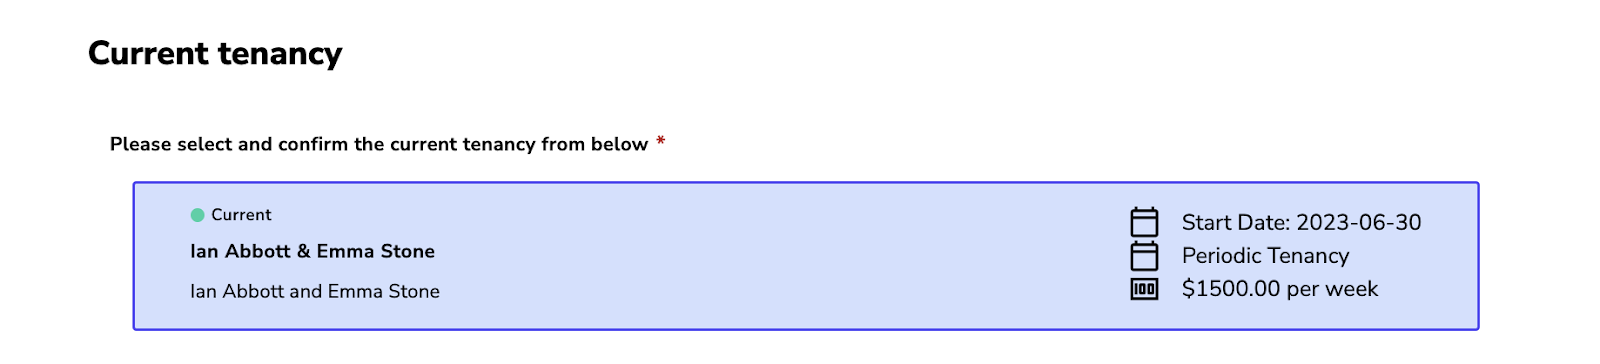
- If you are integrated with a PMS like Palace, you will be required to select the current tenancy.
- Click ‘Next' to get started!
Creating the renewal is the same as creating a normal tenancy agreement! Simply go through each section and fill out the required information.
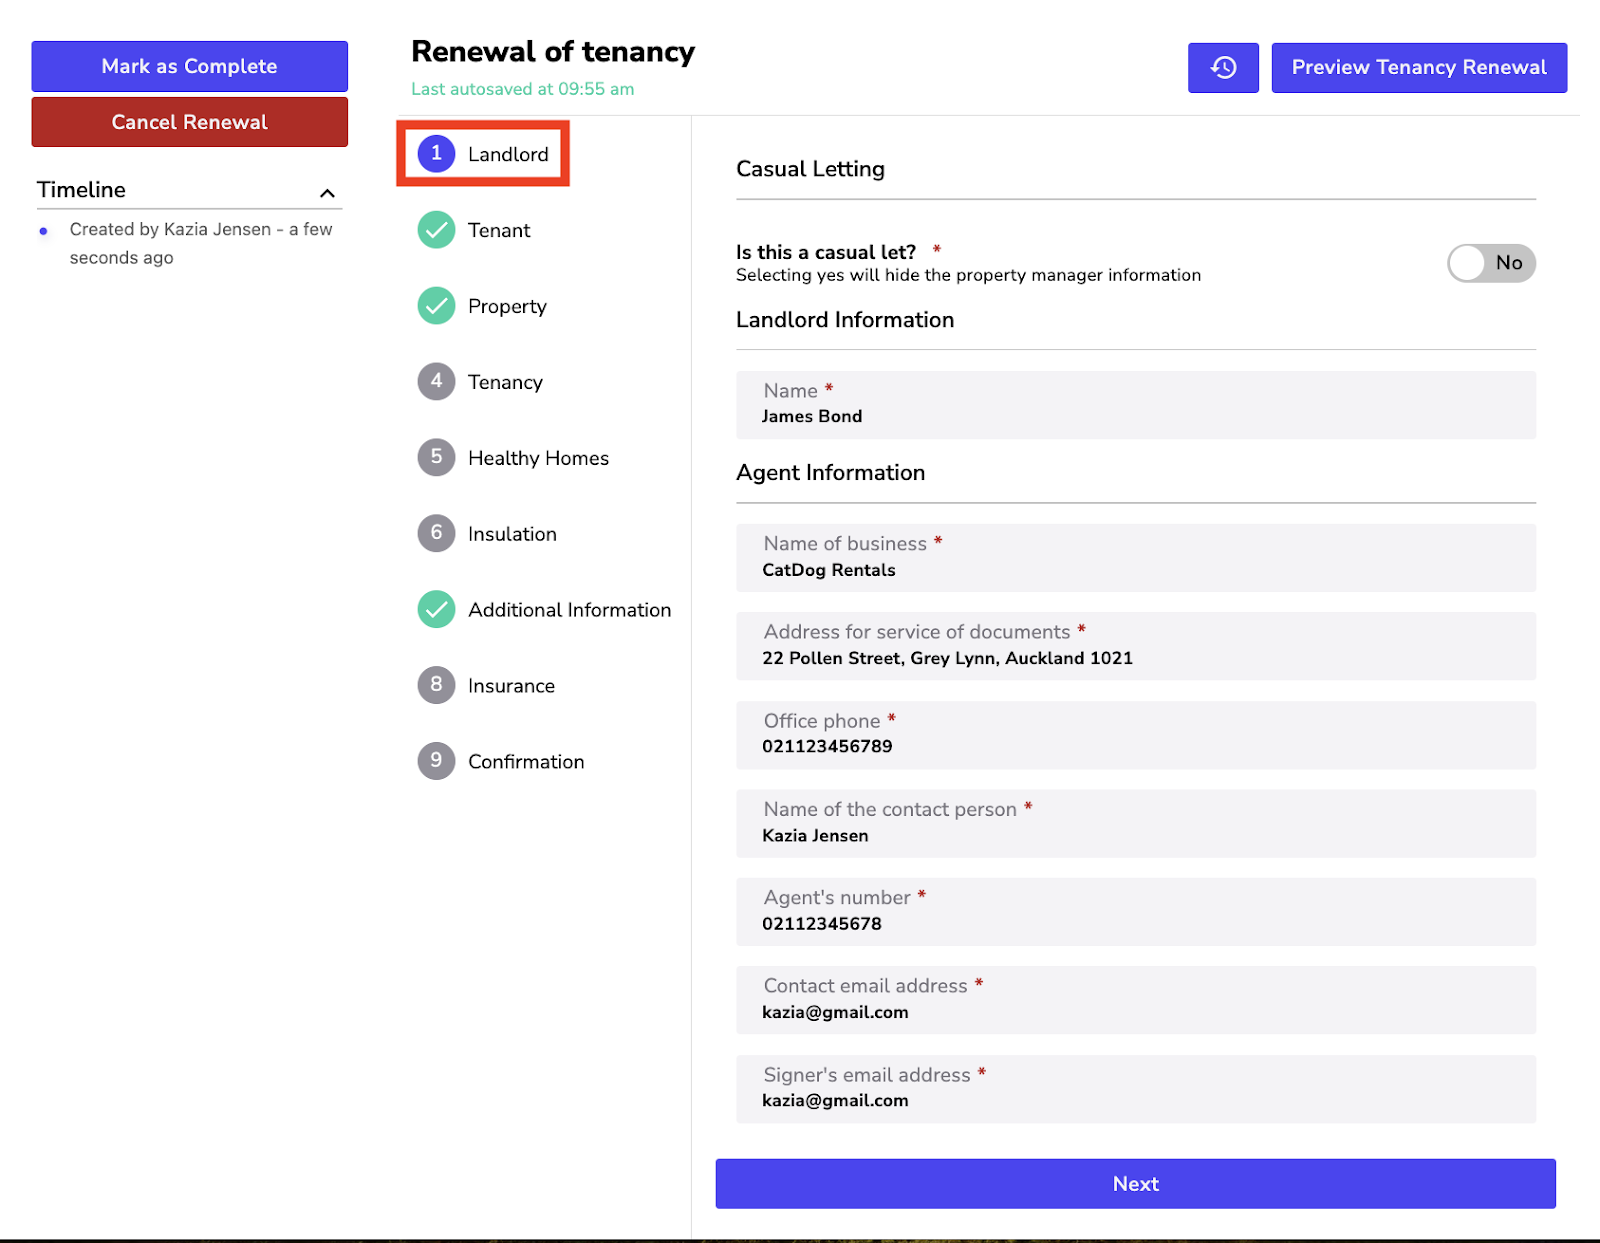
✅ Casual Letting:
- Is this a casual let? (Selecting ‘Yes' will hide the property manager's information).
✅ Landlord Information:
- Enter the name.
✅ Agent Information:
- Enter the agency name,
- Agency's address for service of documents,
- Office phone,
- Name of the contact person,
- Agent's number,
- Contact email address,
- Signer's email address.
Once all the information has been entered, click ‘Next'.
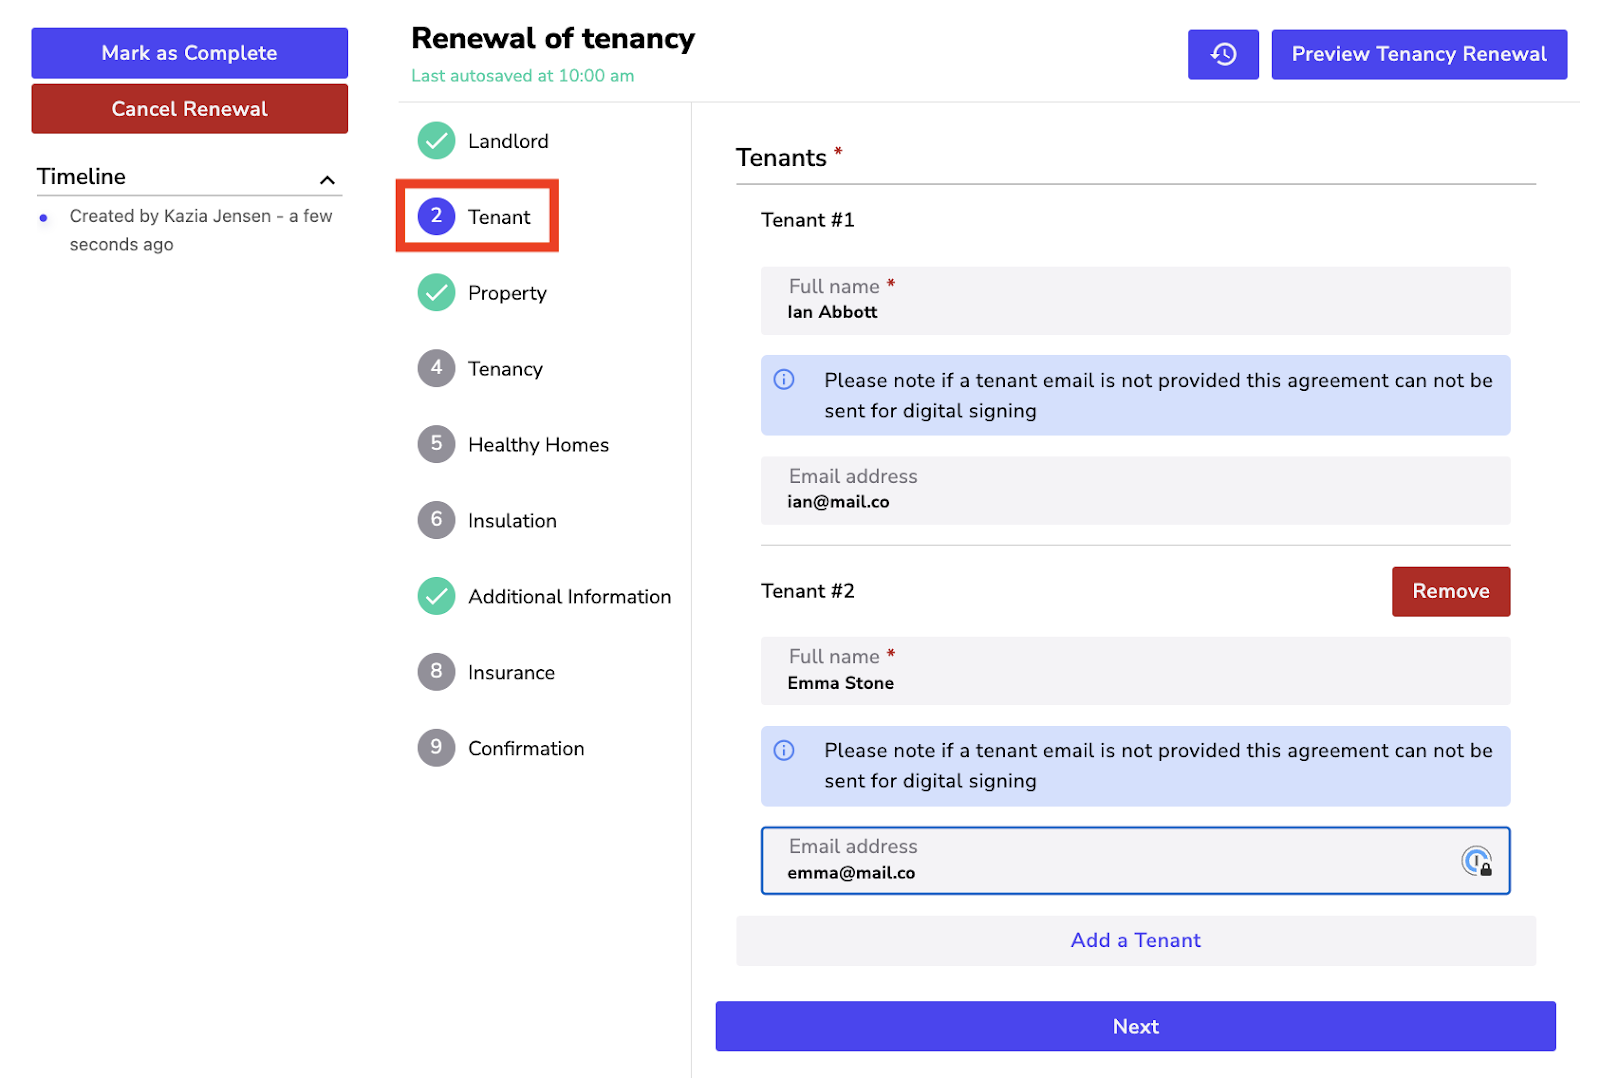
✅ Tenants:
Enter the following for each tenant:
- Full name,
- Email address.
Once all the information has been entered, click ‘Next'.

✅ Property:
- Enter the Property address.
Once all the information has been entered, click ‘Next'.
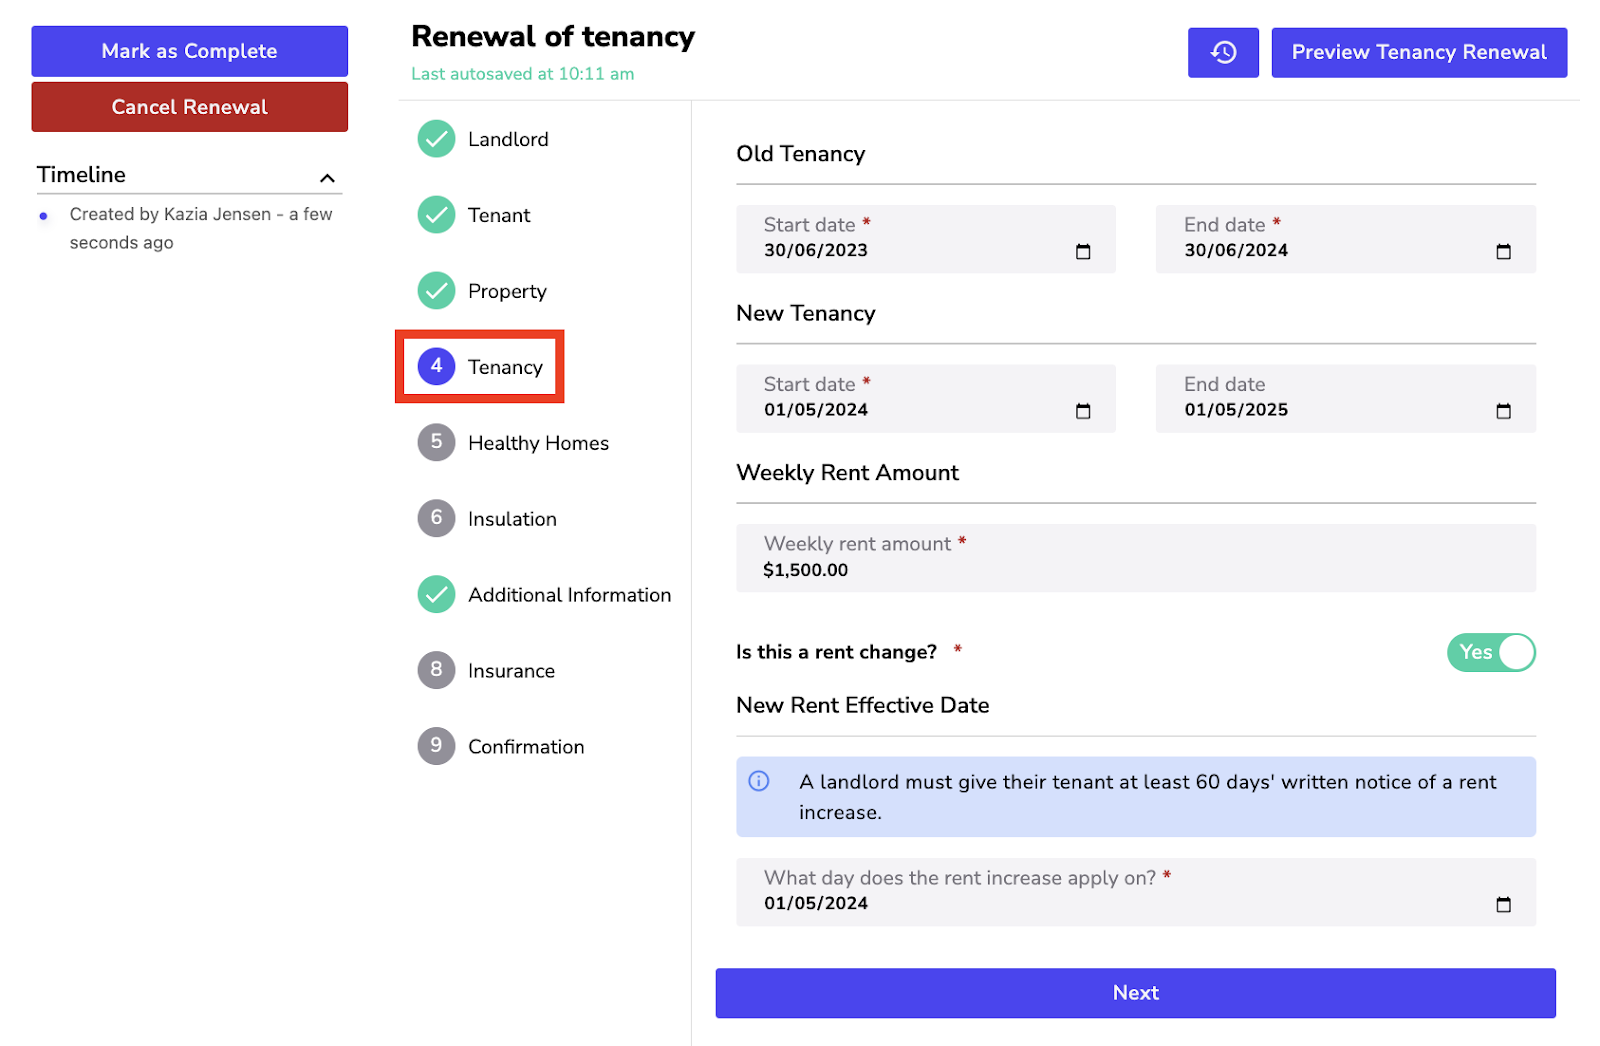
✅ Old Tenancy:
- Enter the new end date for the tenancy.
✅ New Tenancy:
- Enter the new start date for the tenancy,
- Enter the new end date for the tenancy.
✅ Weekly Rent Amount:
- Is there a rent increase? If yes, enter the date that the rent increase applies.
Once all the information has been entered, click ‘Next'.
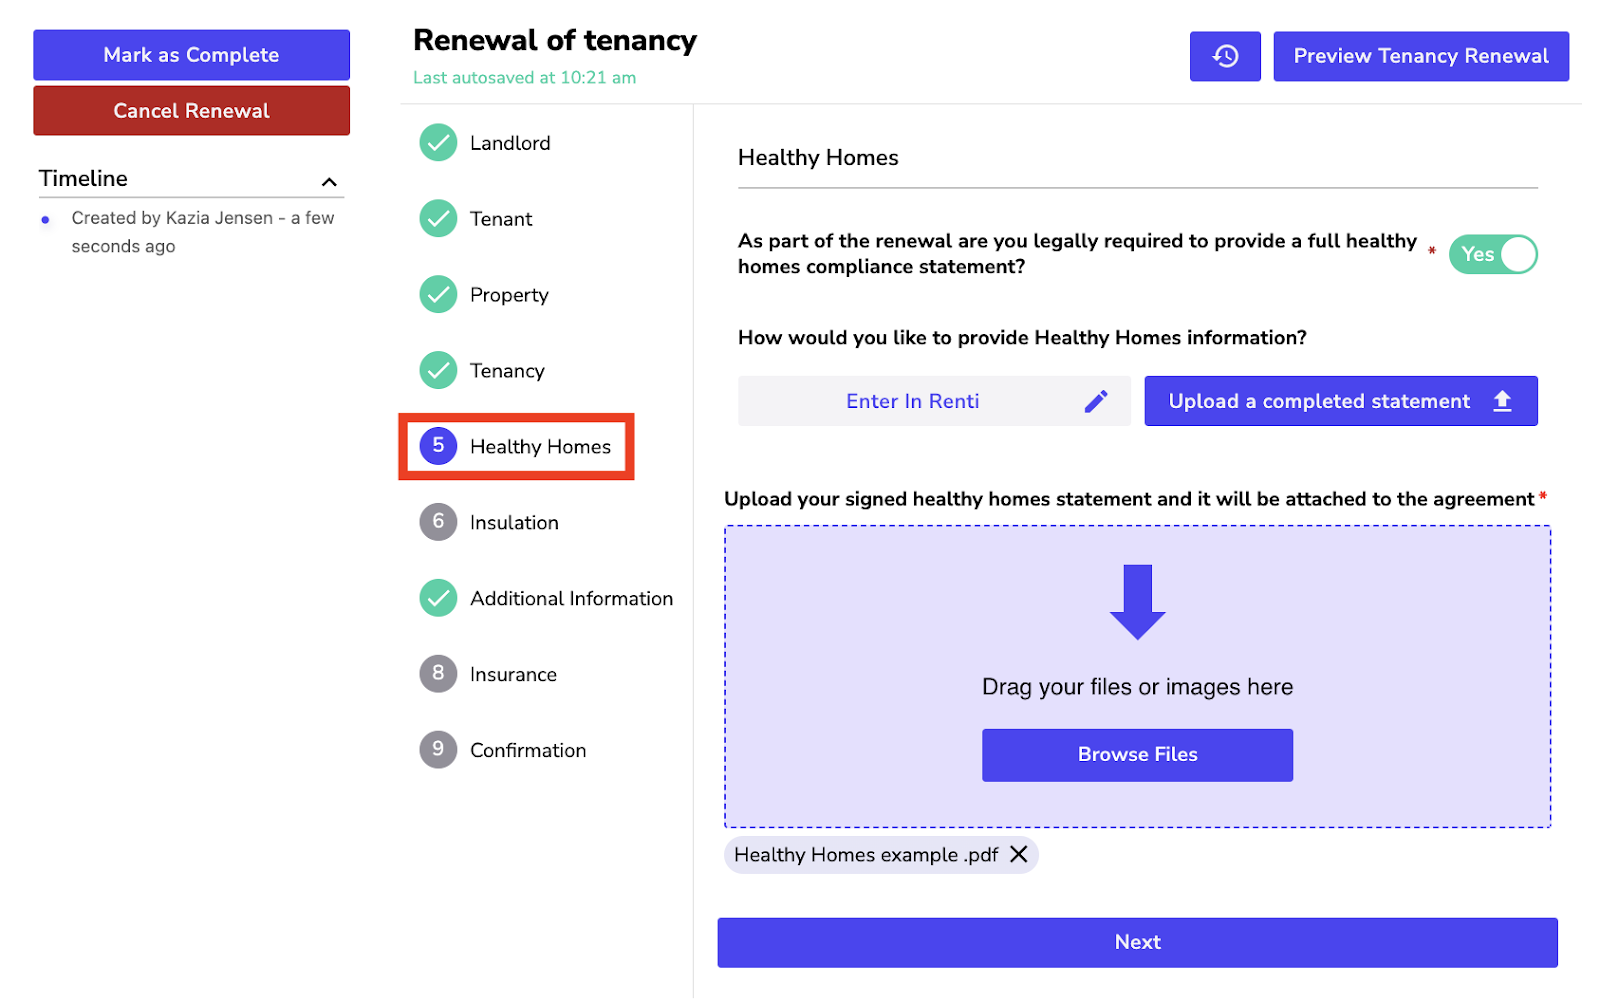
✅ Healthy Homes:
Are you legally required to provide a full Healthy Homes compliance statement?
If you select ‘Yes':
- At the time of building this Tenancy Agreement, are you currently able to provide a Healthy Homes Certificate for the property?
- If ‘yes': Provide a Healthy Homes certificate either by uploading the statement or manually entering it in Renti.
- If ‘no': In the agreement, it will reflect that no statement was provided but that the owner will take all reasonable steps to ensure that the property meets the Healthy Homes Standards 2019 within 120 days of the tenancy's start date.
If you select ‘No':
- Select the exemption reason from the drop-down.
- Enter a brief description of the exemption.
Once all the information has been entered, click the ‘Next' button.
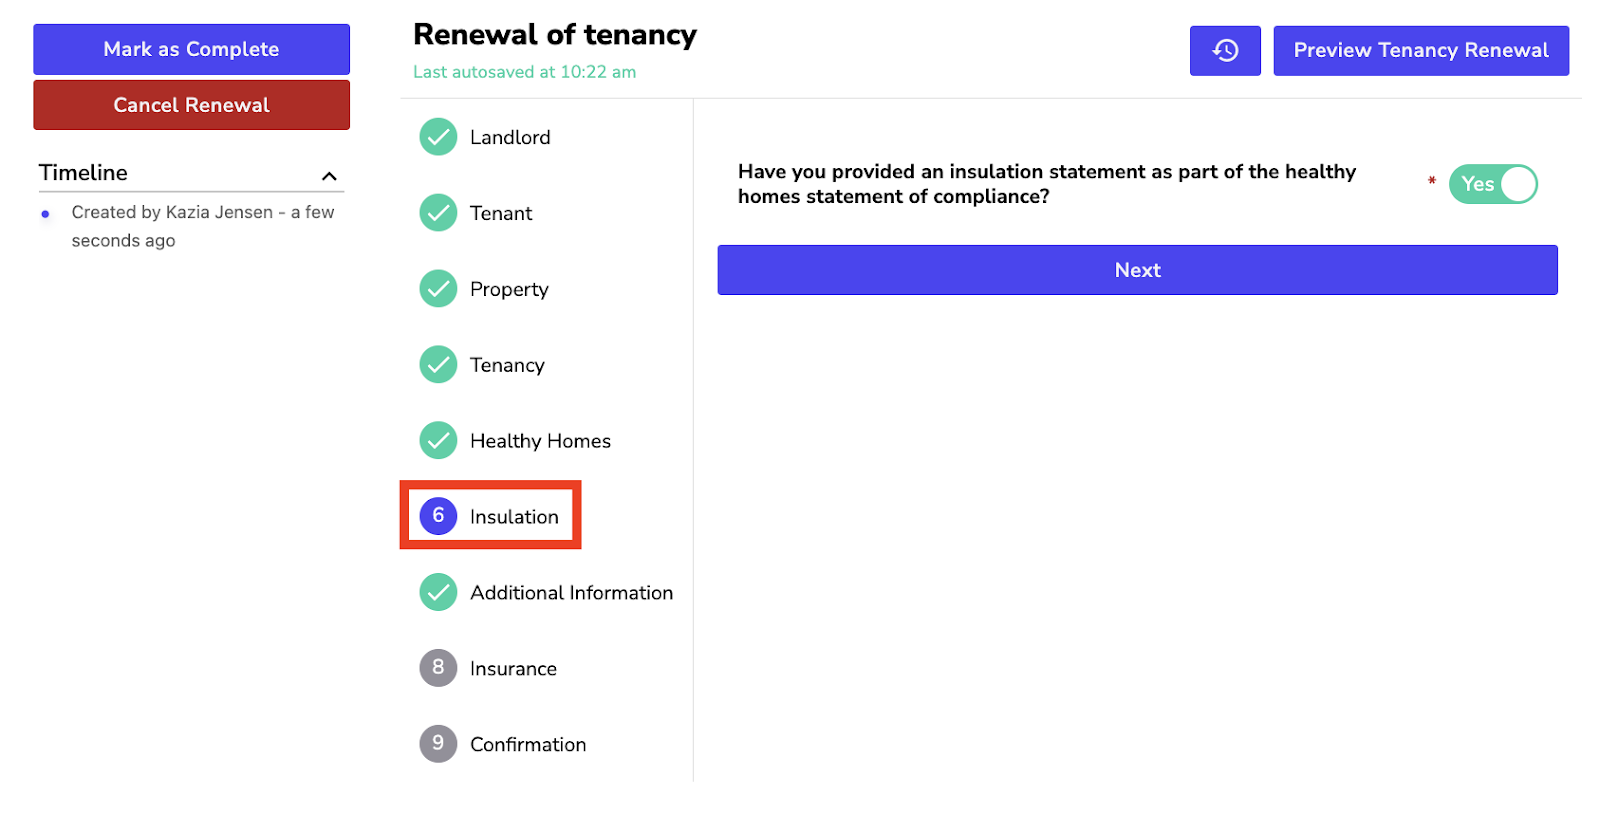
✅ Insulation:
Is insulation information included as part of the Healthy Homes statement of compliance in the previous section?
If you select ‘Yes':
- You will be able to continue by clicking the ‘Next' button.
If you select ‘No':
- Do you have an already completed insulation statement that you would like to upload?
- If ‘yes': Upload an insulation statement.
- If ‘no': Enter the insulation information in Renti manually.
Once all the information has been entered, click the ‘Next' button.
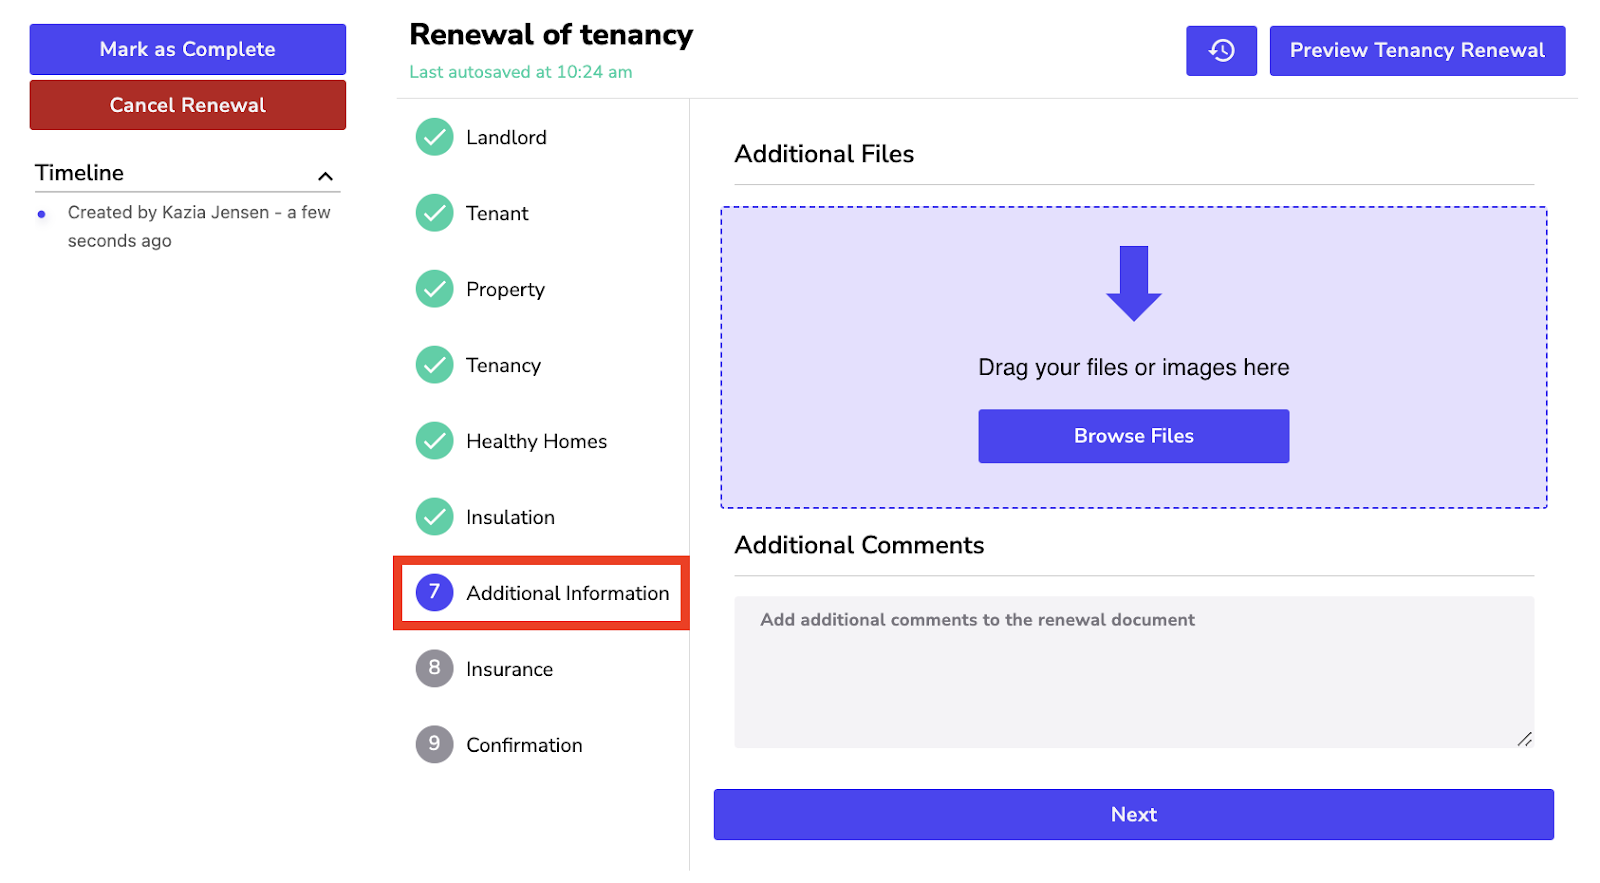
✅ Additional Files:
- Upload any additional files that you would like to have included with the tenancy renewal.
OPTIONAL
✅ Additional Comments:
- Add any other notes to be included in the tenancy renewal.
OPTIONAL
Once all the information has been entered, click the ‘Next' button.
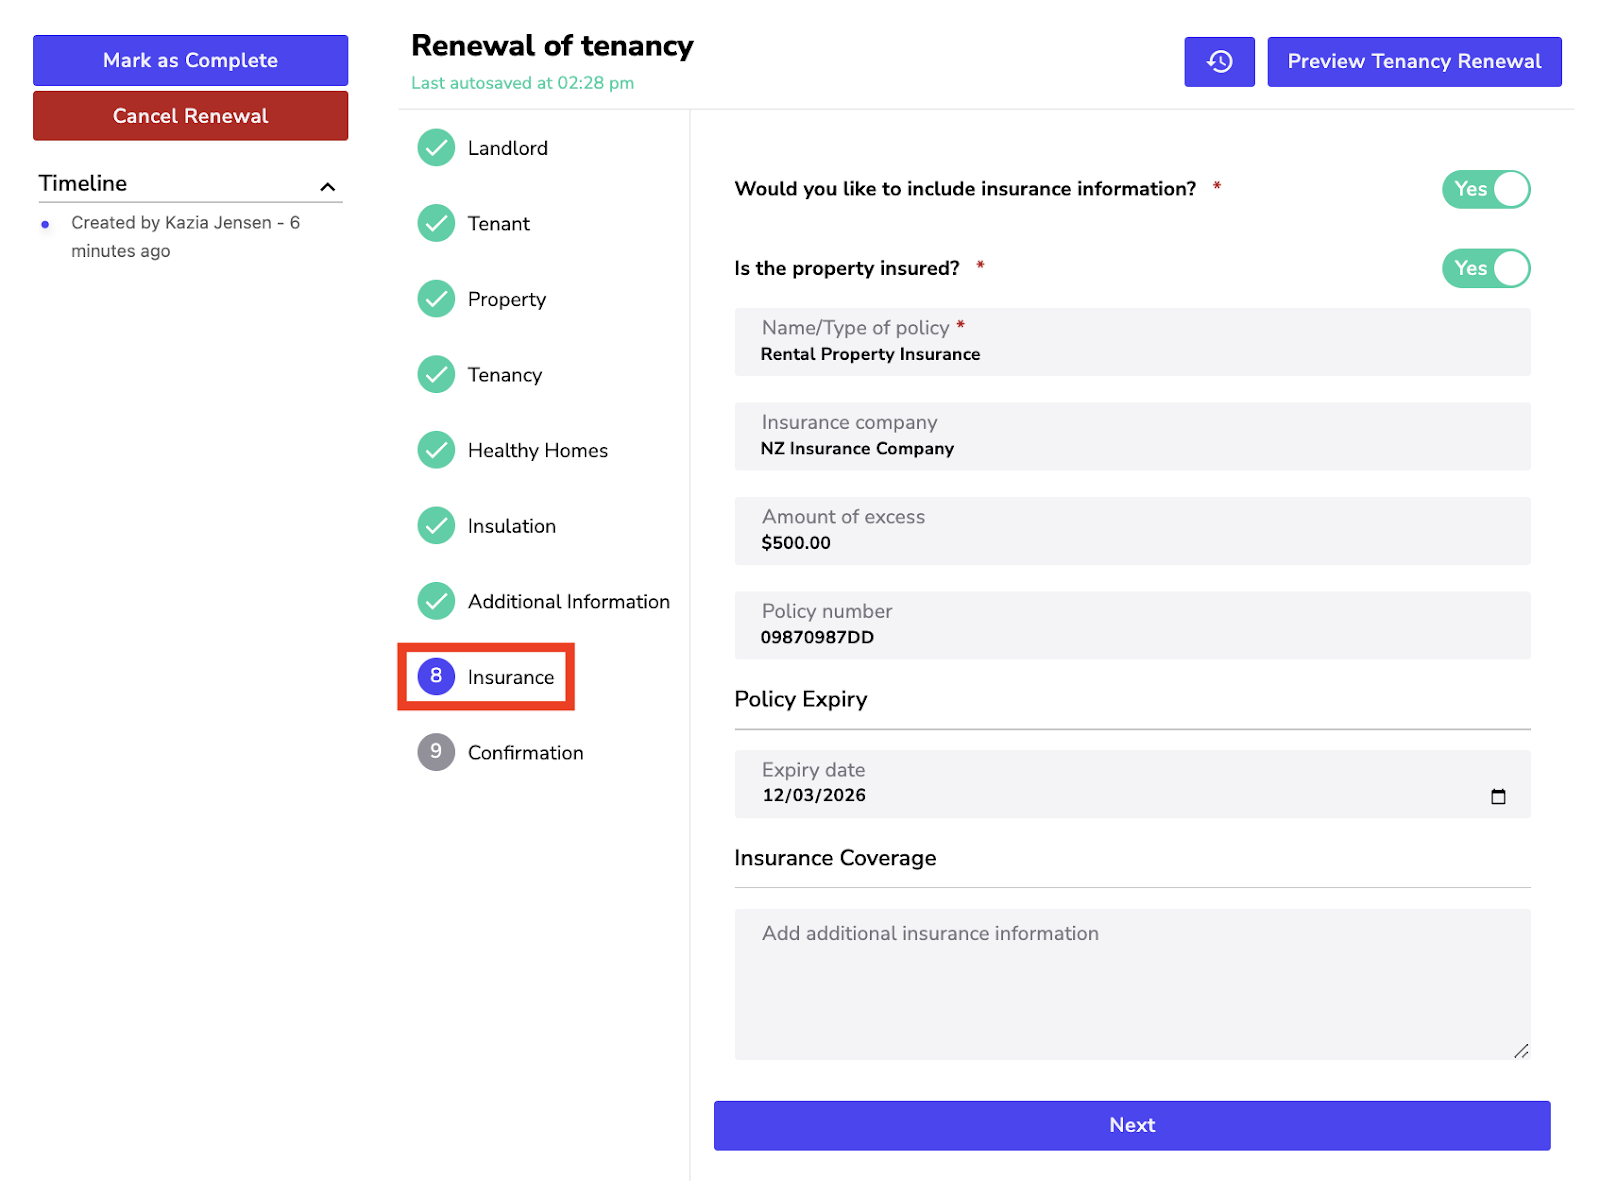
✅ Insurance:
- Would you like to include insurance information? If yes, answer the following:
- Is the property insured? If yes, answer the following:
- Insurance company name,
- Amount of excess,
- Policy number,
- Policy expiry date,
- Insurance coverage.
OPTIONAL
Once all the information has been entered, click the ‘Next' button.
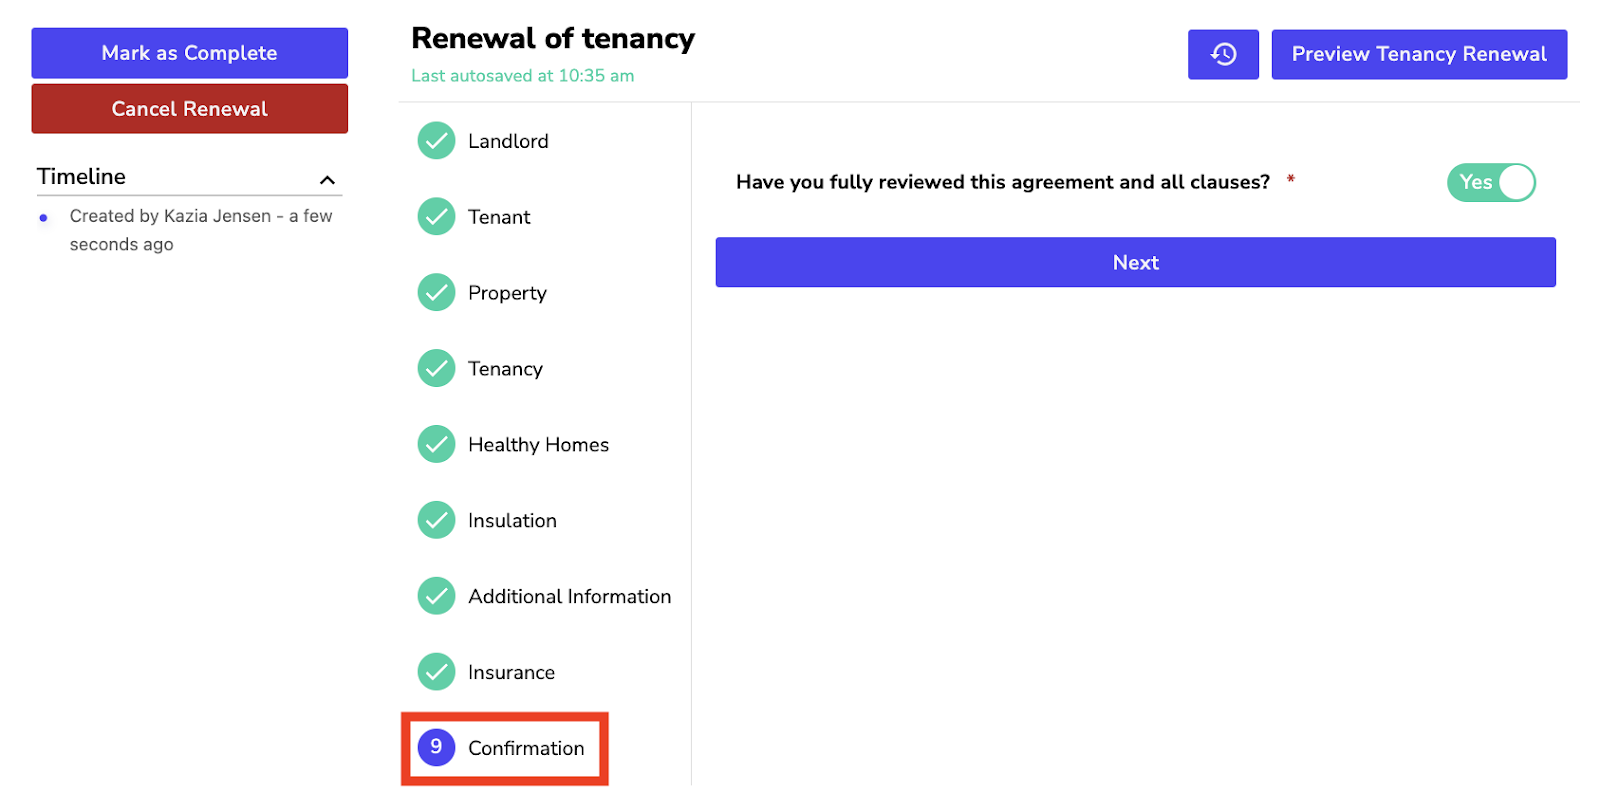
Have you fully reviewed this agreement?
- Click ‘Preview Agreement' to review the agreement and to ensure everything is correct.
- Once done, click ‘Yes' to move to the agreement signing options.
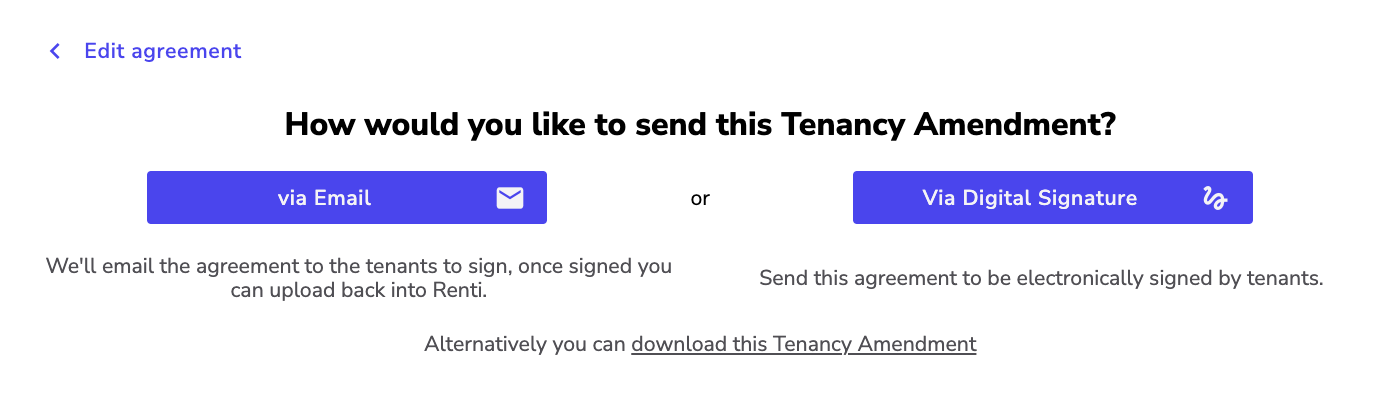
Sending a Tenancy Renewal for signing is the same process as sending an agreement for signing.
Once you have fully reviewed the Tenancy Renewal, you will have three different ways to get the agreement signed:
📝 Digital Signing,
📧 Via Email,
📩 Downloading the agreement.
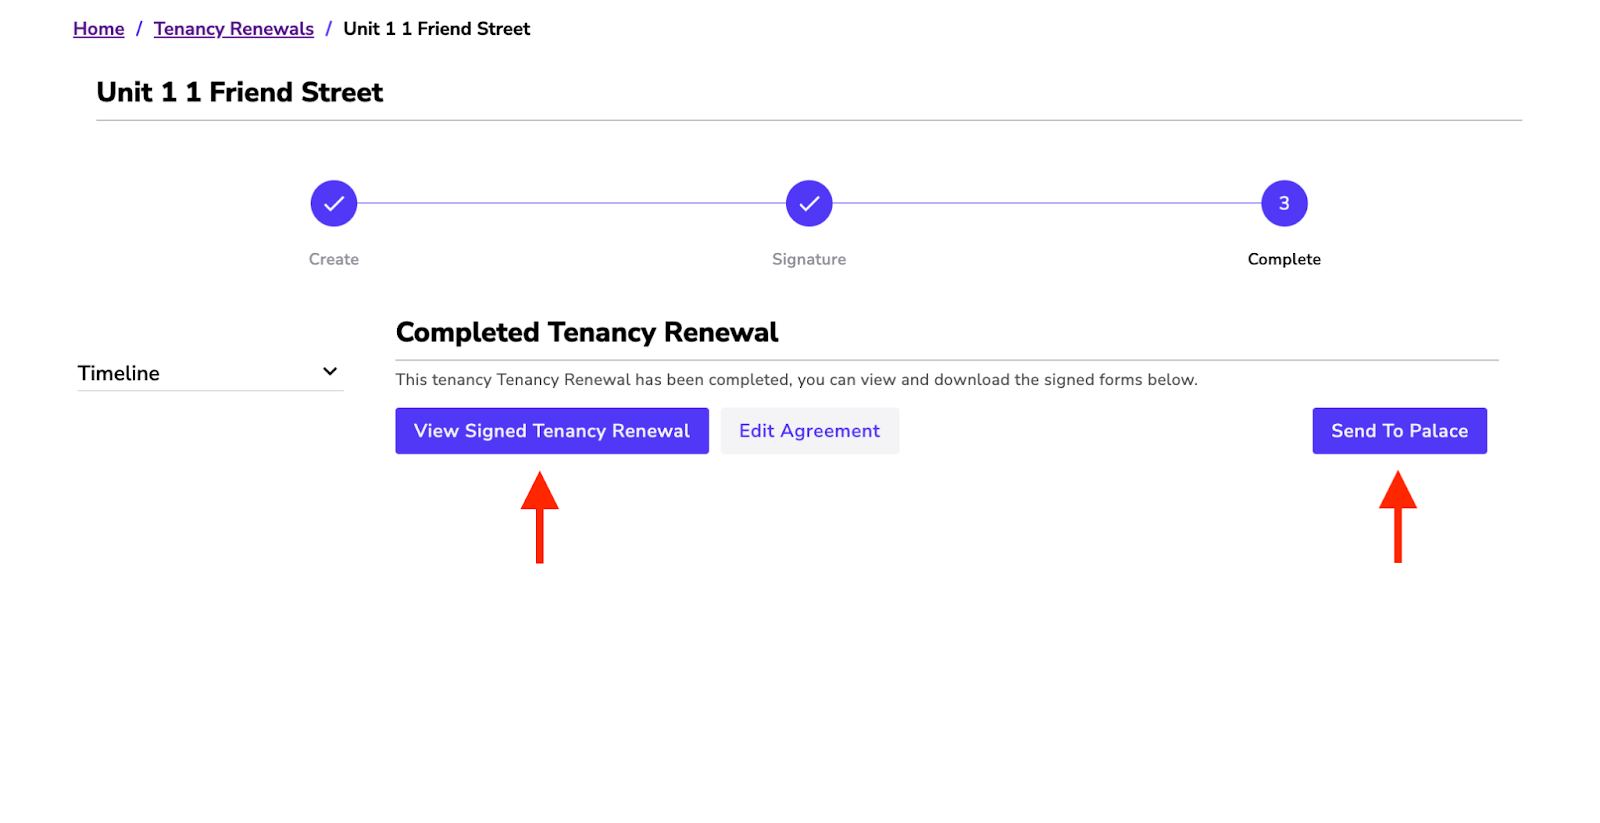
- Once you have completed the signing for the Tenancy Renewal, click the ‘Mark As Complete' button.
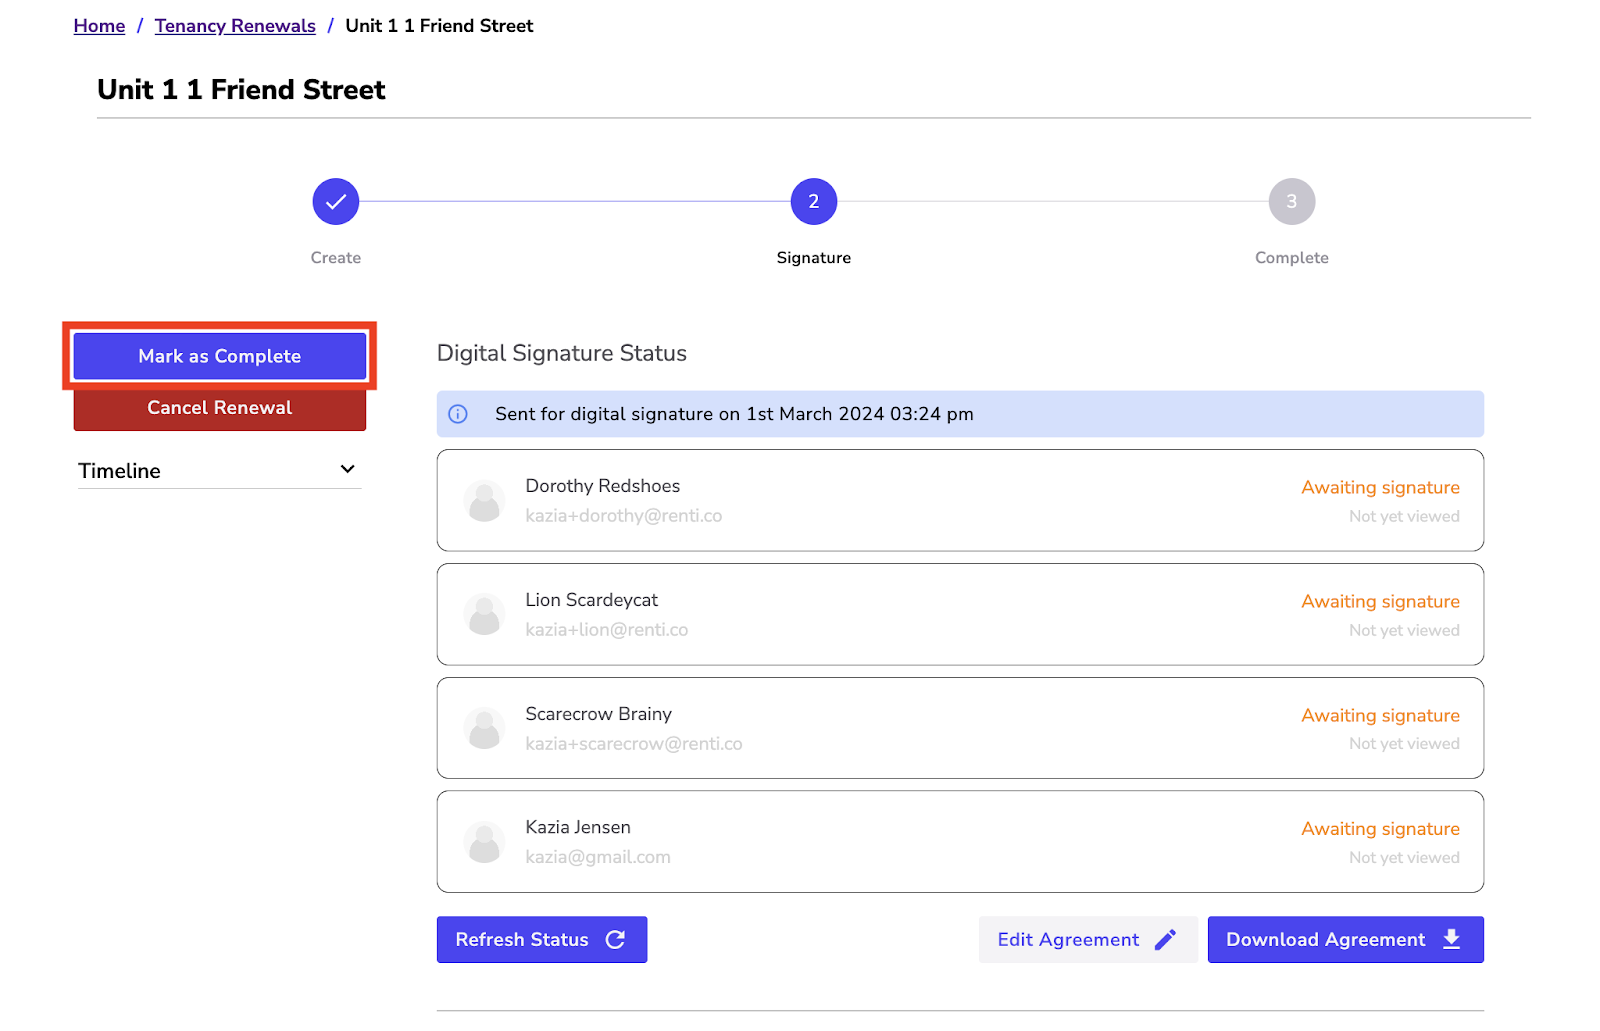
You will have the following options:
✅ The signed renewal can be downloaded.
✅ If you are integrated with a PMS like Palace, you can send it to Palace.