Tenancy Amendments in Renti allow you to make any changes to the current Tenancy Agreement. This feature gives you the opportunity to update any sections from any chattels to insurance information.
This tutorial will guide you through the process of creating a Tenancy Amendment in Renti.
Resources
- Renti Help Centre contains further resources on processing applications to allow you to get up to this point.
- A video tutorial of the information in this tutorial is linked below if needed.
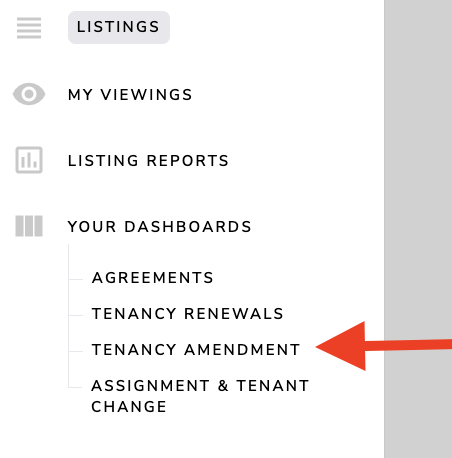
- Click on ‘Tenancy Amendment' in the navigation bar on the left-hand side.
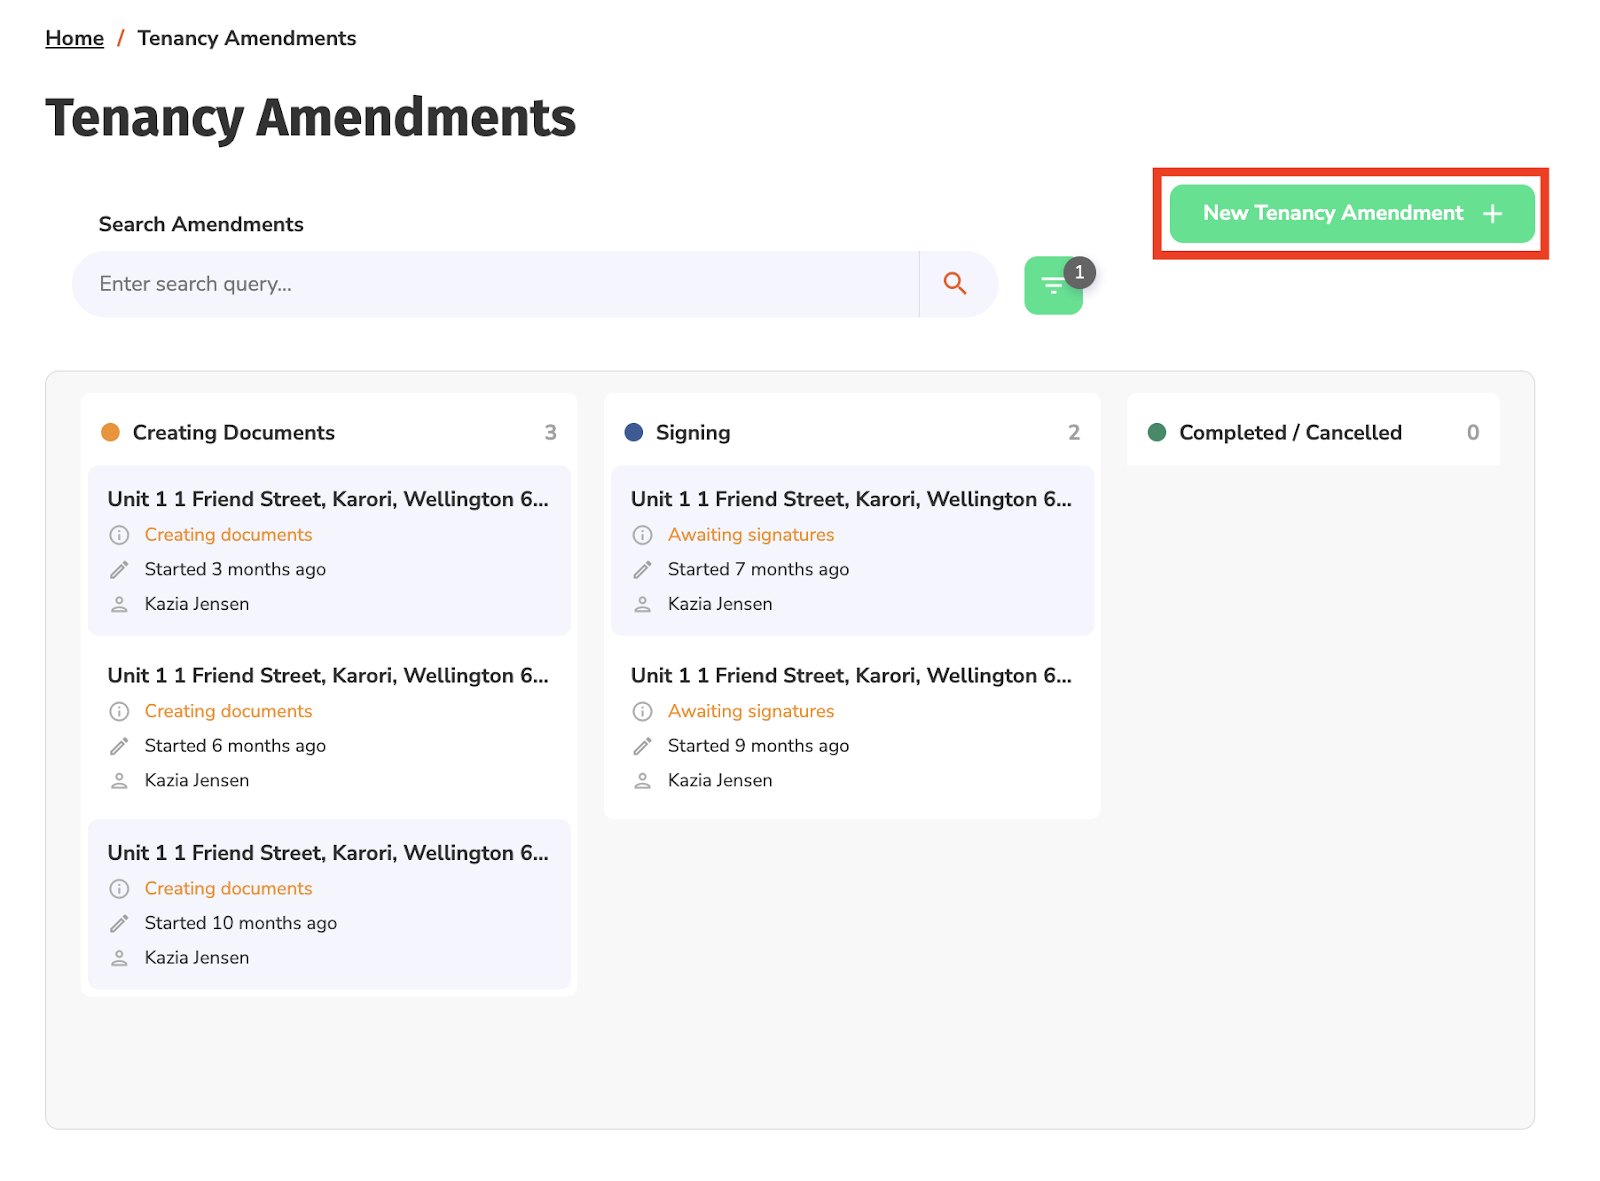
- Click ‘New Tenancy Amendment'.
- Select an address from the dropdown list, otherwise, manually enter an address.
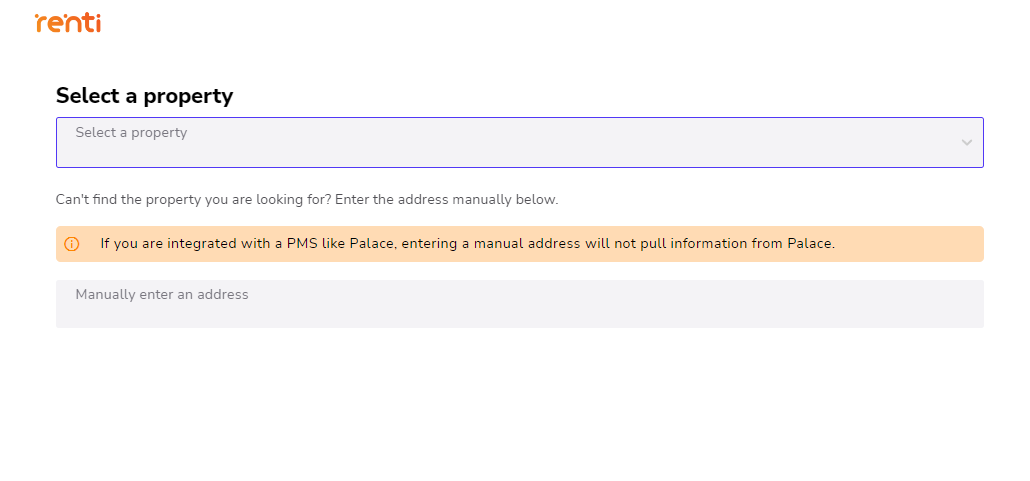
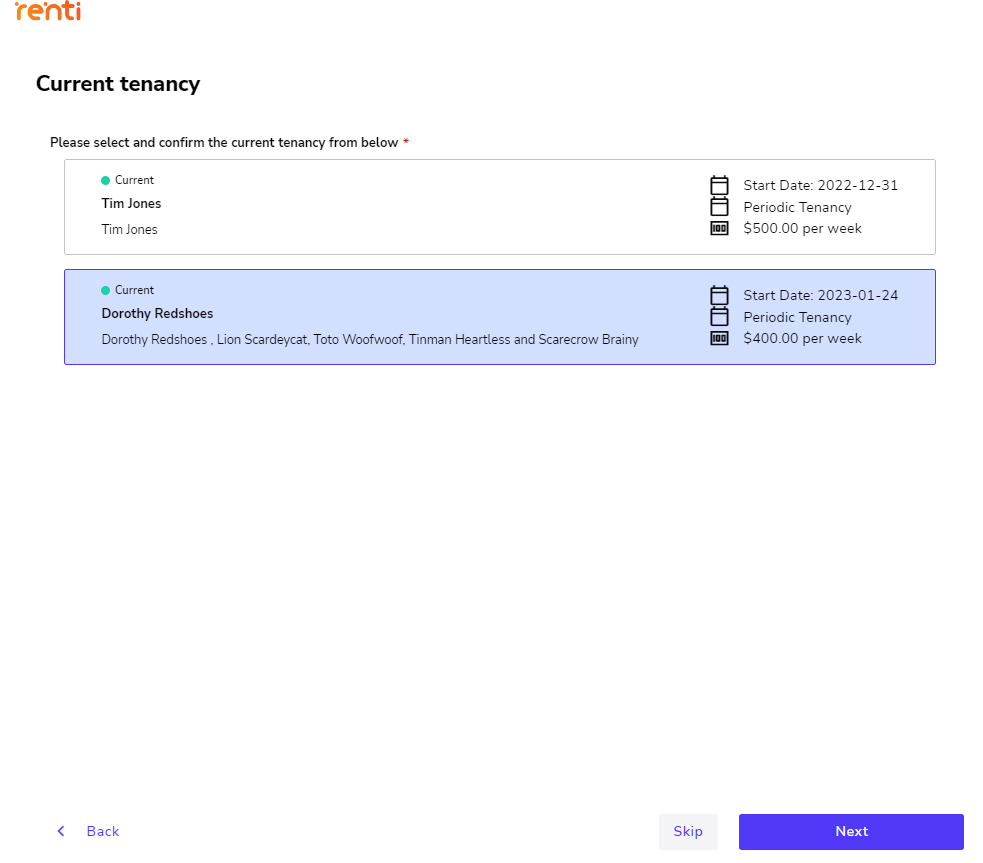
- If you are integrated with a PMS like Palace, you will be required to select the current tenancy.
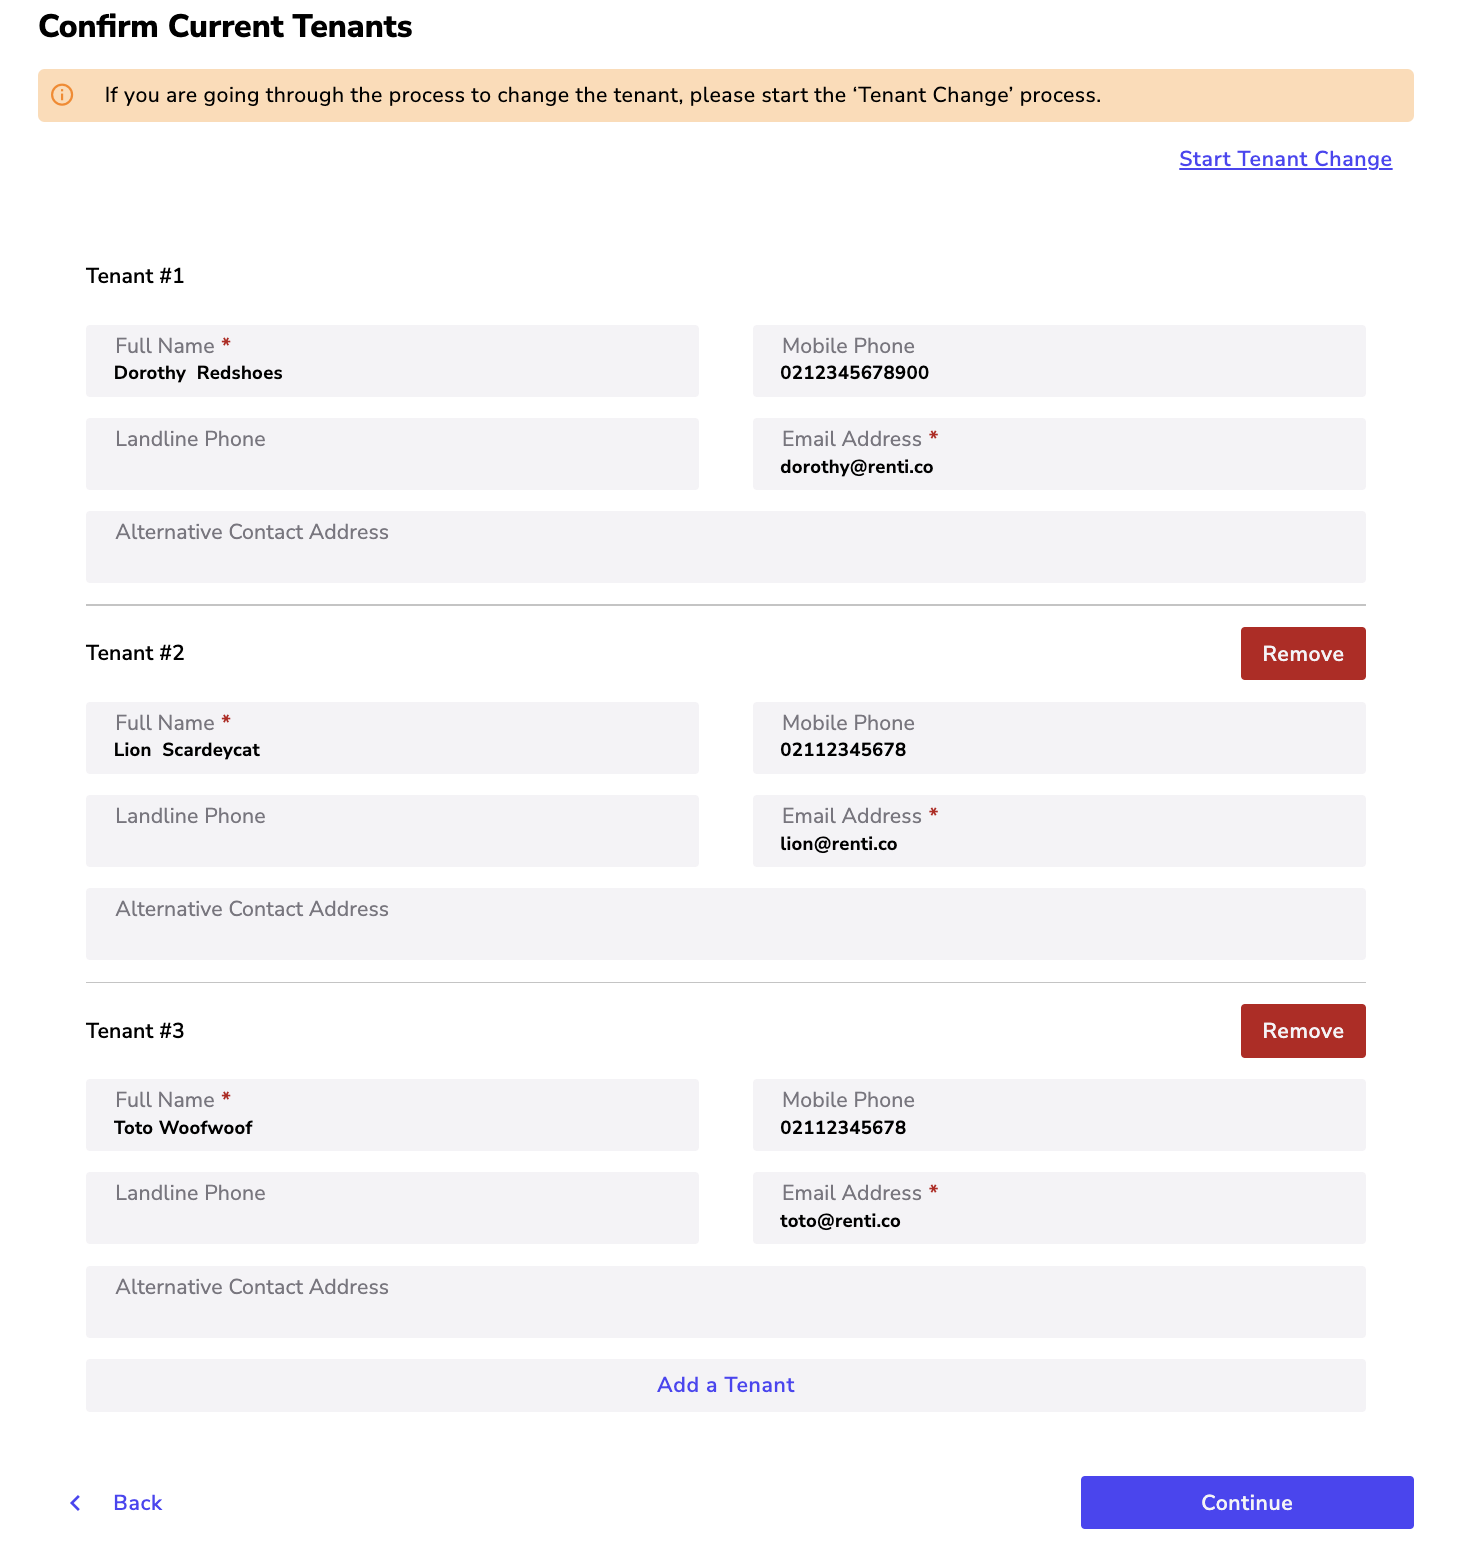
- Confirm the existing tenants' information, otherwise, enter the existing tenants' information.
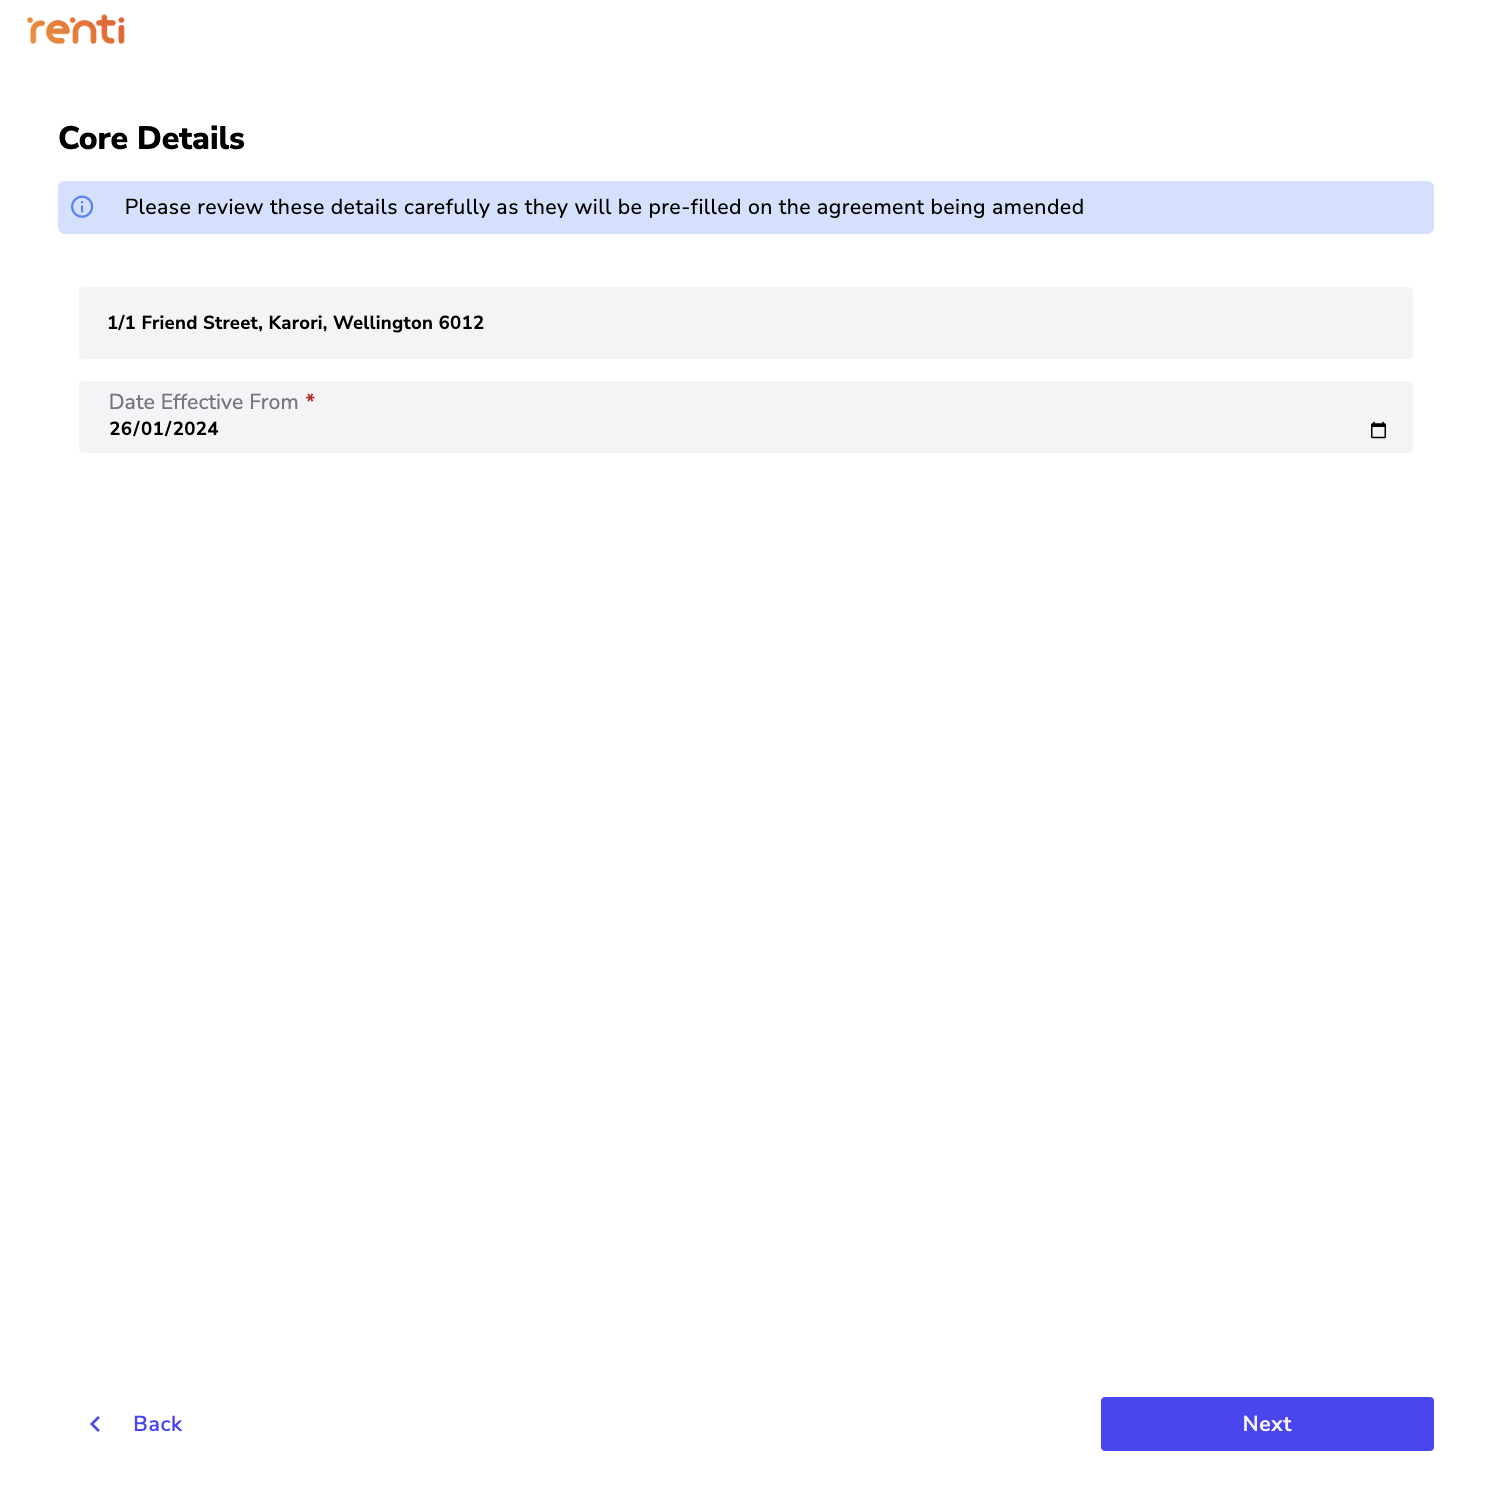
- Confirm the core details.
- Confirm the landlord details (if you are integrated with a PMS like Palace), otherwise, enter the landlord details.

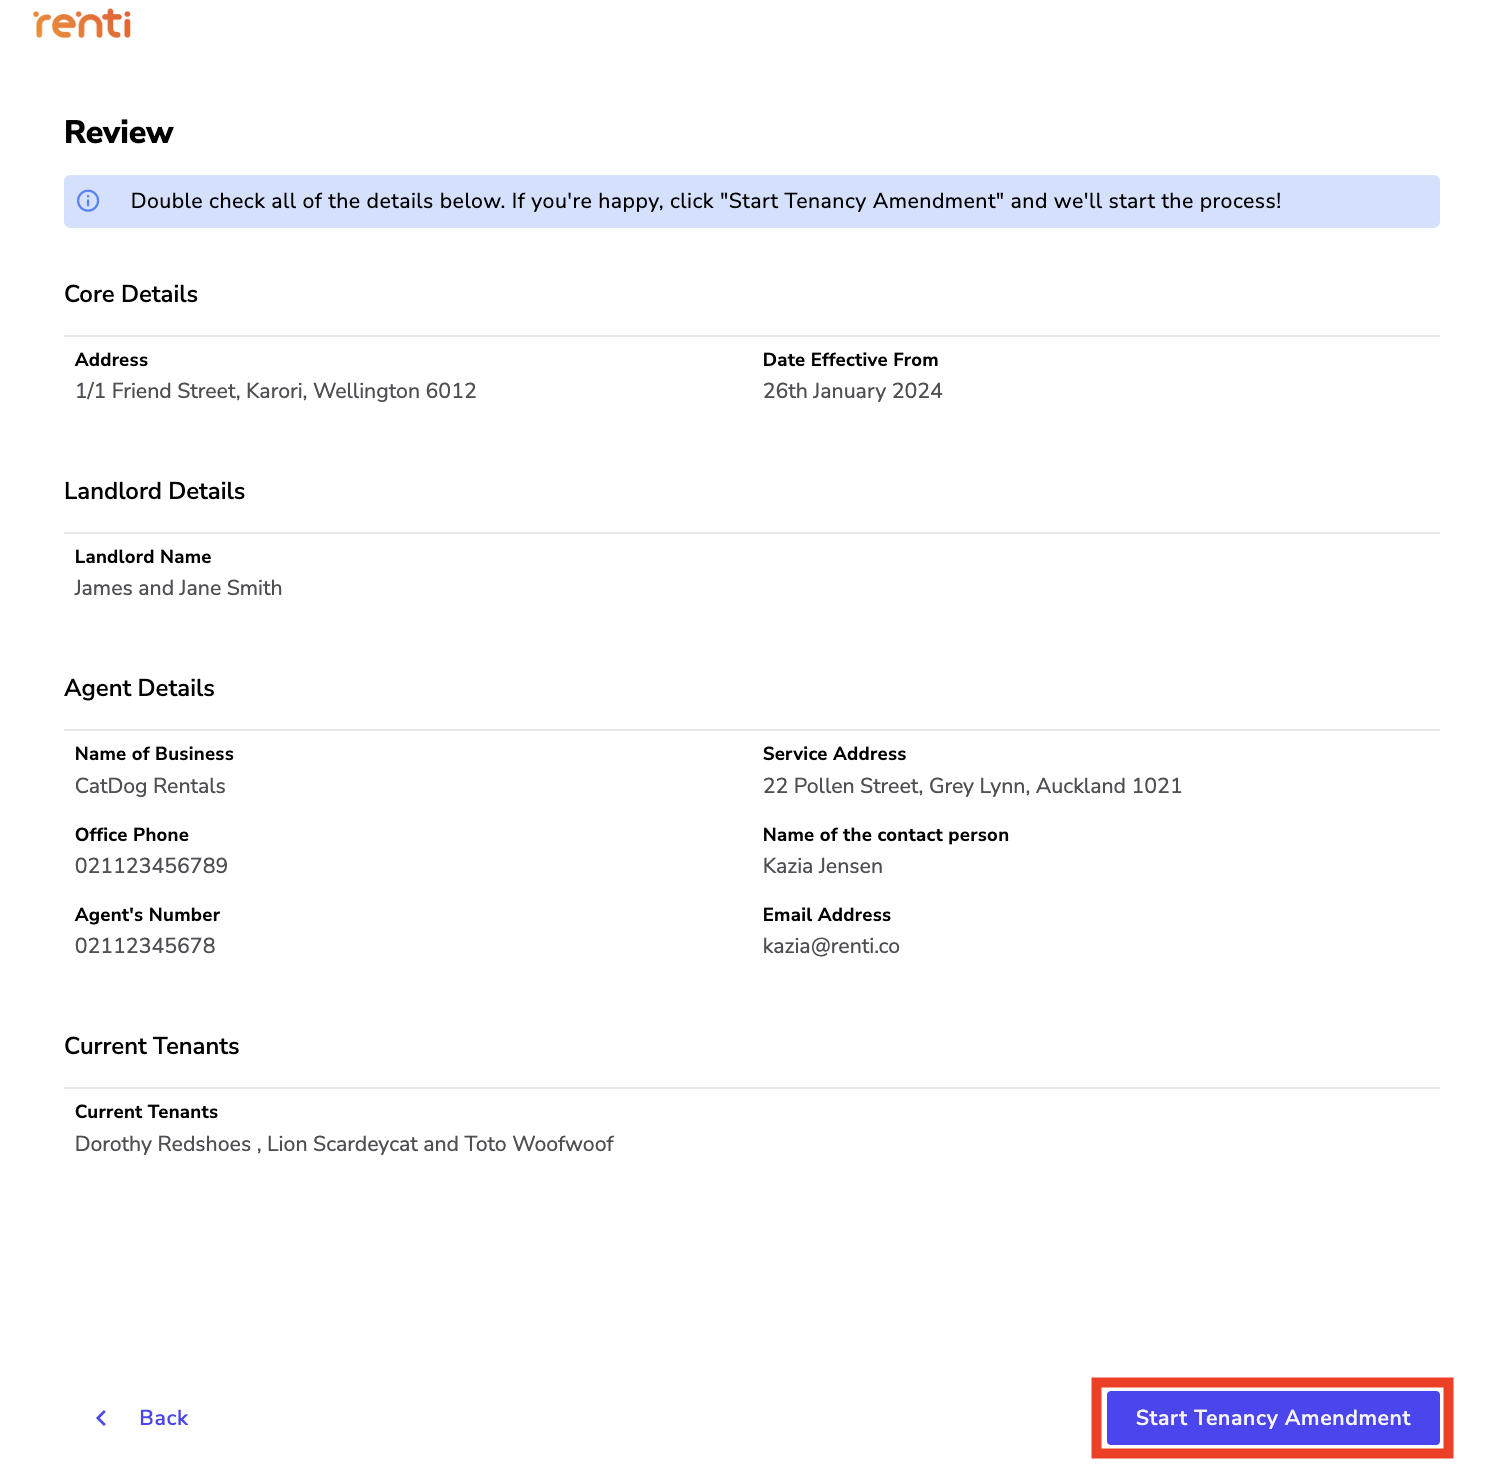
- Review the entered information and click 'Start Tenancy Amendment' once you are ready to go!
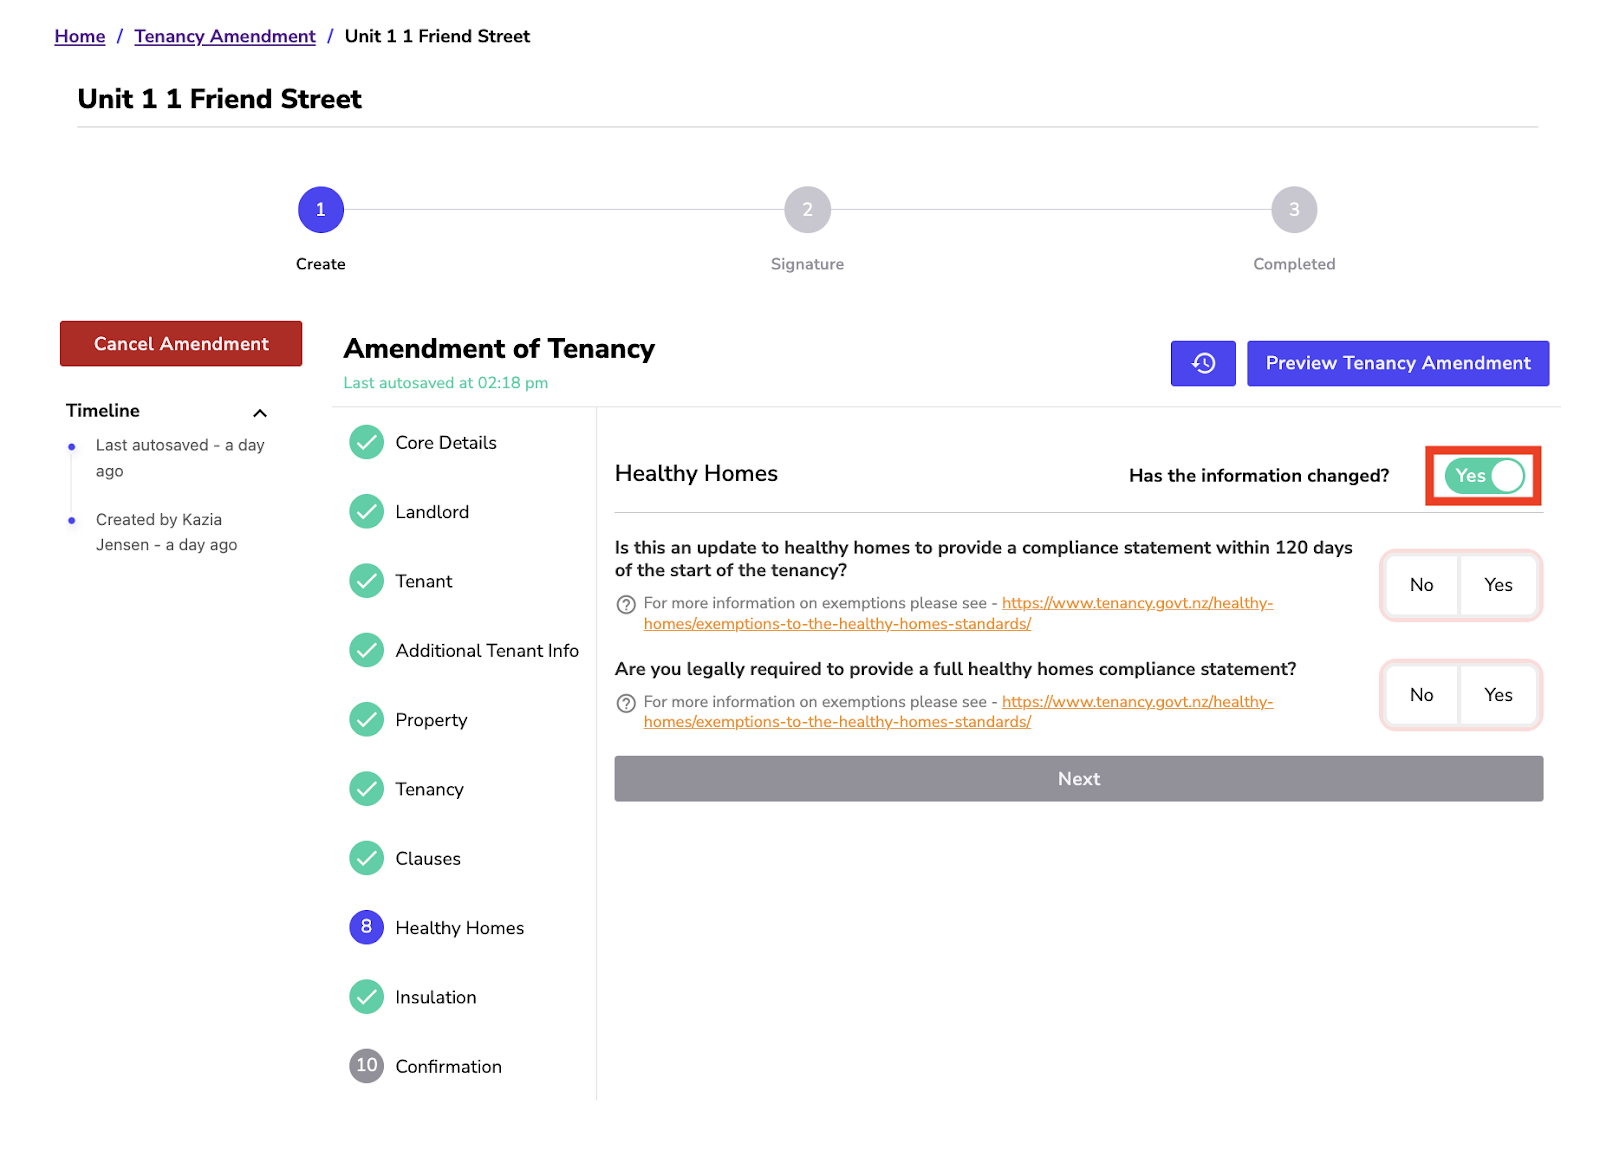
- Select the section you would like to make a change to.
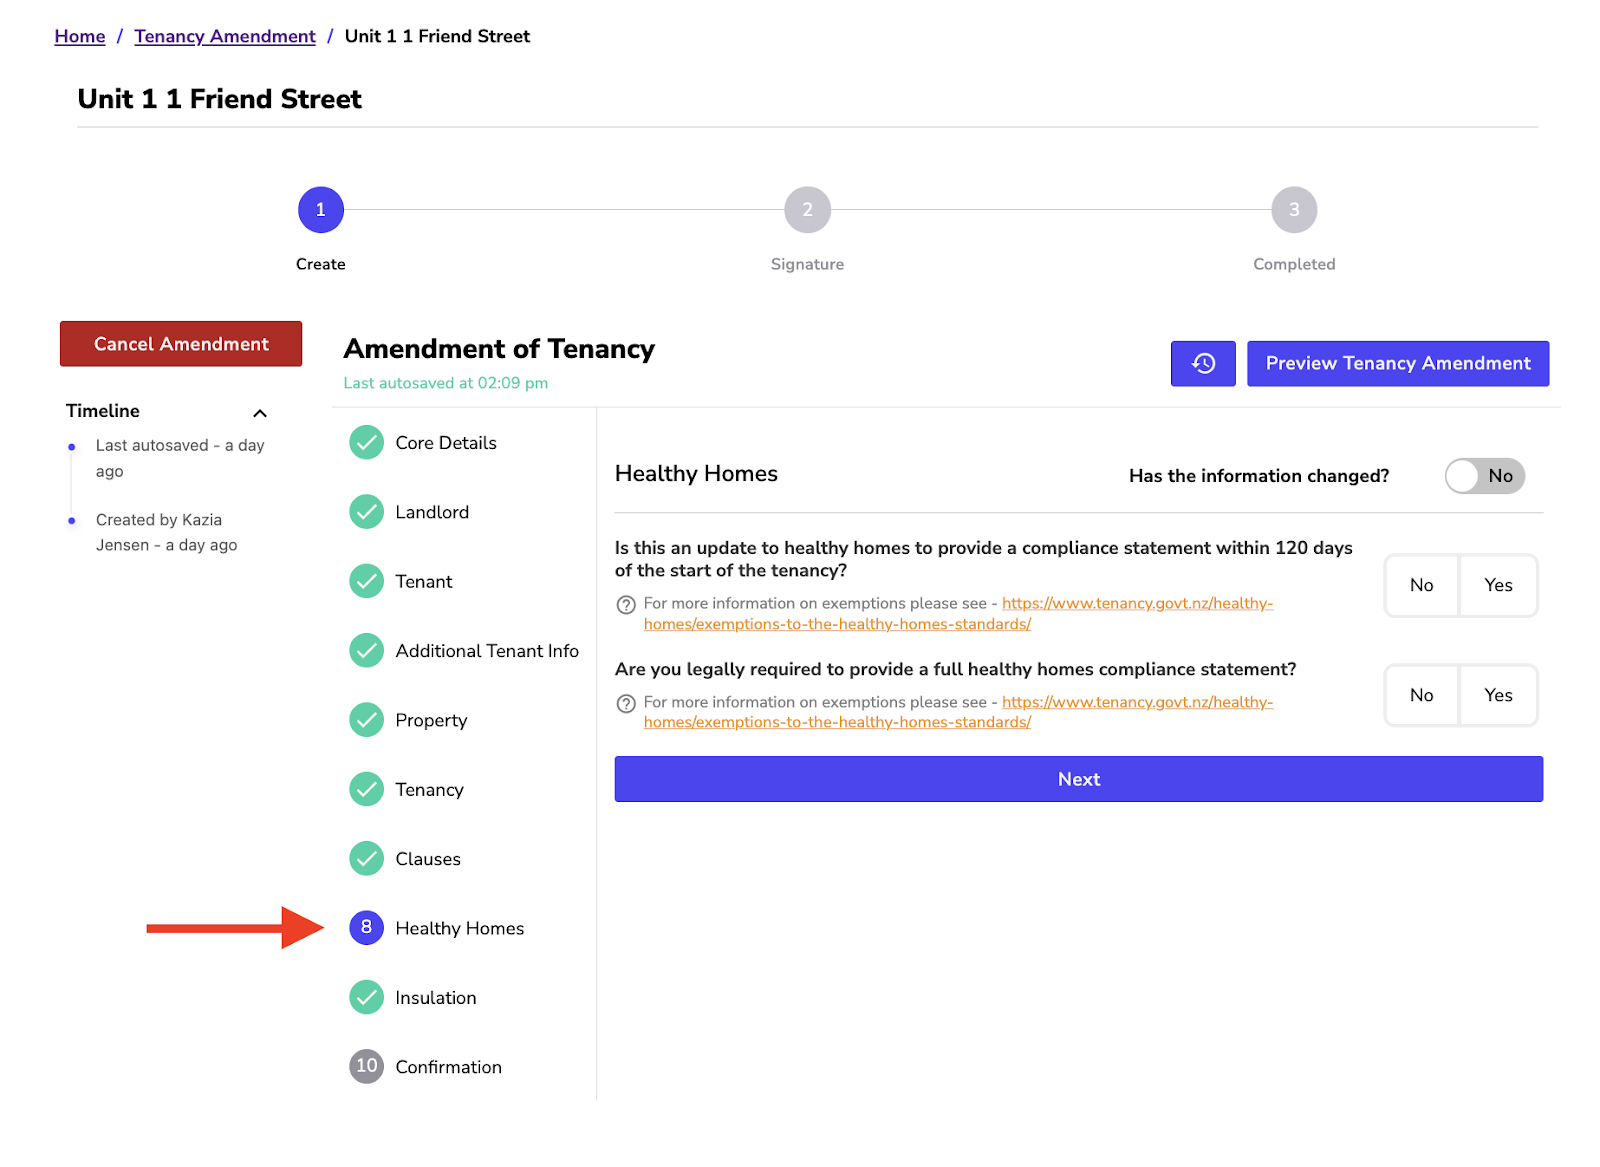
- Locate the area in which you want to make a change by clicking the "Has the information changed?" option to "Yes".
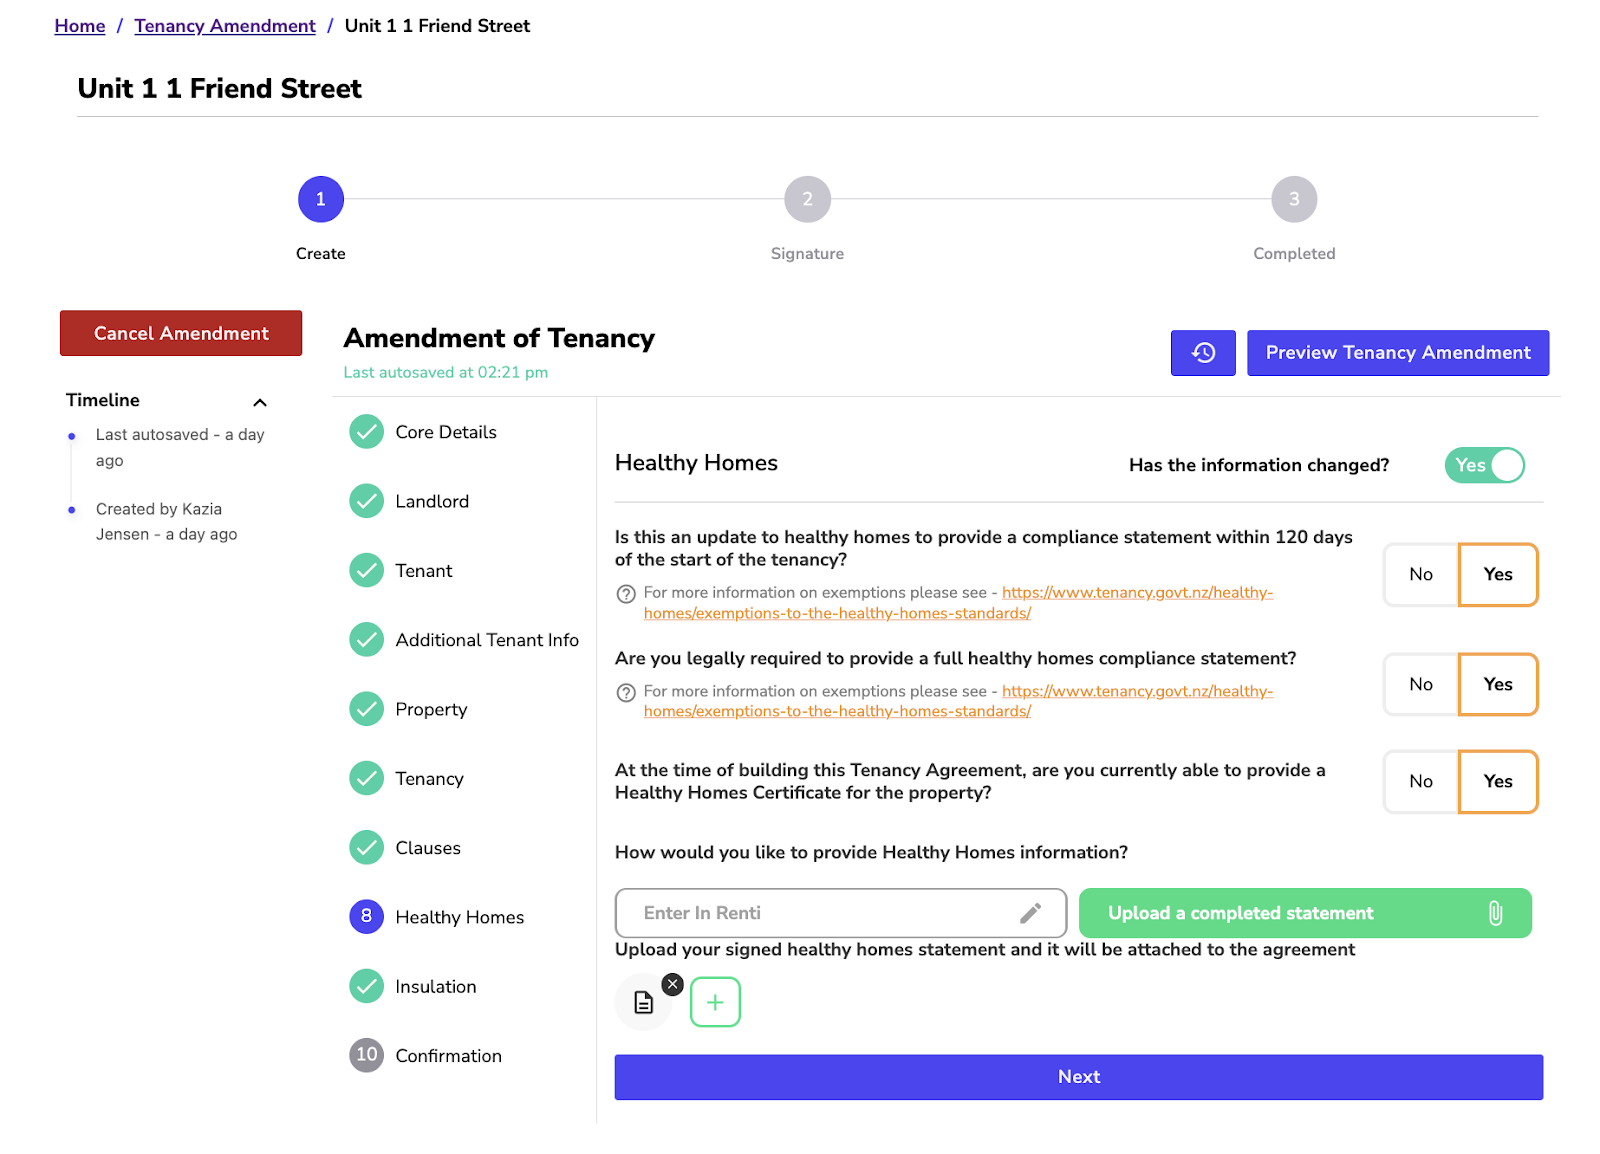
- Make the required changes.
- Click ‘Next' to save your changes.
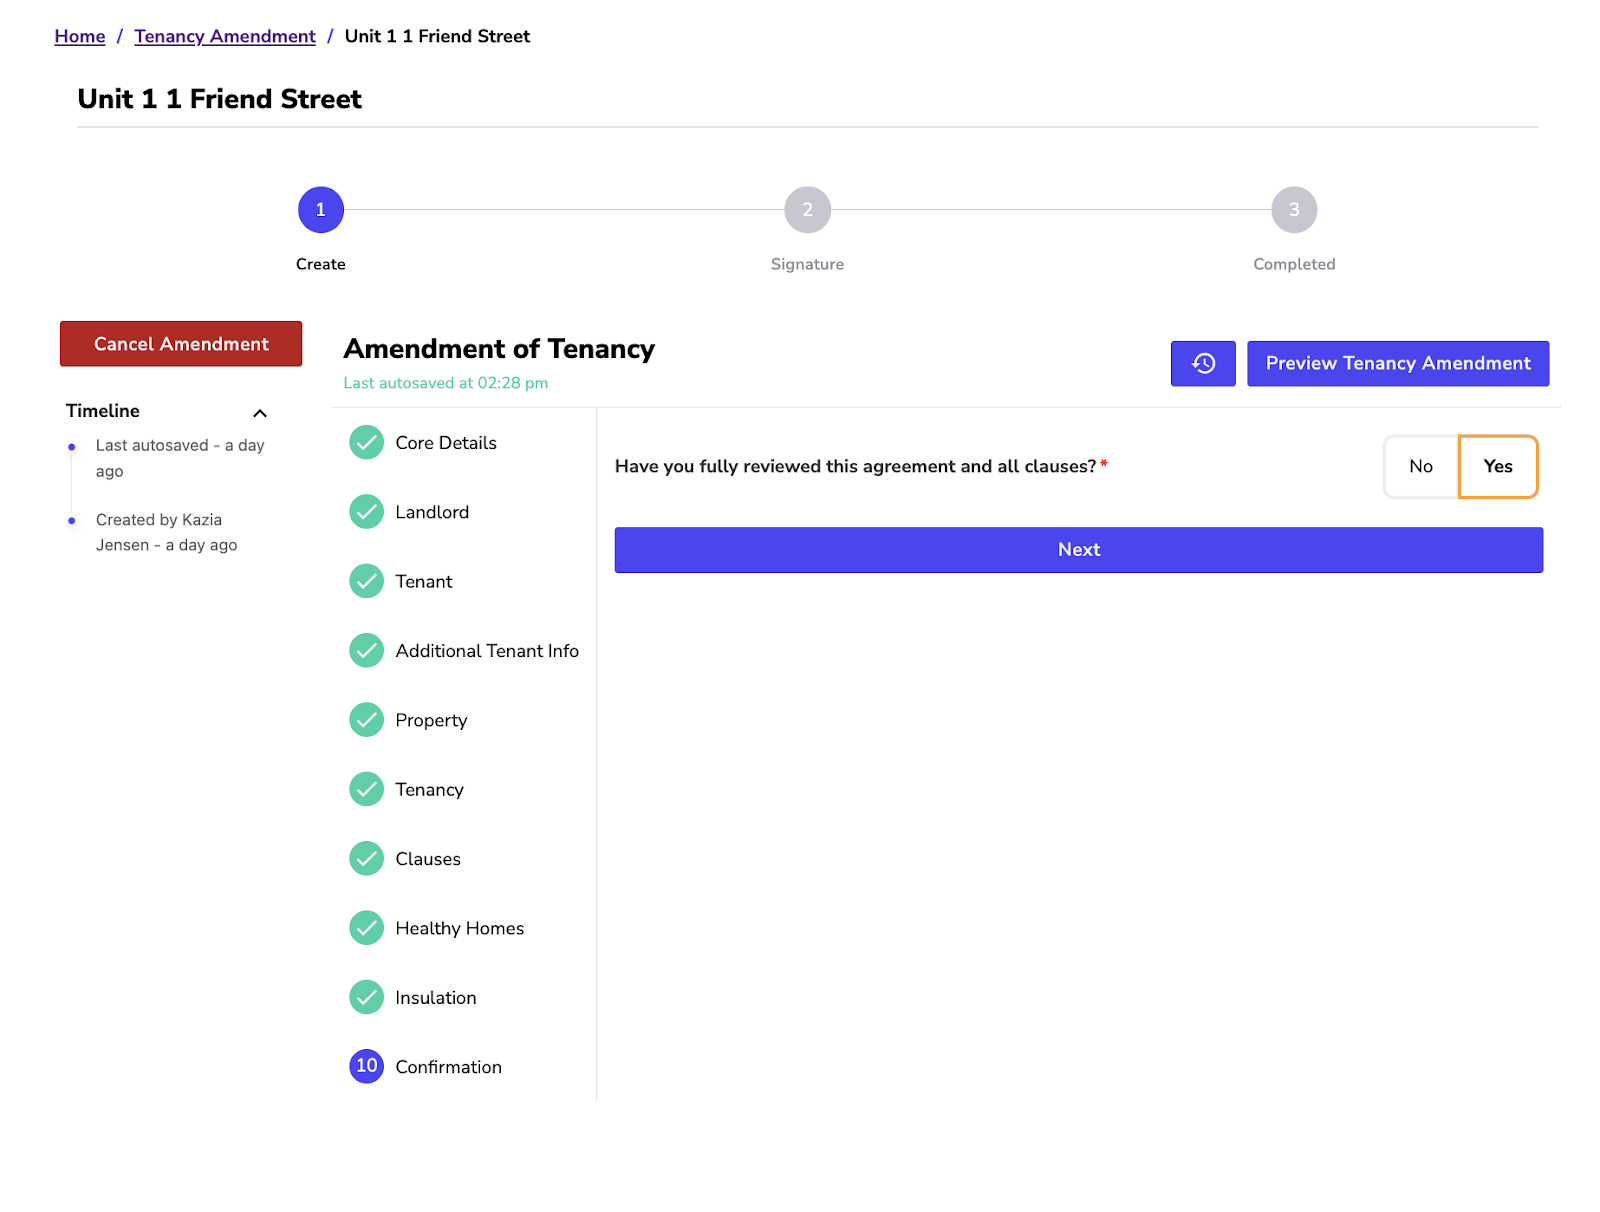
- If you have no further changes to make, go to section 10.
- When you have fully reviewed the agreement, select ‘Yes'.
- Click ‘Next'.
Sending a tenancy amendment for signing is the same process as sending an agreement for signing.
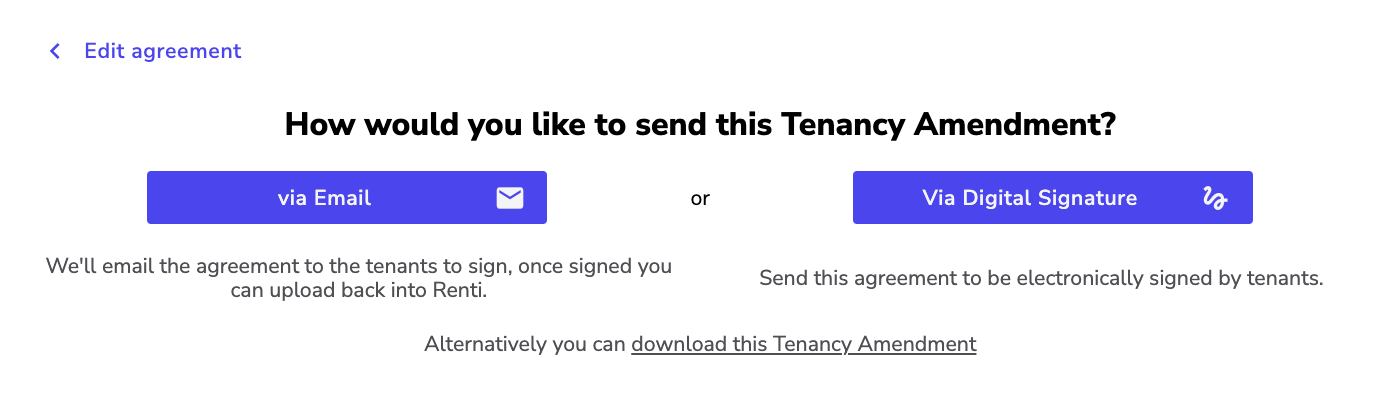
Once you have fully reviewed the Tenancy Amendment, you will have three different ways to get the agreement signed:
📝 Digital Signing,
📧 Via Email,
📩 Downloading the agreement.
- Once you have completed the signing for the Tenancy Amendment, click the ‘Mark As Complete' button.
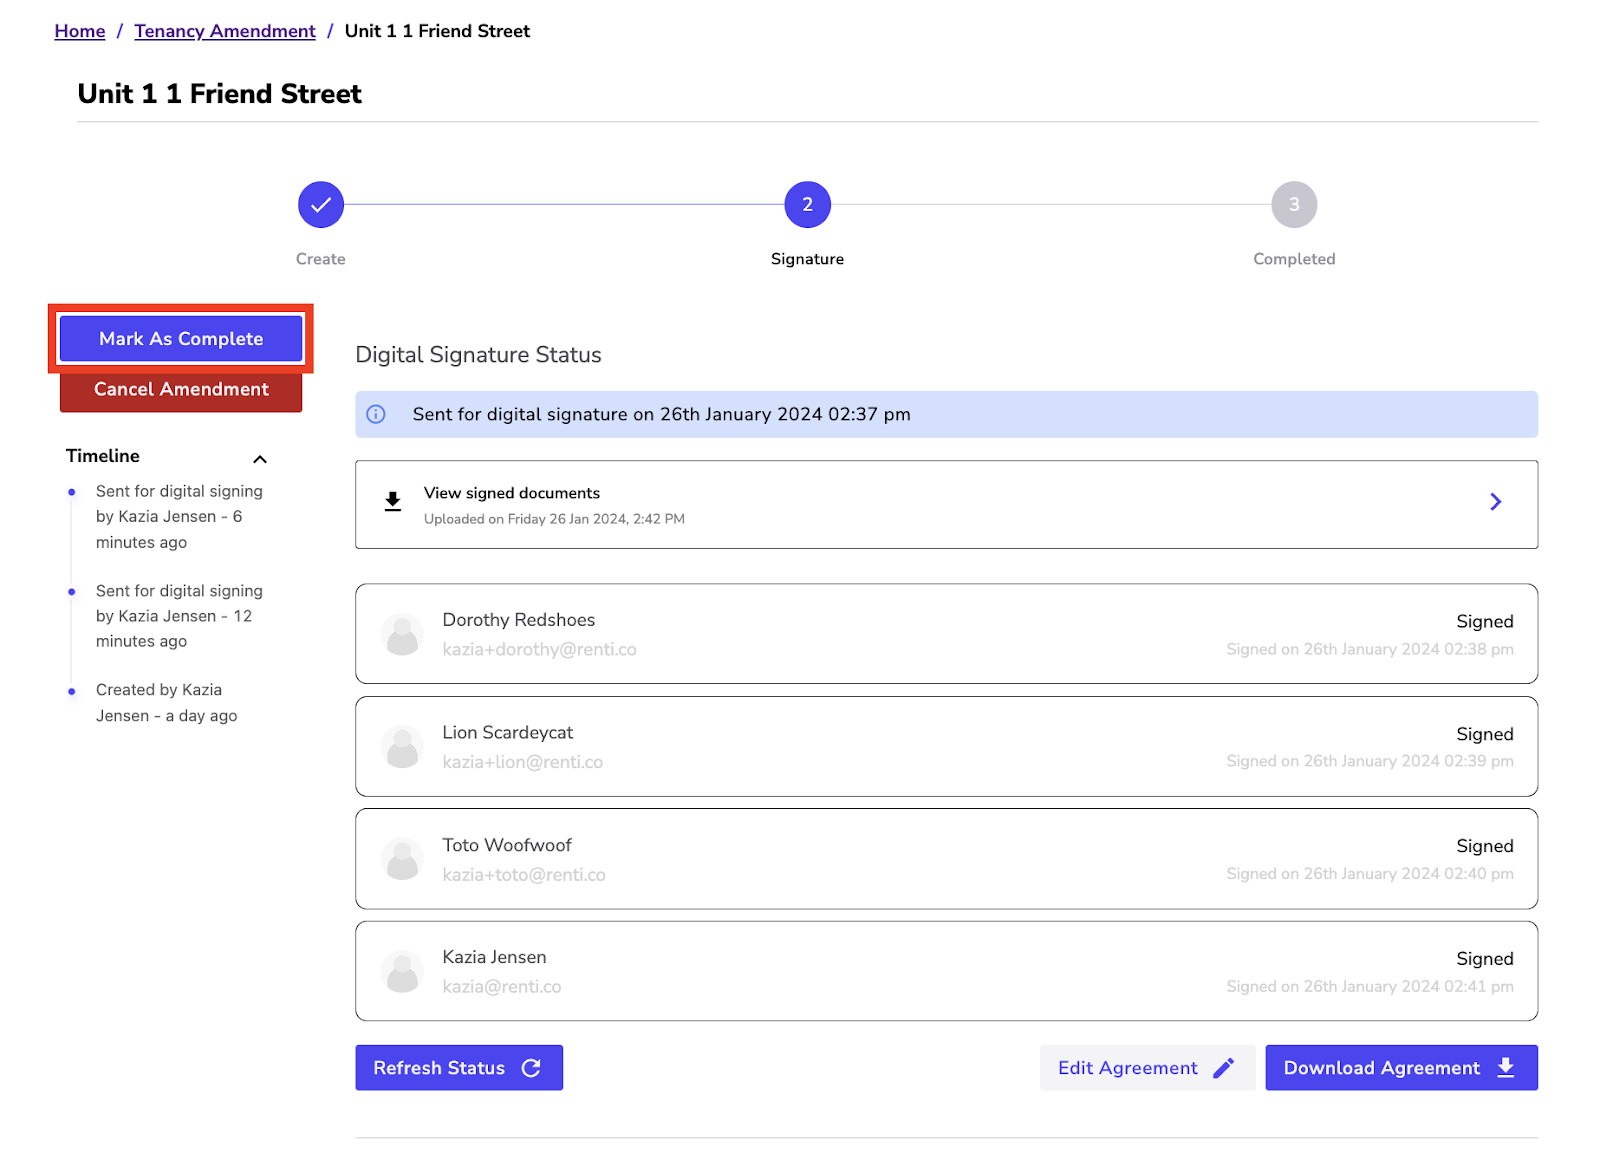
You will have the following options:
✅ The signed amendment can be downloaded.
✅ If you are integrated with a PMS like Palace, you can send it to Palace.
