We are so excited to have you jump on board and be a part of the Renti family.
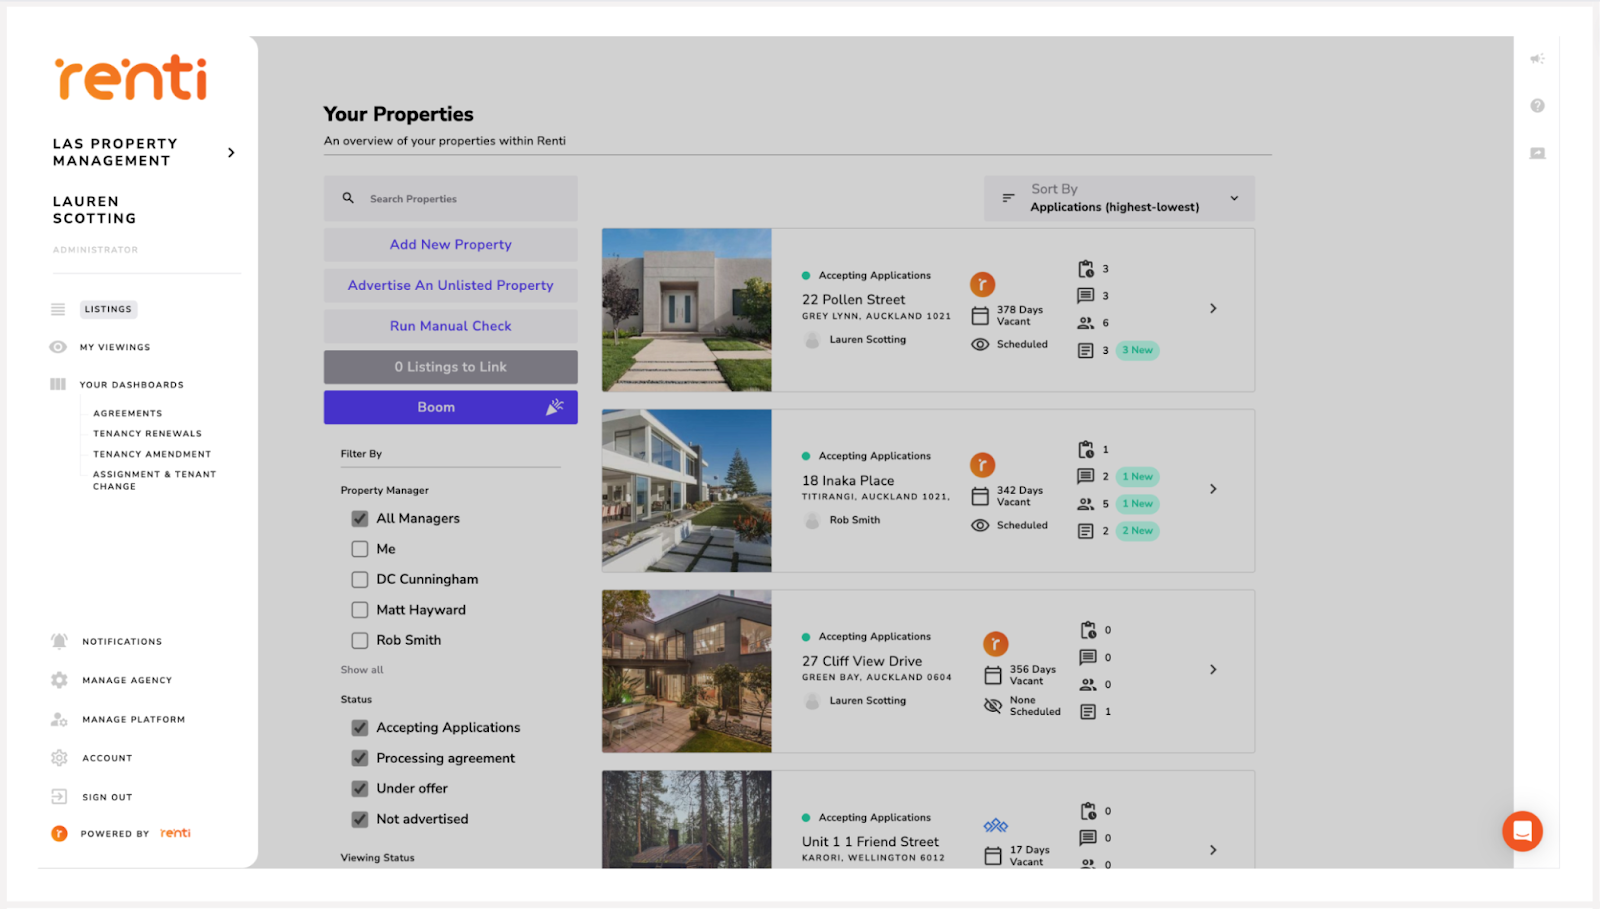
Creating your Renti account won't take you long at all but we do need your help setting up the integrations so you can get all the benefits of Renti.
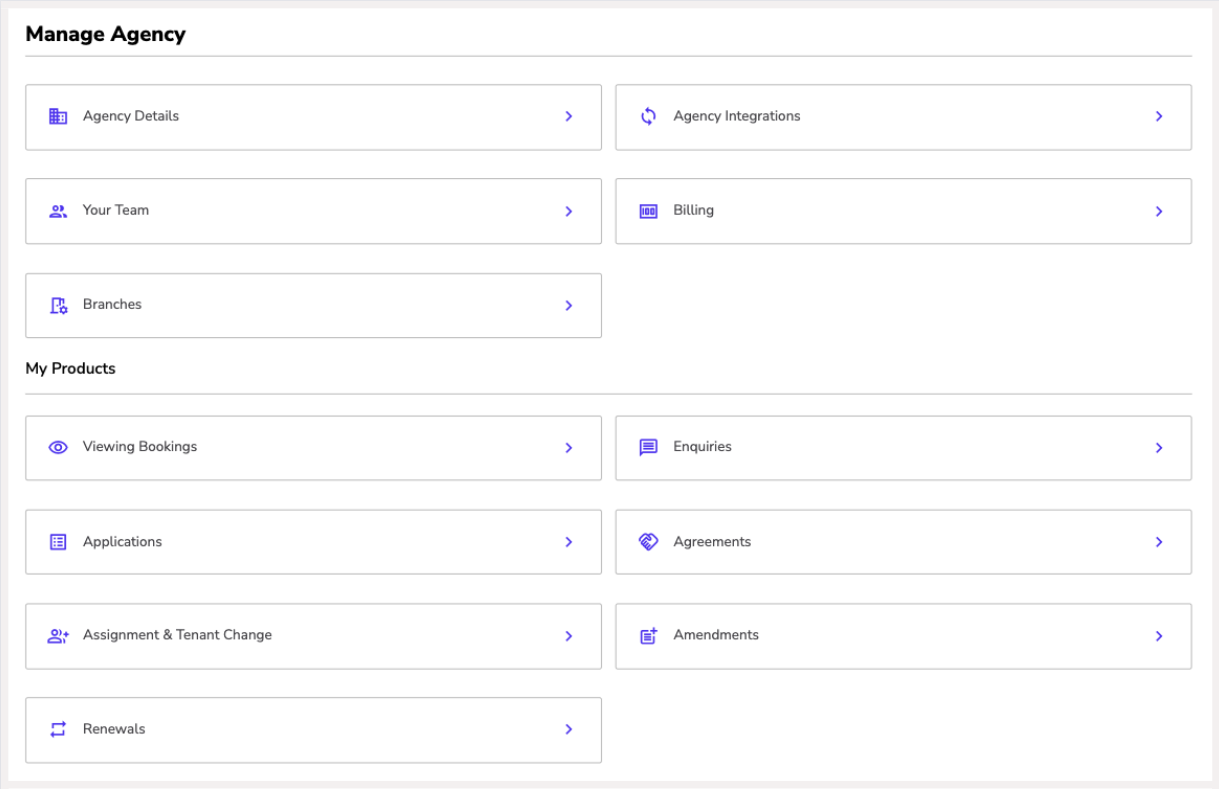
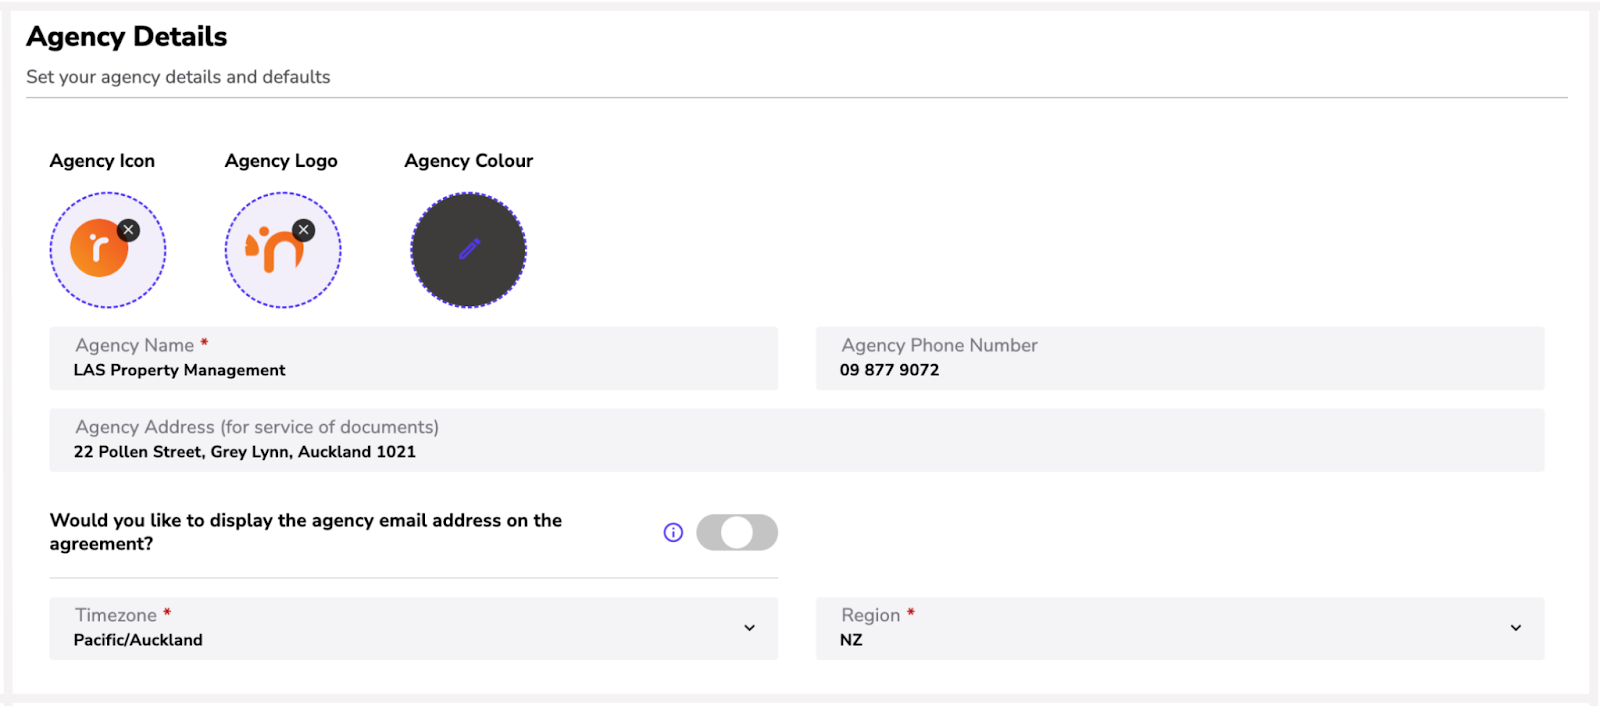
This is where all your agency information lives. Completing this section is important as this will automatically fill in all inputted information into the tenancy agreements.
This section is where you can customise emails, references, notifications, clauses and default settings.
Here you can upload your agency logo and icon. This will show on all communications that get sent out so ensure you upload the original file.
 Trade Me: Please make sure to log out of any personal Trade Me accounts so that when you log in from Renti it doesn't automatically pick up the credentials.
 Palace: We need your permission to retrieve your API keys for Palace to establish the integration. Please send an email to lauren@renti.co giving your approval.
 Dropbox: This allows all your tenants and agents to sign digitally on either phone, iPad or desktop. Please contact lauren@renti.co with your preferred email address for the account. You will be sent further instructions.

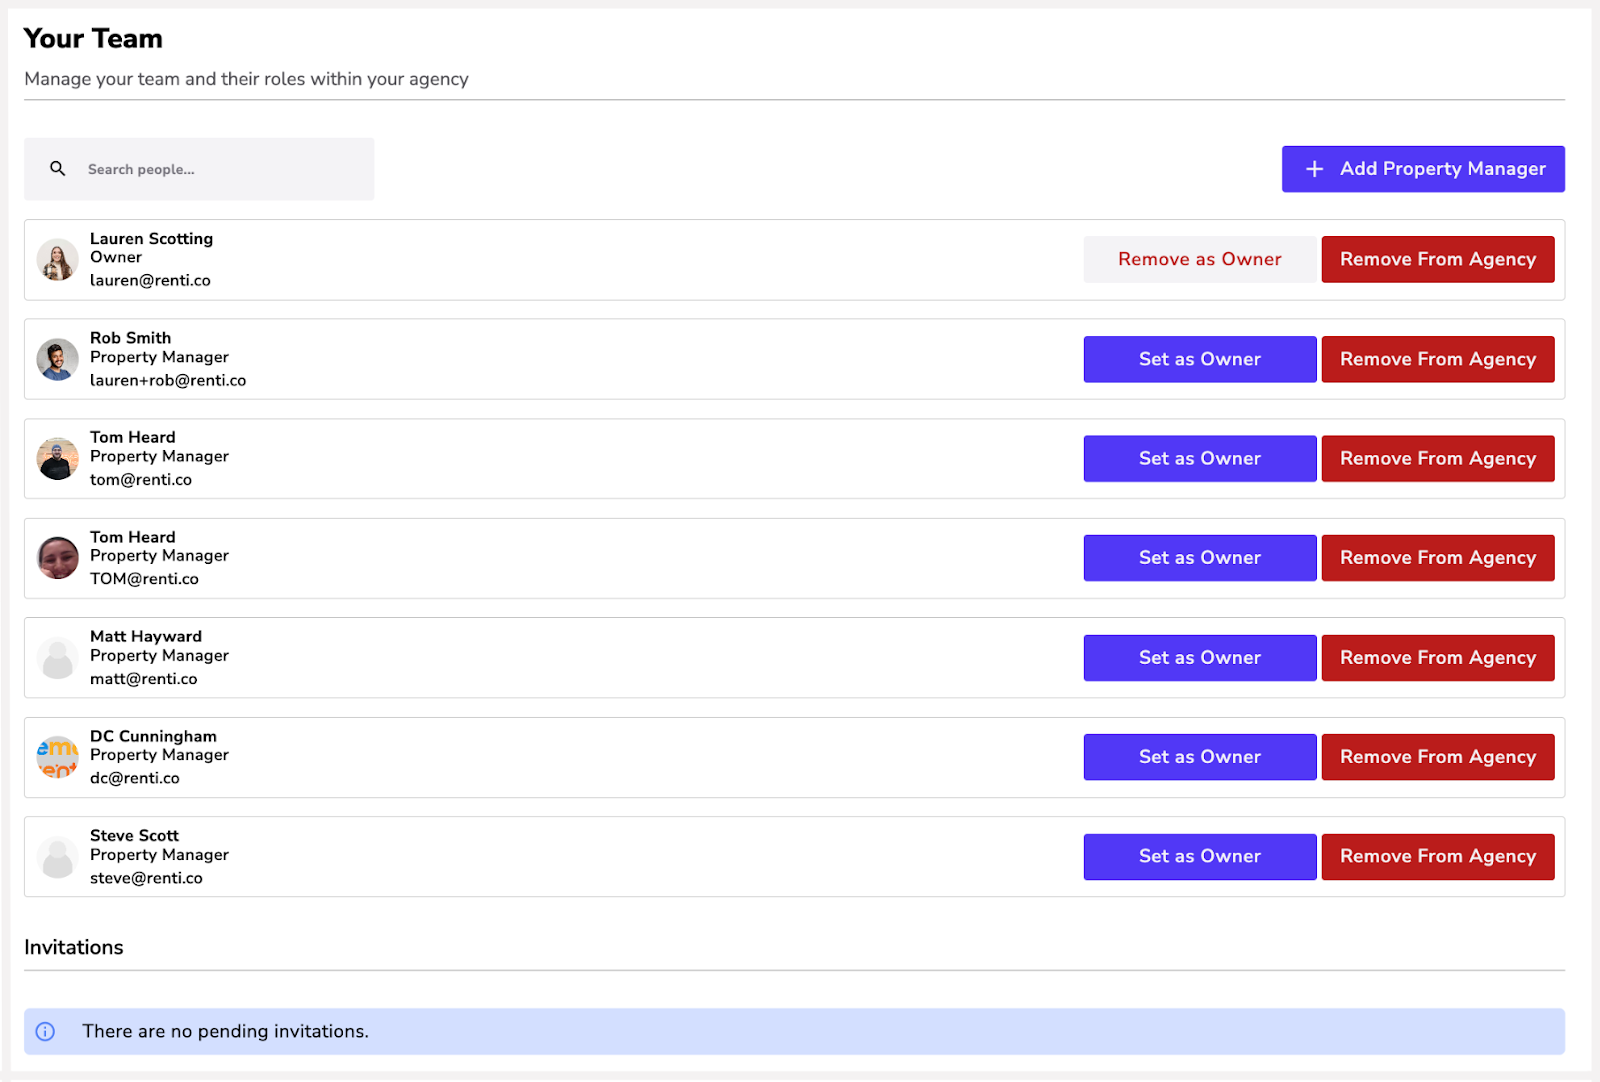
This is where you can invite your property managers to your Renti agency. You can also select certain team members to have owner status which will give them access to change agency settings.
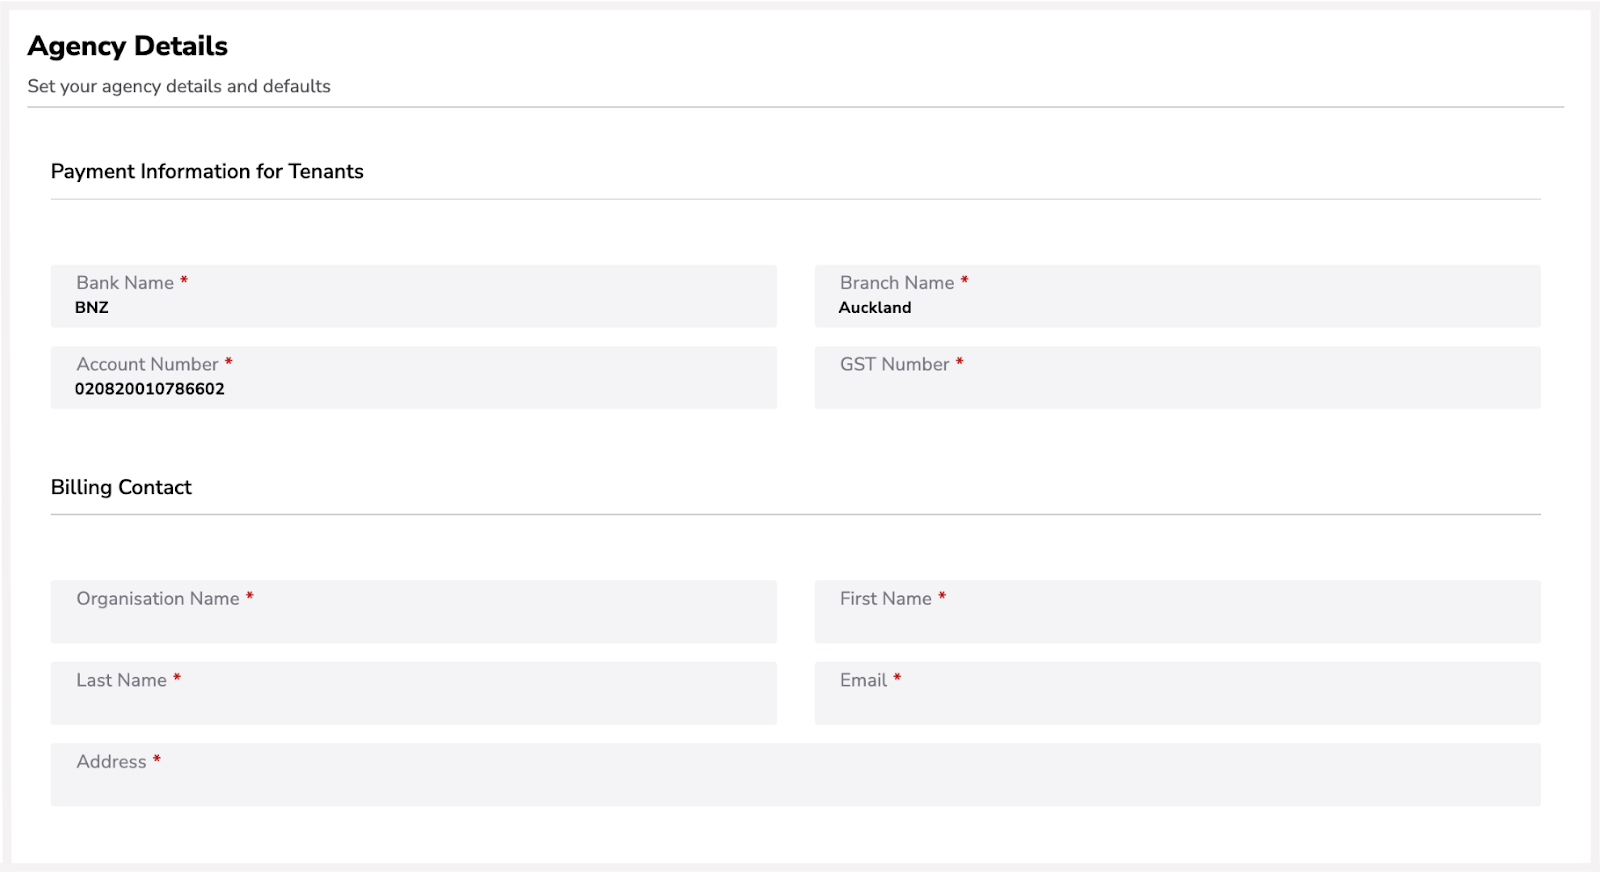
Payment information automatically is entered into your tenancy agreements to ensure your tenants pay into the correct account for rent and bond each time.
Please complete the billing contact so we can send the monthly bill to the appropriate people.
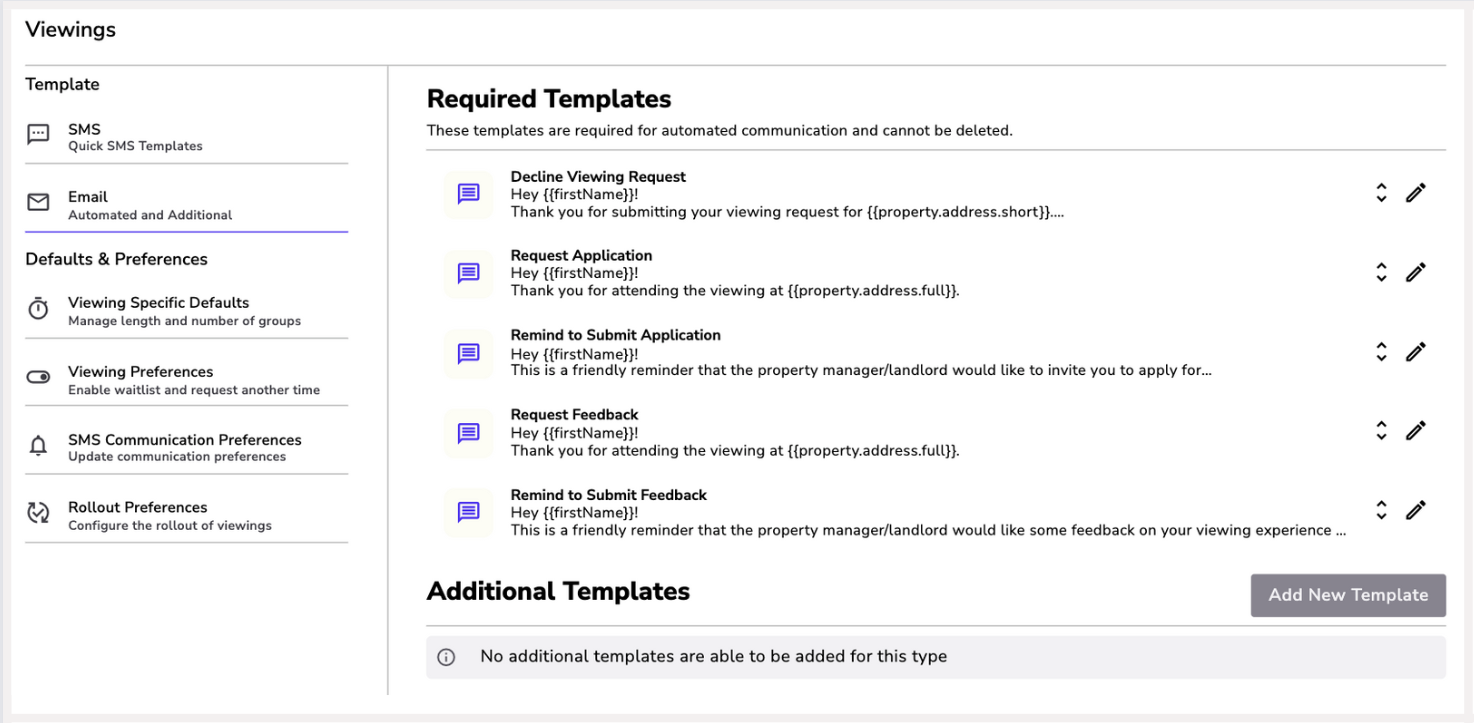
This is where your viewing booking's default settings and templates live!

1. Templates:
- SMS: There are two templates we have added for you to use. You can read the content here.
- Email: Here is where all the email templates live. You can edit the wording, however, if you are unsure of the correct terminology, please don't hesitate to contact us.
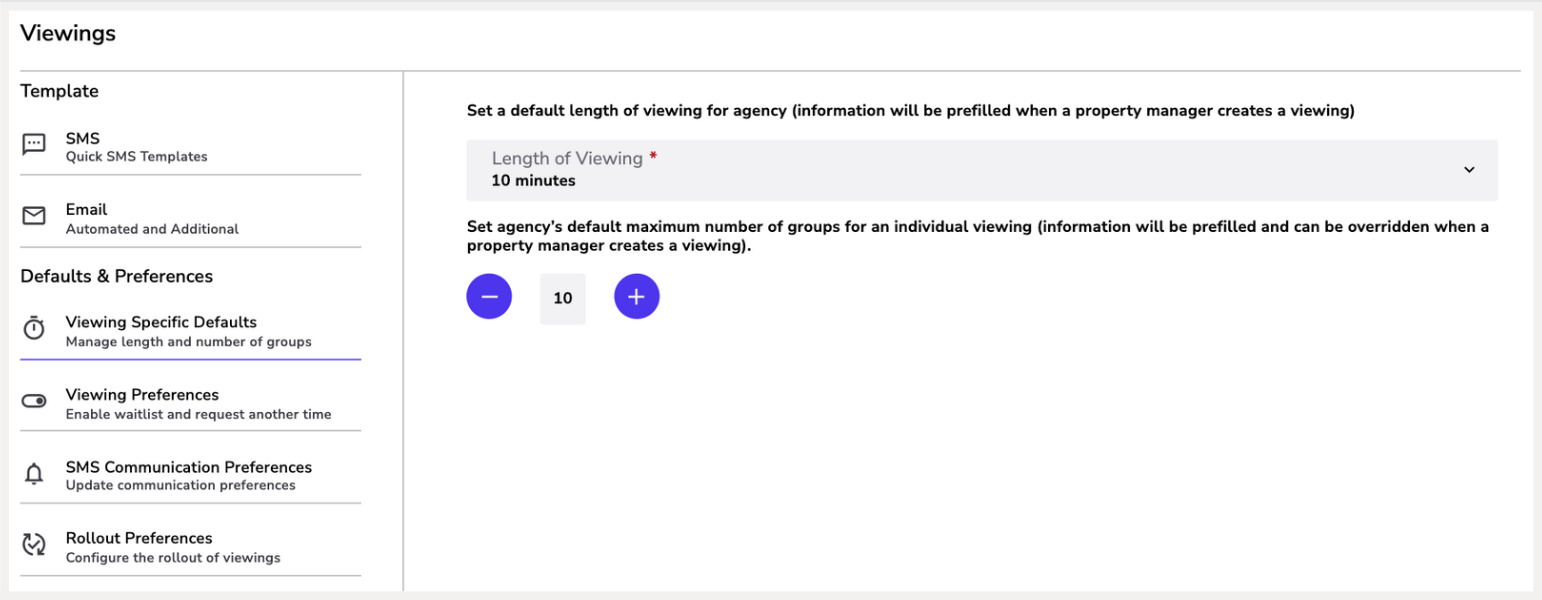
2. Viewing Specific Defaults:
- Here you can adjust the viewing length and capacity of your viewings.
- This will be automatically set to all property managers when they are creating a viewing.
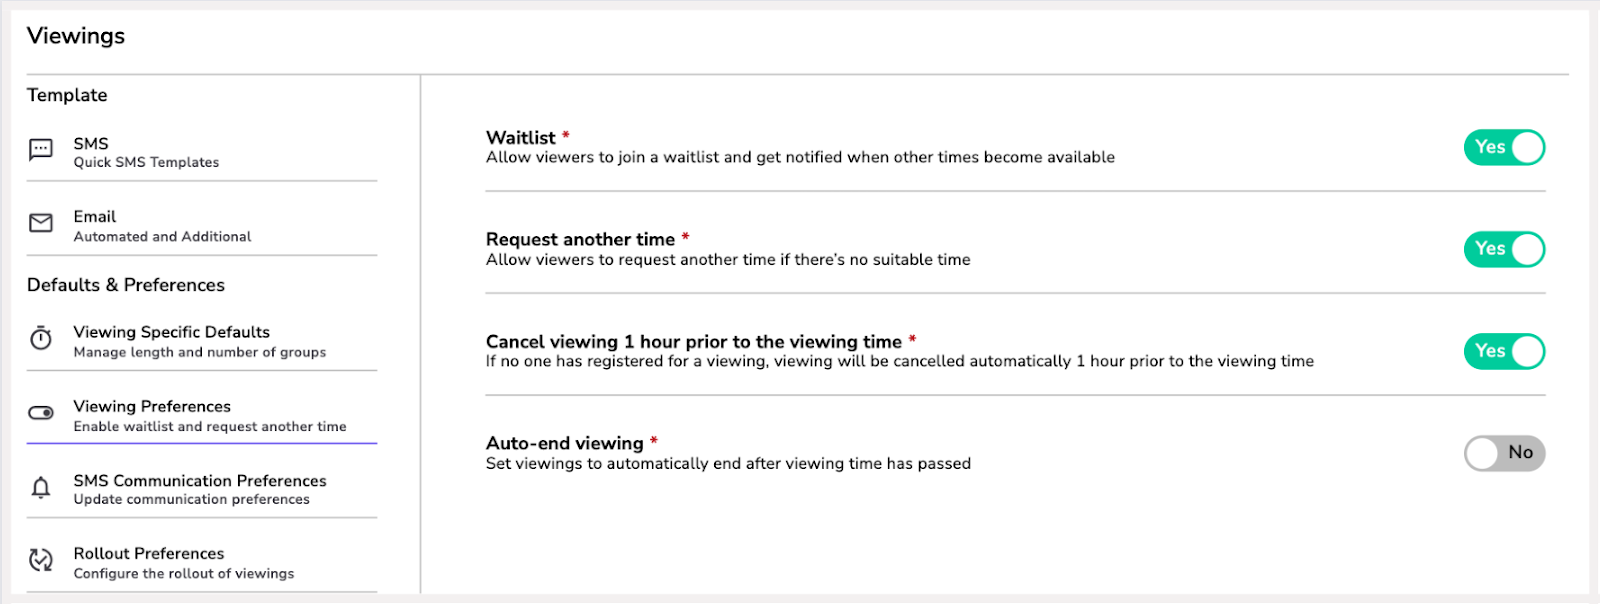
3. Viewing Preferences:
- Waitlist: You can allow the button where interested parties can add themselves to the waitlist. If this is not selected, the option won't show.
- Request another time: You can allow the button where interested parties can request another time. If you remove this, the option won't show. If you allow this button, property managers can turn this on and off per listing as needed.
- Cancel 1 hour prior: If this is toggled on, this will automatically cancel if no one has booked in an hour before the viewing.
- Auto-end viewings: This allows you to automatically end a viewing after a certain amount of time has passed or at a specific time.
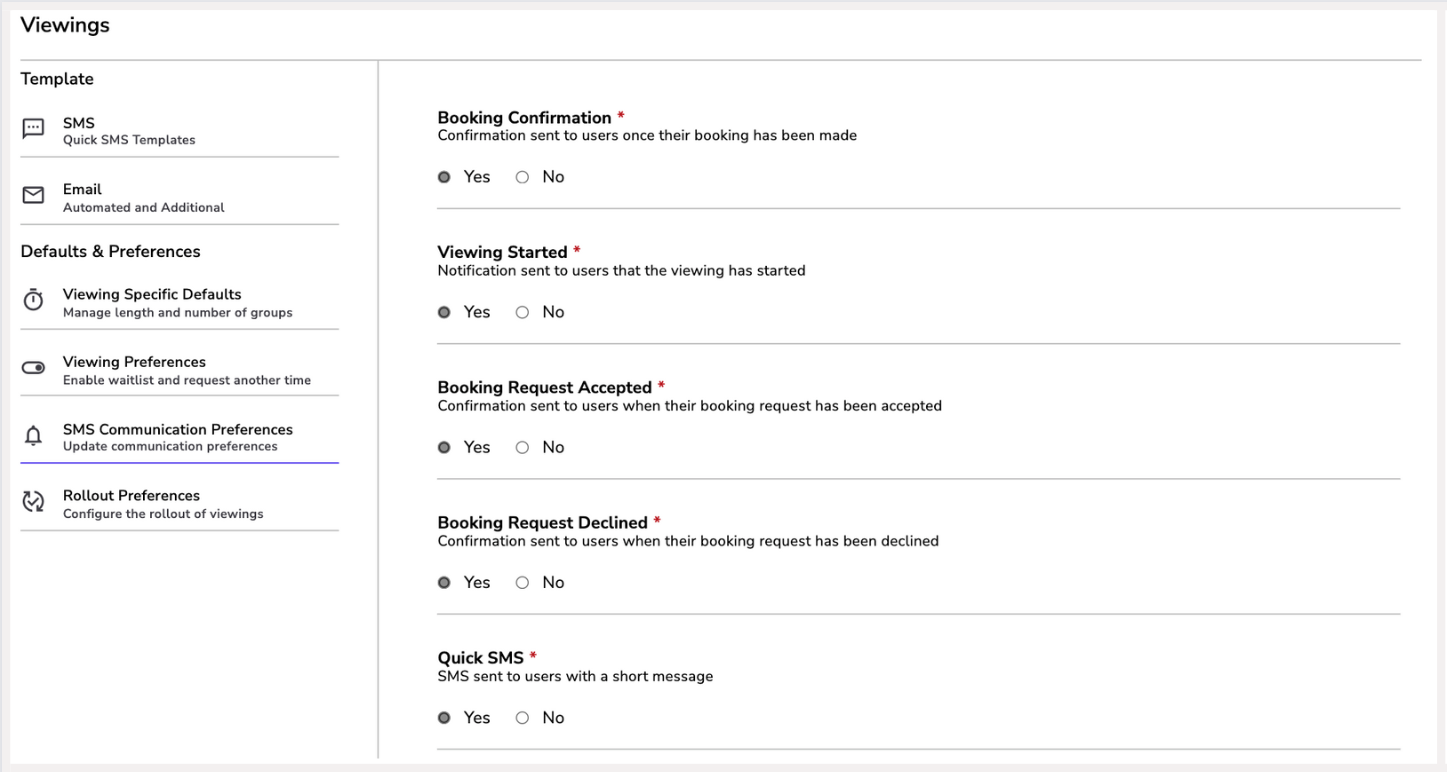
4. SMS Communication Preferences:
- Here are all the notifications that get sent out via SMS.
- Go through and turn on/off what is needed for your agency.
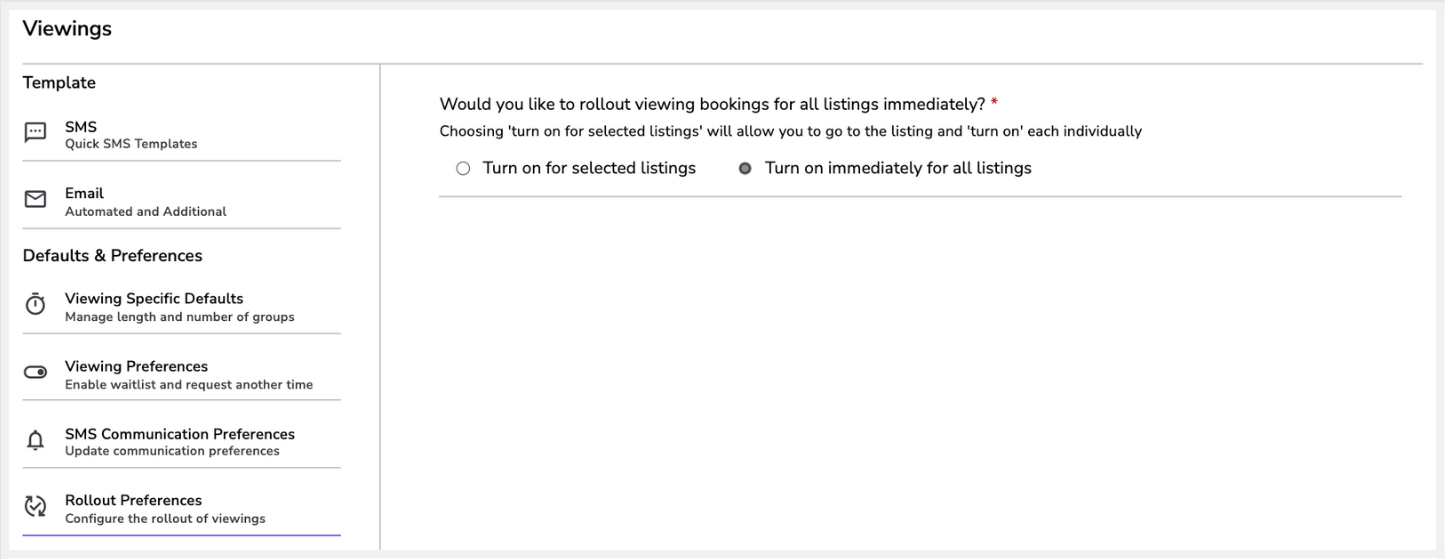
5. Rollout Preferences:
- If you are currently using another viewing software, please notify lauren@renti.co of what the best solution for your agency is in regard to the rollout.
- If you have no viewing software, select ‘Turn on immediately for all listings'.
Here you can turn on receiving enquiries. If this is off, your property managers will not be able to see the enquiries from TradeMe or your website.

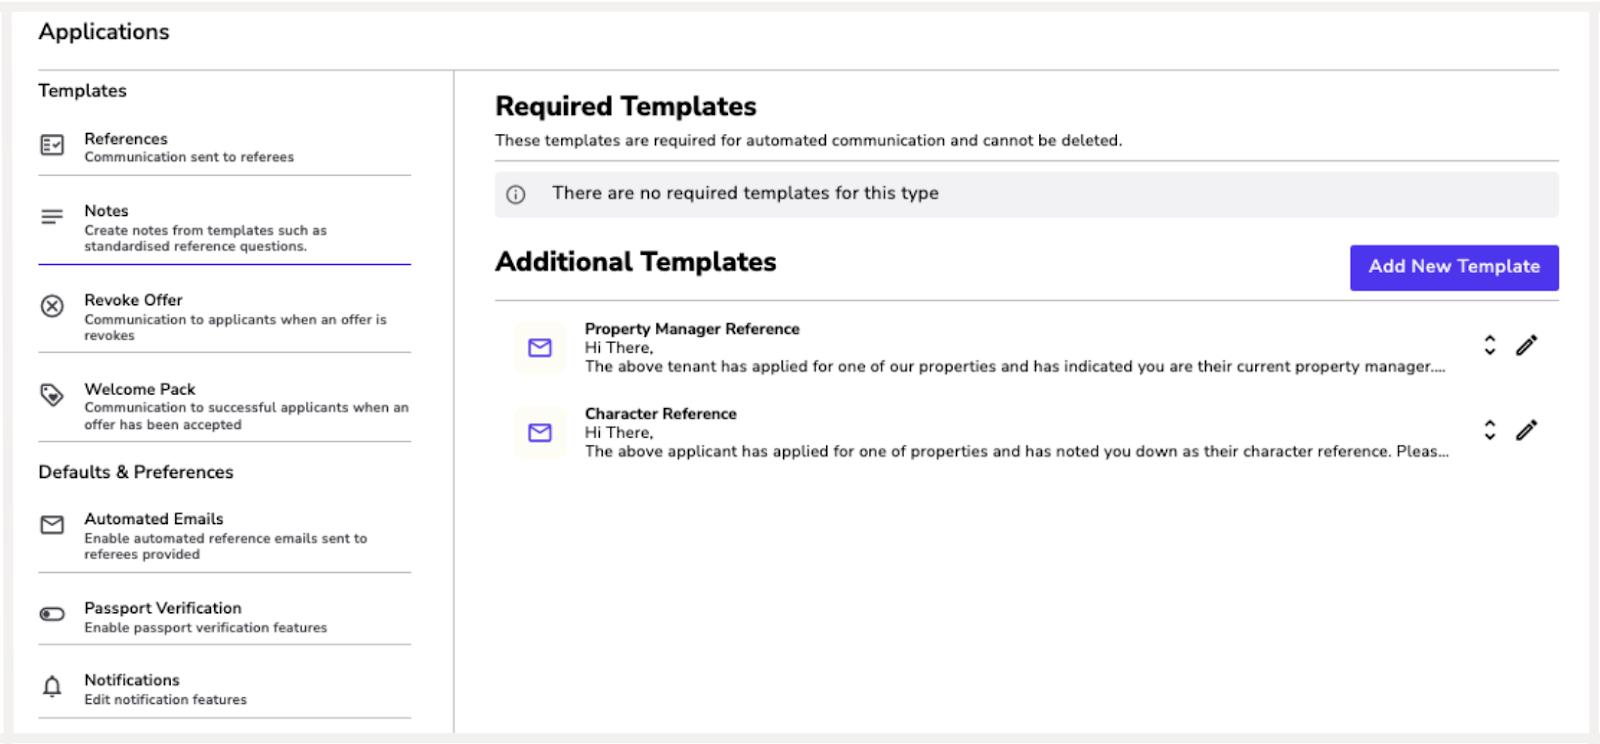
This is where your application defaults settings and templates live!

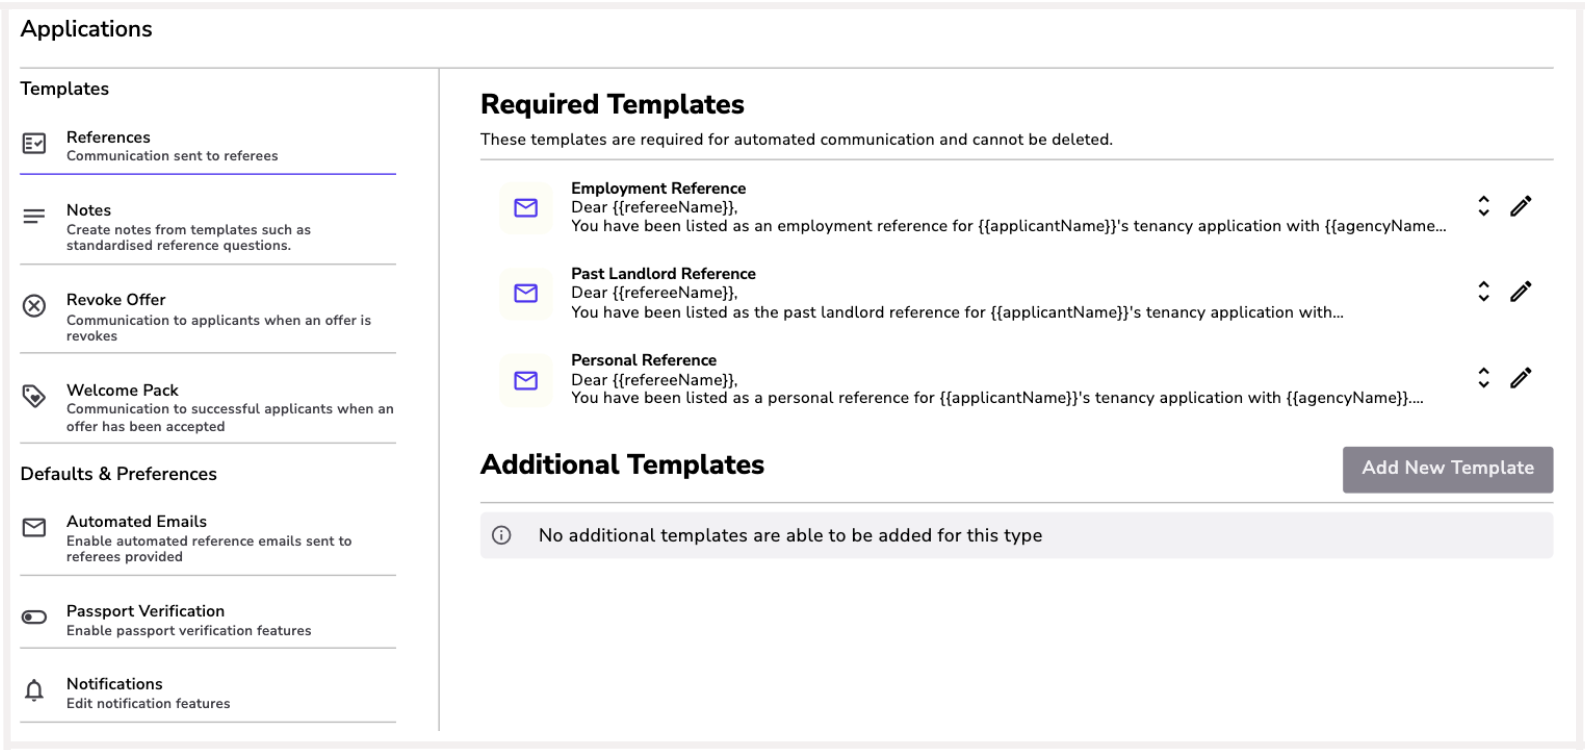
1. References:
- We have added three standard reference templates for you.
- This is emailed to the references and is completely customisable.
- If you are unsure of what you can ask, we would recommend sticking with the templated questions.
2. Notes:
- This is the section where you can add templated notes.
- If you prefer to call your references, ensure you add the questions you ask your references here.
- This will allow your property managers to pull up the template and record the answers which will then be saved to the application.
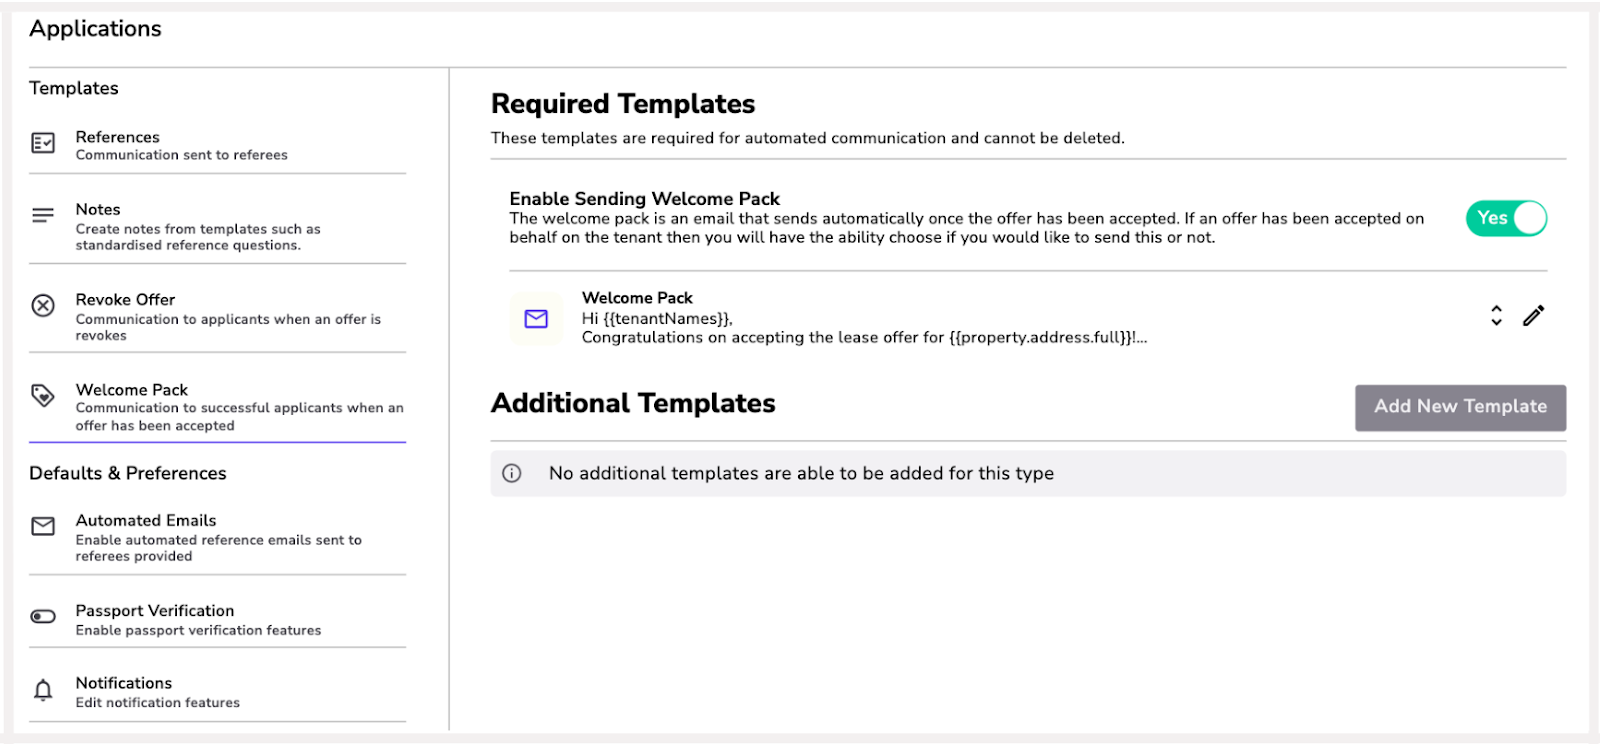
3. Welcome Pack:
- Our welcome pack can be sent at the send agreement terms stage.
- The wording is customisable and you can add any documentation you would like. Simply click the pencil icon.
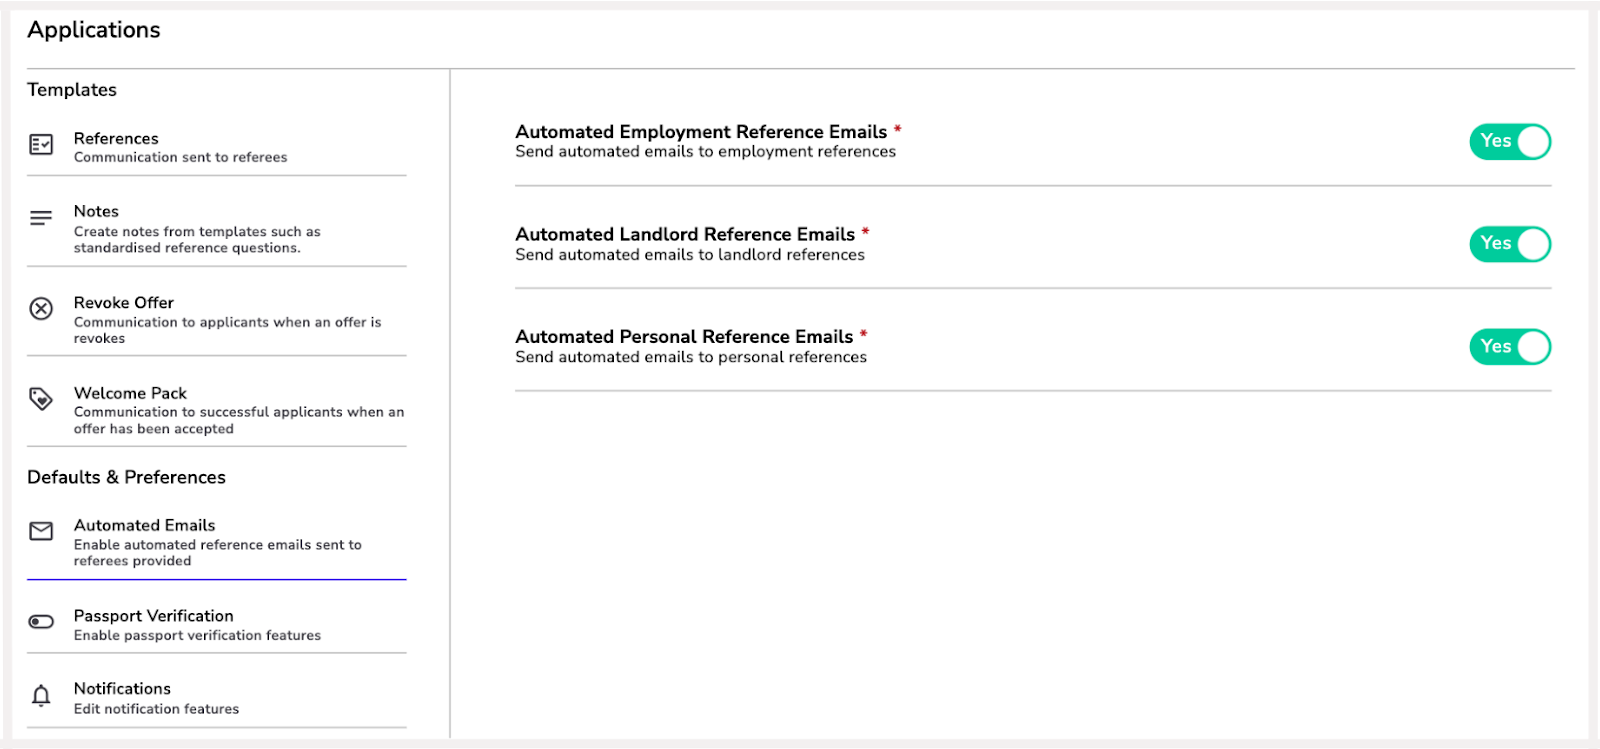
4. Automated Emails:
- You can determine what reference emails are sent out automatically or will need to be manually triggered by the property manager.
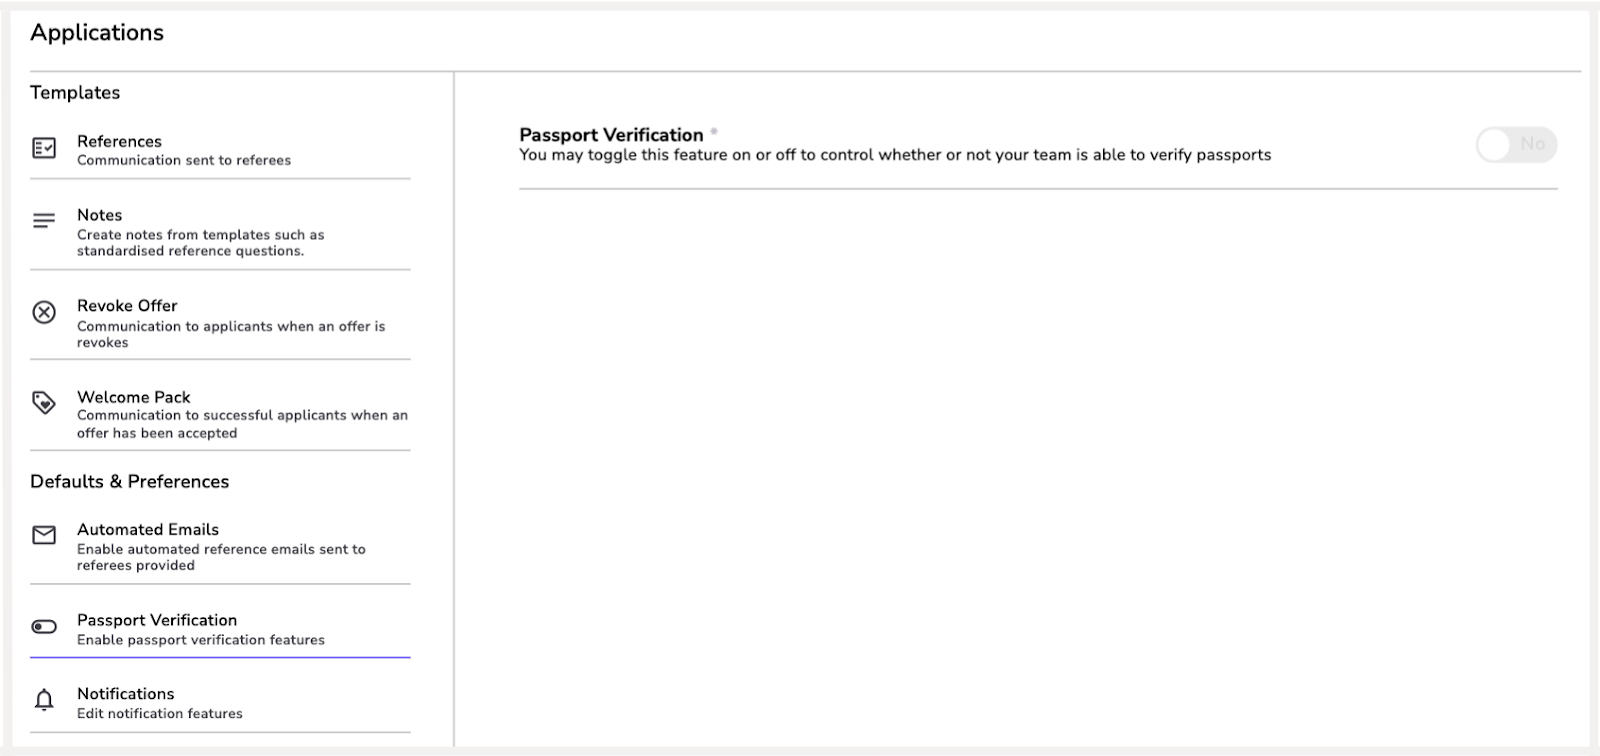
5. Passport Verification:
- If this is needed, please contact support@renti.co for further information.
- There will be a cost for this service and is restricted to only New Zealand passport holders.
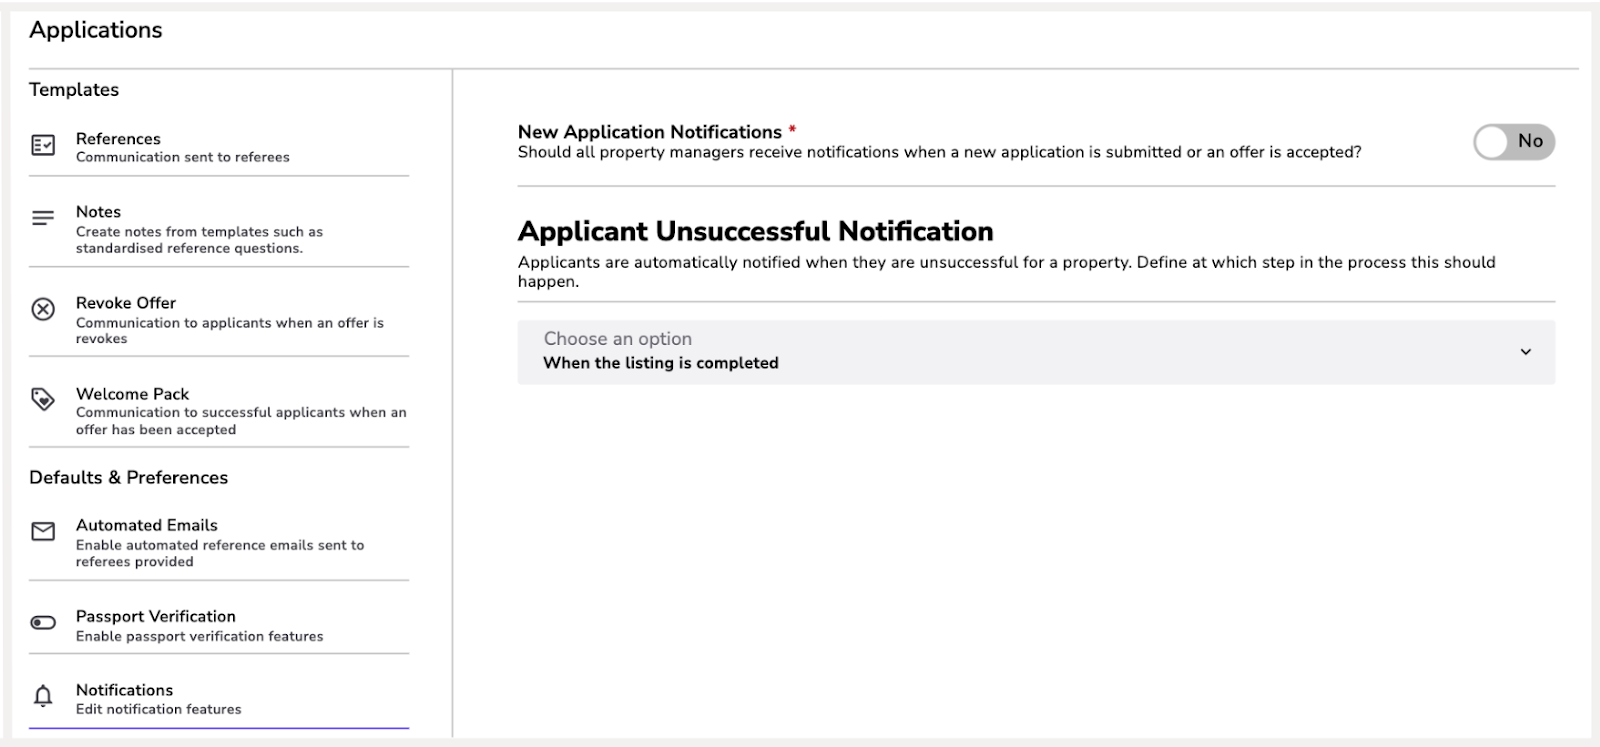
6. Notifications:
- New Application Notifications - This will send all agents a notification every time an applicant applies or accepts an offer.
- Unsuccessful Notification - You have the option to pick what time the unsuccessful notification gets sent out to applicants that were not successful.
This is where your agreement default settings and templates live!

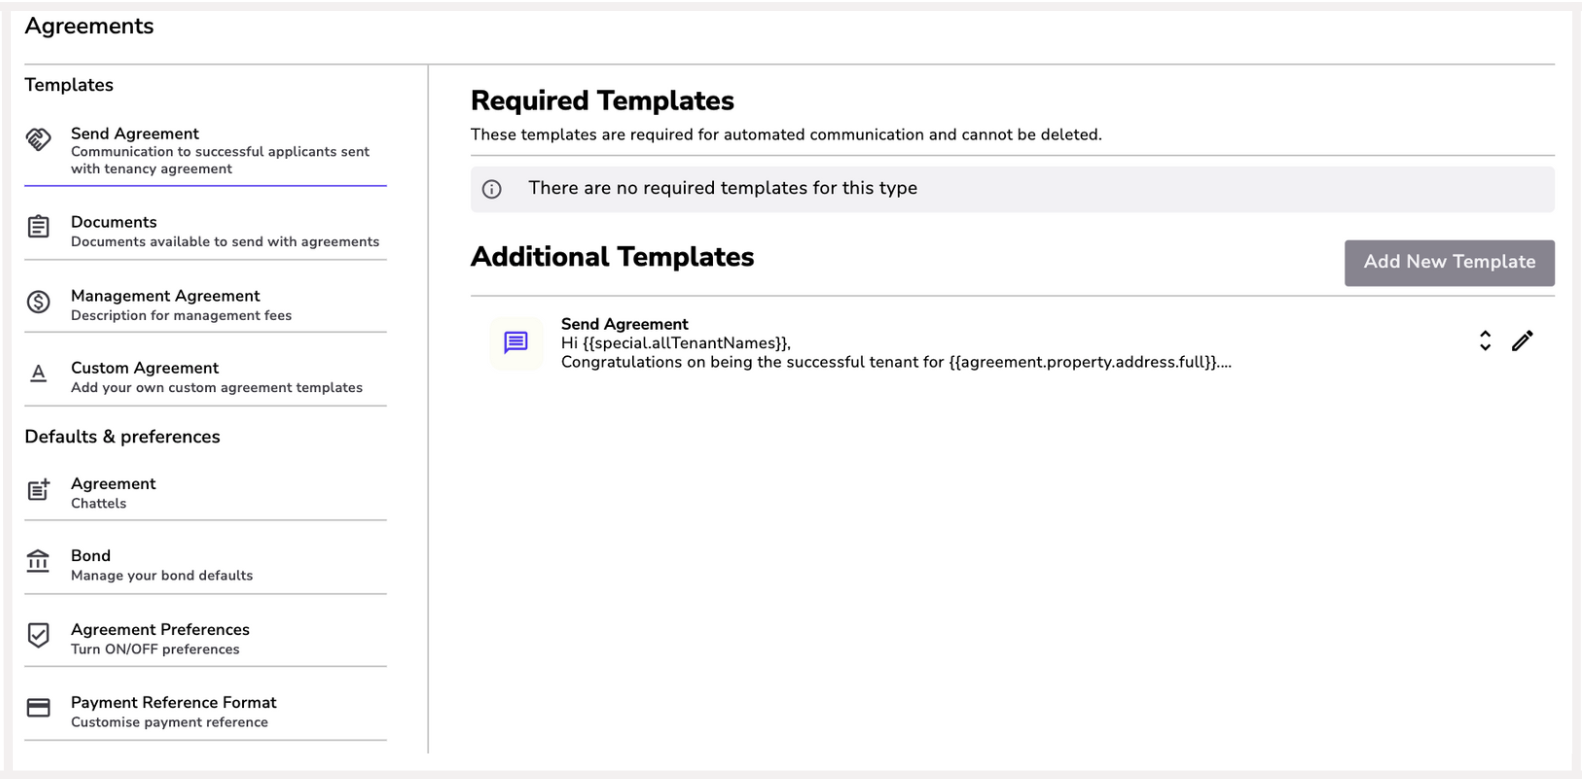
1. Send Agreement:
- This is the successful email notification that gets sent out with the tenancy agreement.
- This is fully customisable, simply click the pencil icon.
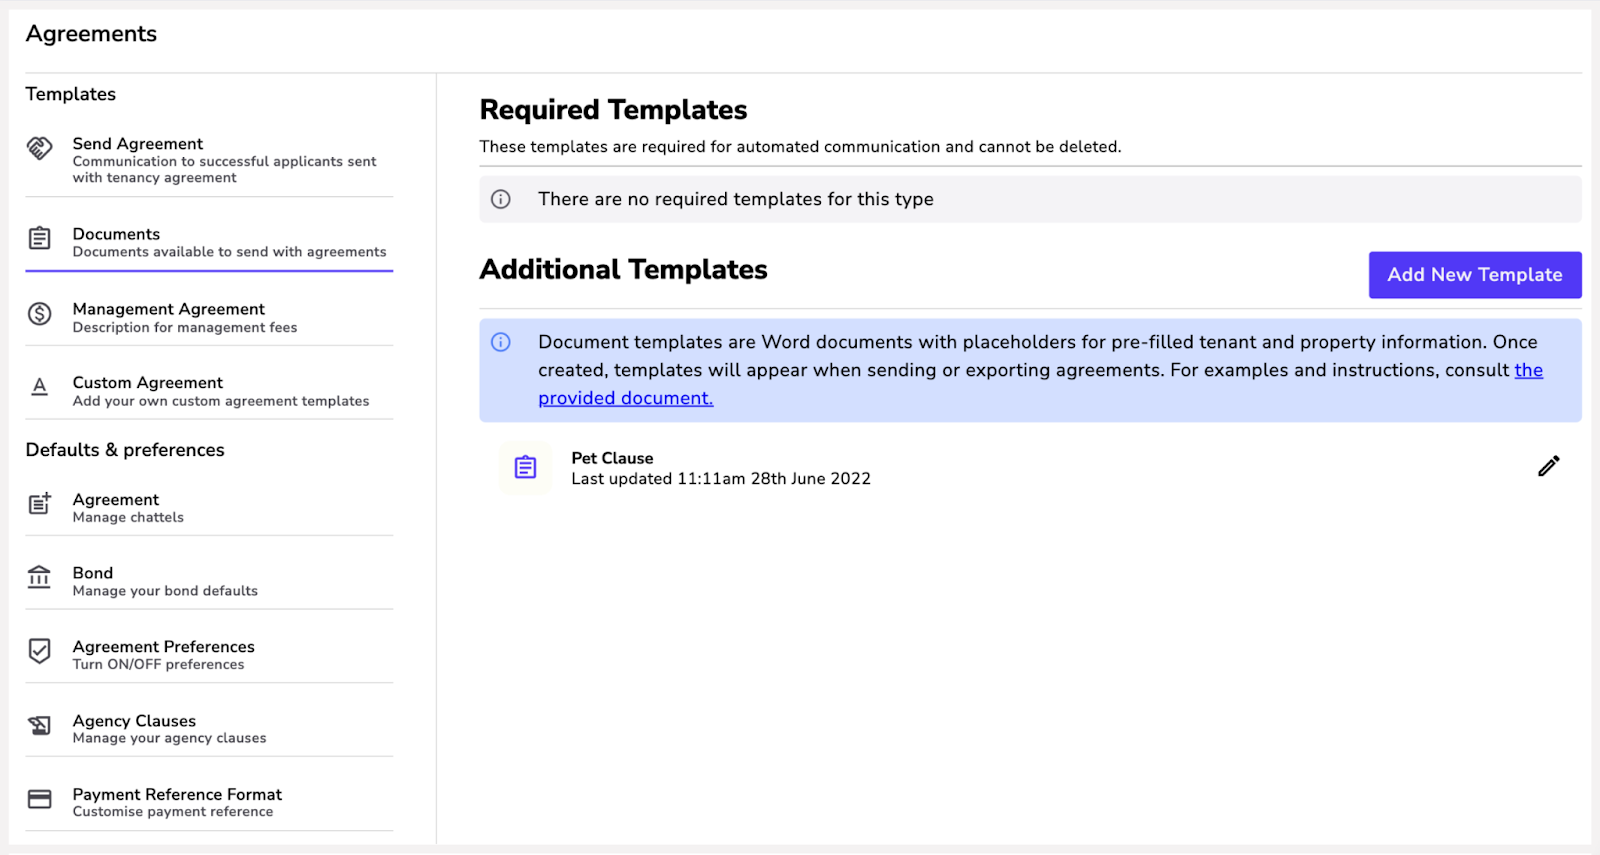
2. Documents:
- You have the ability to add any documents you want to send with the tenancy agreement.
- If you would like to include signatures with this document, please contact support@renti.co to enable this for you.
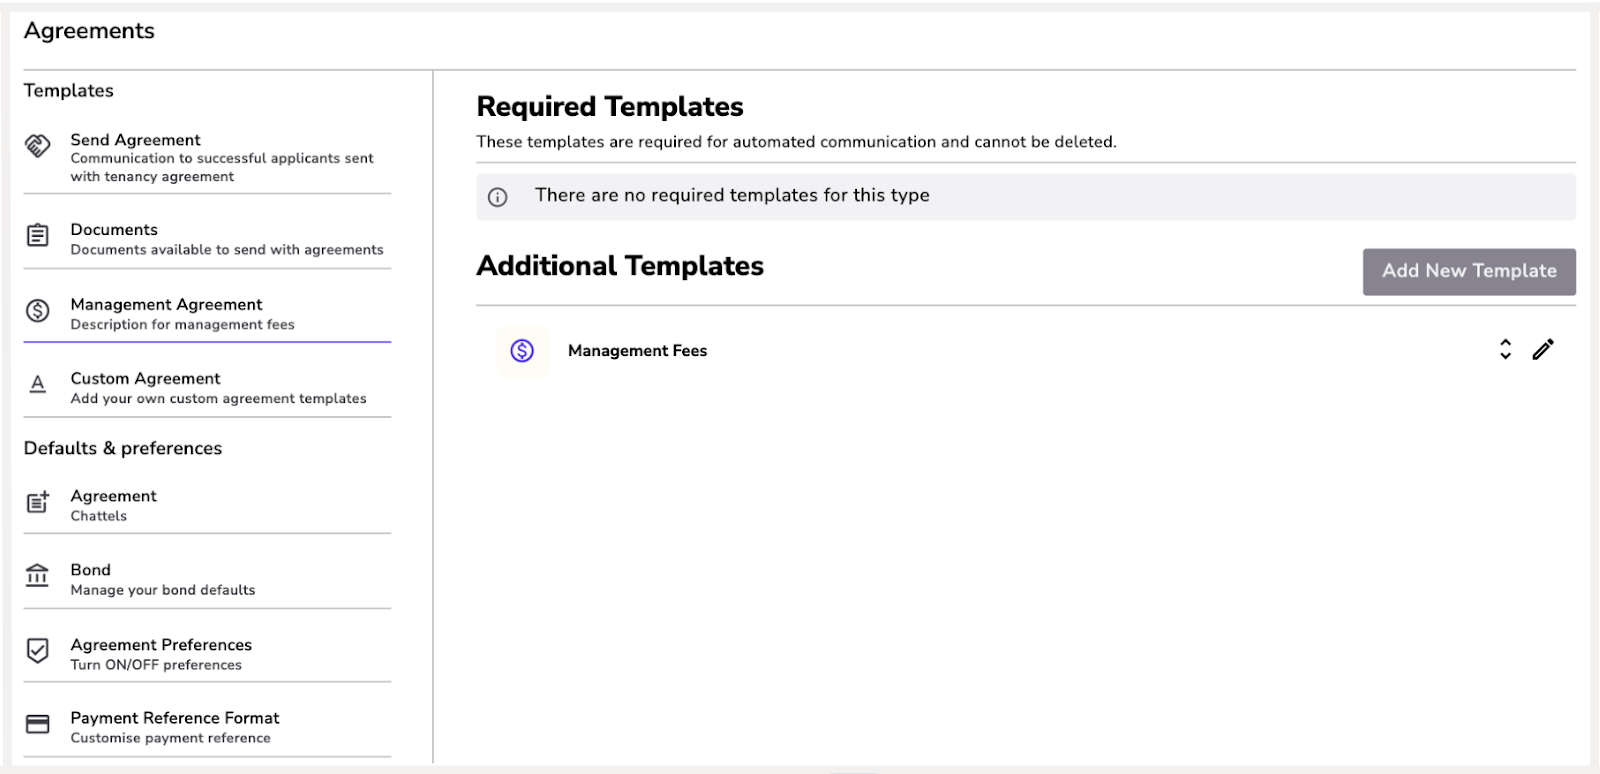
3. Management Agreement:
- If you use our Management Agreement, you can add your management fee here.
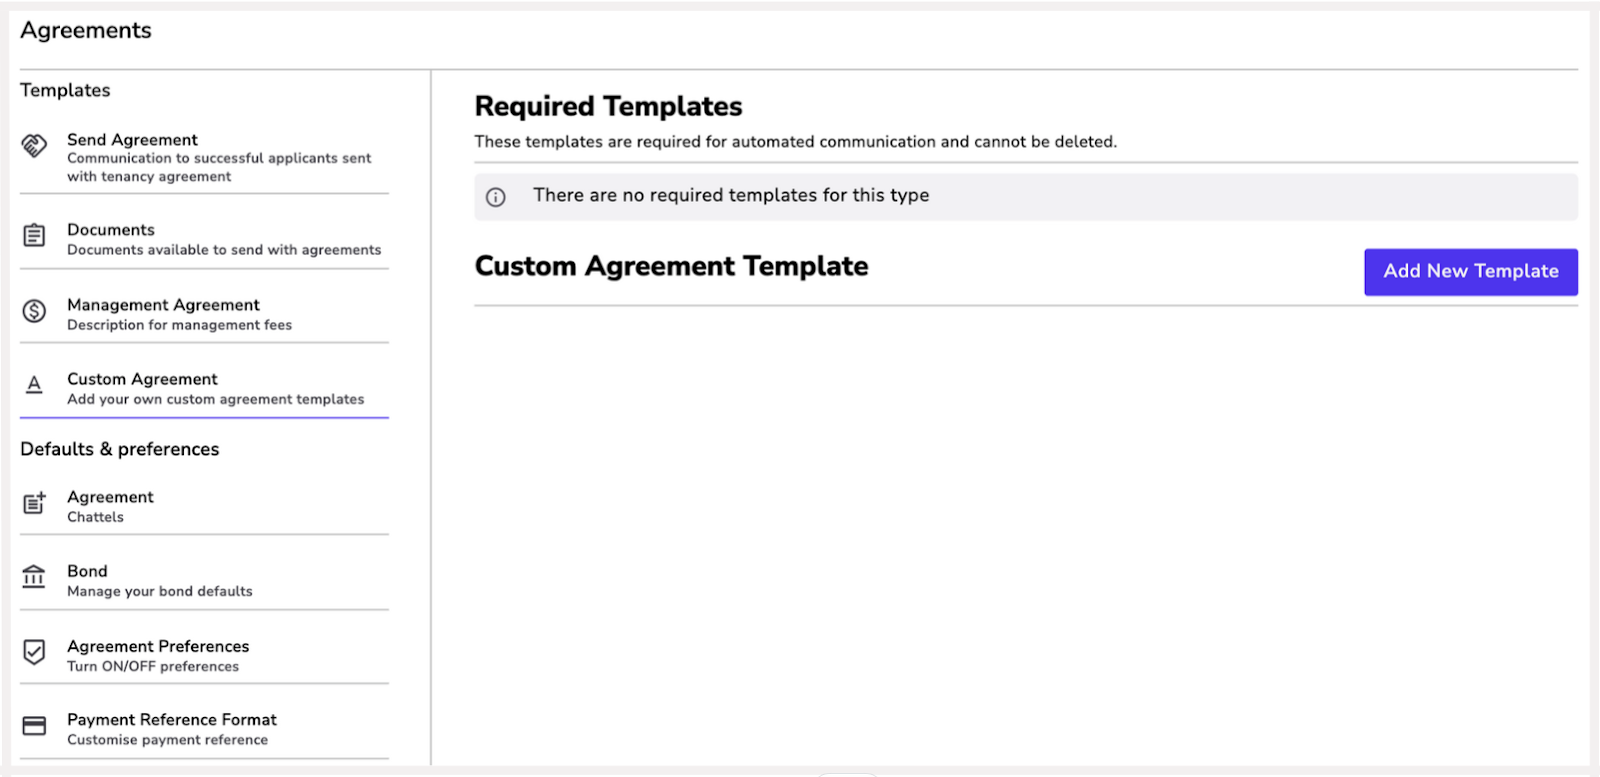
4. Custom Agreement:
- Renti provides a tenancy agreement for all agencies that are overseen by the Real Estate Institute of New Zealand.
- This tenancy agreement is a live document that is updated and changed whenever new legislation comes into play.
- If you have a custom agreement you would like to use, please contact support@renti.co for further information.
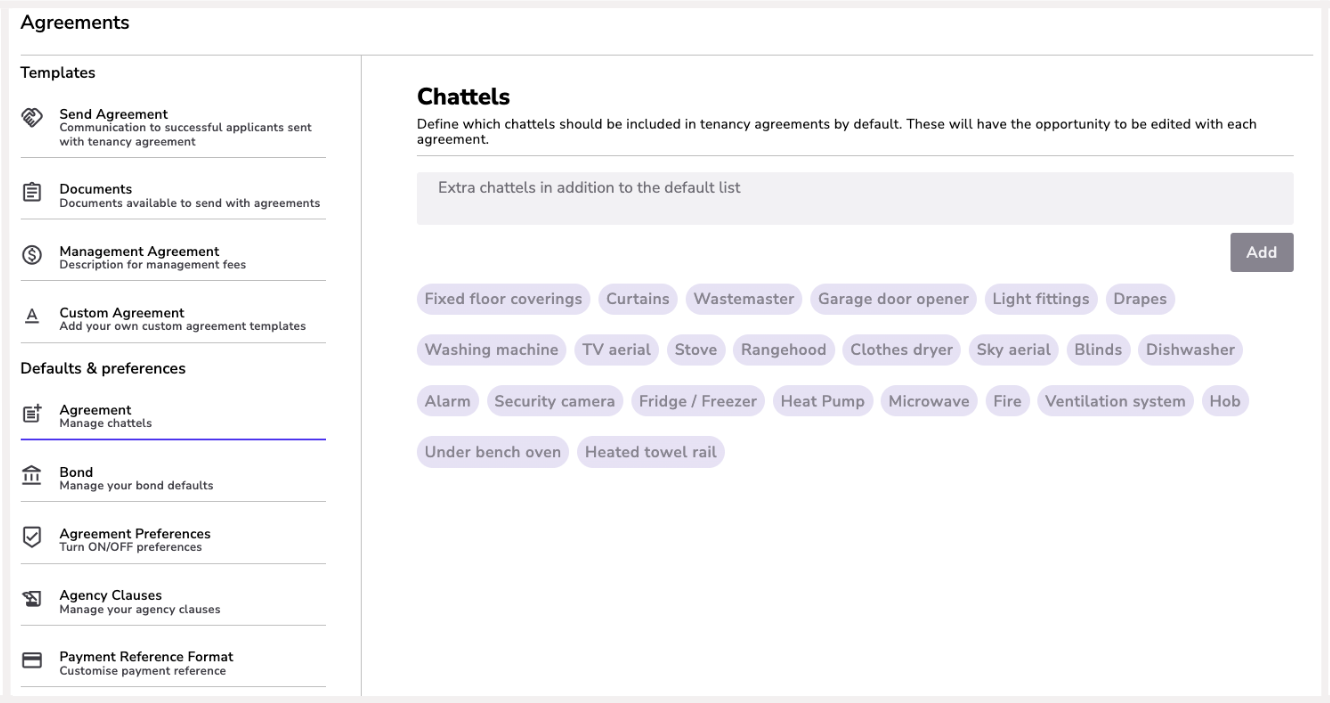
5. Chattels:
- Here you can add specific chattels to your chattels list that will appear in all of your tenancy agreements.
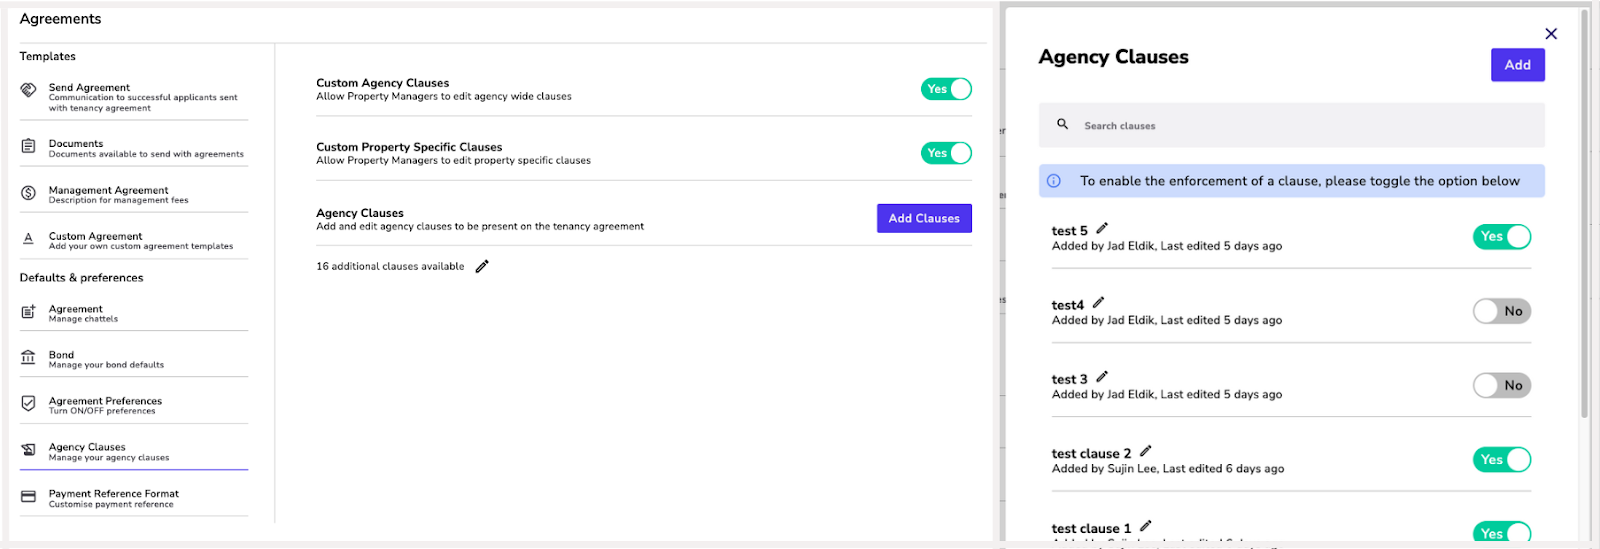
5. Clauses:
- Custom Agency Clauses allow your property managers to edit clauses you have added. If not selected, they will not have the ability to edit the wording.
- Custom Property-Specific Clauses allow property managers to edit property-specific clauses. These are clauses related to individual listings. For example, a ‘no access to garage' clause.
- Agency Clauses are where you can add all the clauses you want for your agency. If you want specific clauses in every agreement, make sure you toggle them on. This will permanently add the clause to all agreements. Any other clause will show in a list that agents can toggle on when relevant.
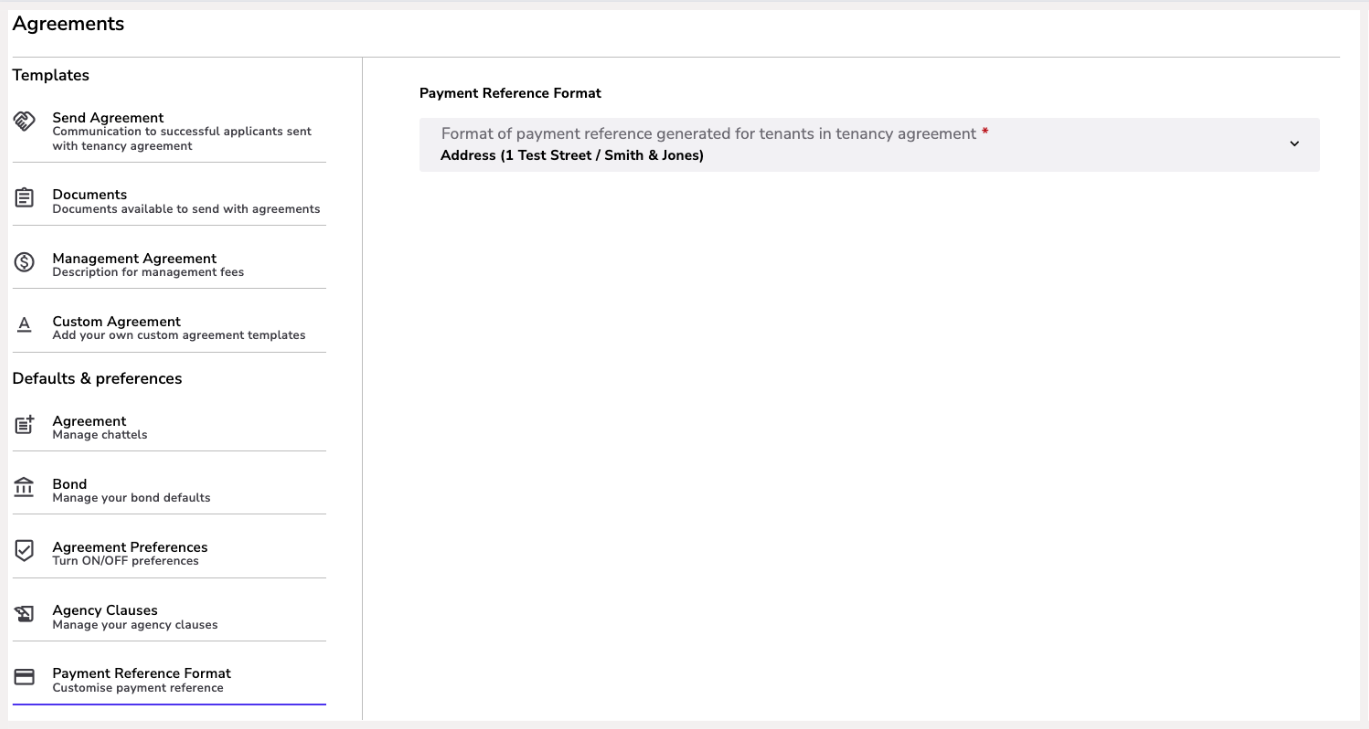
6. Payment Reference Format:
- You can choose the format that will show as a payment reference.
- This will be displayed on the tenancy agreement.
Email templates: Here are where all the email templates live. You can edit the wording, however, if you are unsure of the correct terminology, please don't hesitate to contact us.
Generate invoice: Here is where you set up your default charges for any invoice sent within Renti.
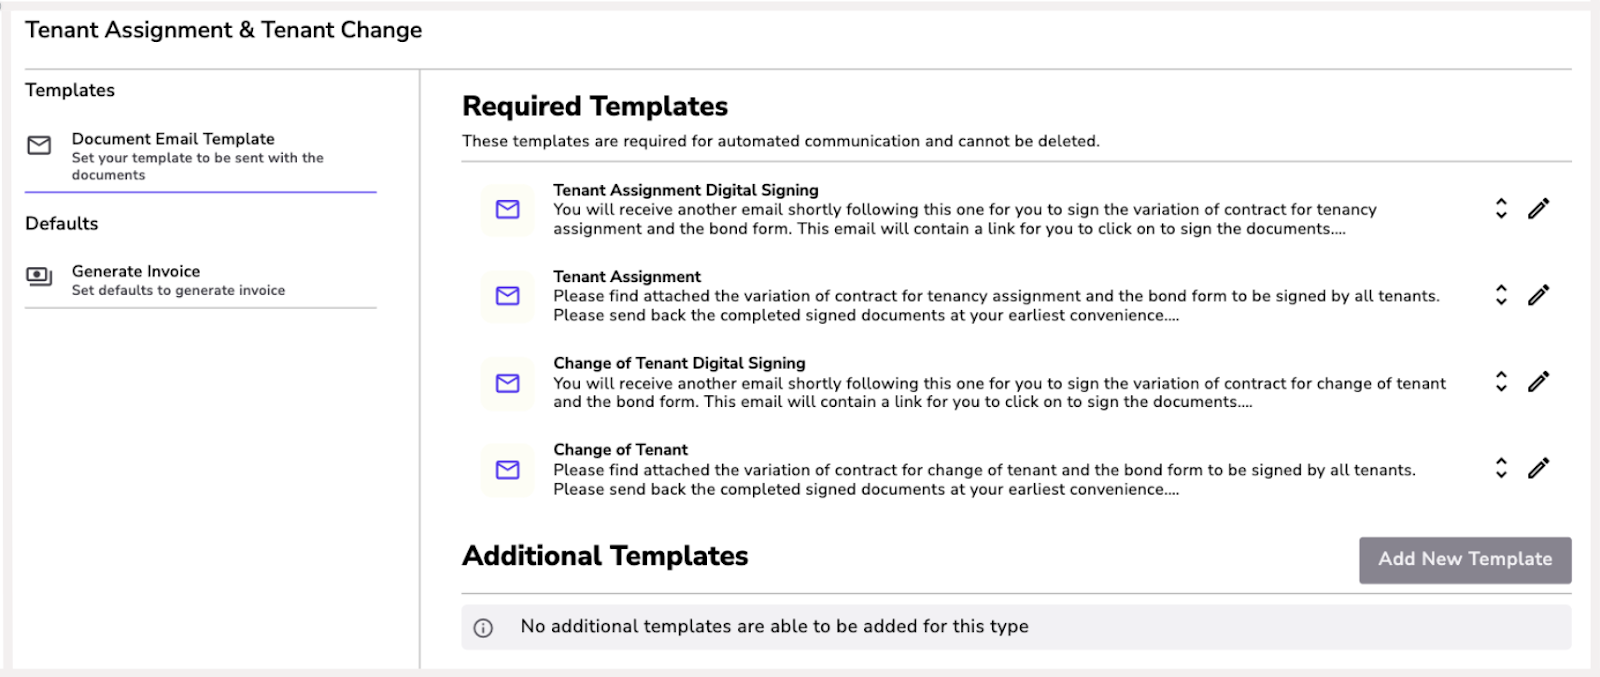
Here is where all the email templates live. You can edit the wording, however, if you are unsure of the correct terminology, please don't hesitate to contact us.

Here is where all the email templates live. You can edit the wording, however, if you are unsure of the correct terminology, please don't hesitate to contact us.

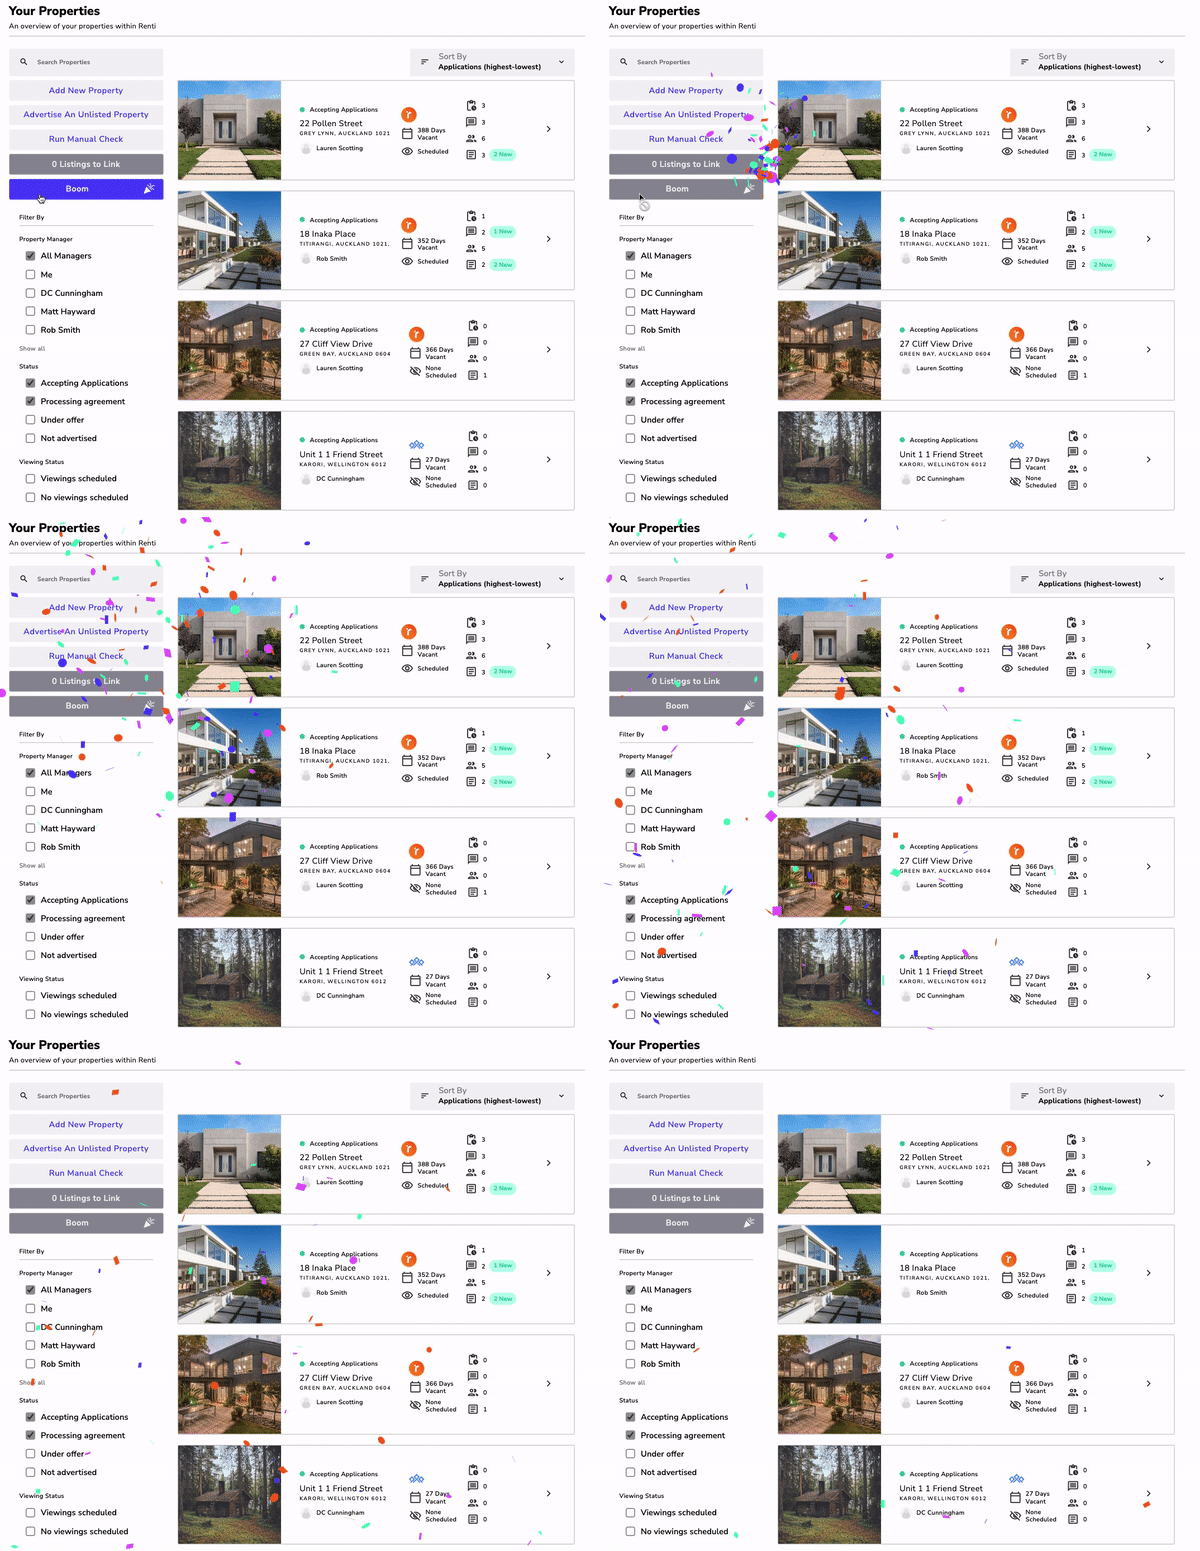
Your Renti agency is ready to go 🎉
If you have any further questions, please don't hesitate to contact lauren@renti.co.
If you have any further questions, please don't hesitate the team.
We are so excited to have you on board and are looking forward to working with you 🎉
